Table of Contents
Advertisement
Quick Links
CPU SHARING
Installation and Use
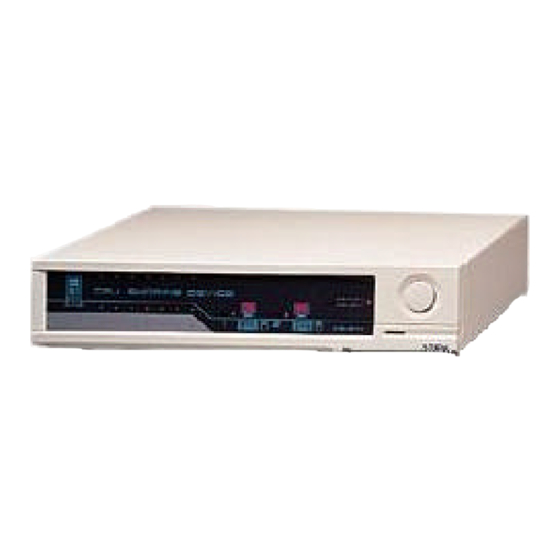
CPU Sharing Device
39121
User's Manual
Packing Checklist
??
39121 CPU Sharing Device
??
1 User's Manual
Please read this manual thoroughly and follow the
installation procedures carefully to prevent any damage
to the 39121 and/or the devices it connects to.
LINDY Art. Nr. 39121
© LINDY ELECTRONICS LIMITED & LINDY-ELEKTRONIK GMBH - APR 2000
English Manual
Introduction
The 39121 is a powerful microprocessor controlled CPU
sharing device that enables two users to share a single
computer. With two keyboard, mouse and monitor consoles,
this multiuser-single tasking device i s ideal for any small
office environment. All programs, files, data, and resources
can be easily shared without the knowledge of network.
DEVICE
English
Features
y
Supports PS/2, IBM PC and Compatibles
y
Supports PS/2, AT, and Auto Switchable Keyboards
y
Supports SVGA, VGA, and Multisync Monitors
y
No Software Required
y
One Computer Shared By Two Monitor, Mouse, and
Keyboard Sets
y
Automatic or Manual Console Selection
y
Screen Save Function
y
Private Mode For A Privileged User
y
Supports PS/2 Mouse
-1-
English Manual
Installation
1. Turn the computer, all monitors, and the 39121 Off.
2. Connect the CPU Keyboard Port at the back of the 39121 to the
computer keyboard port with a DIN-5 male-to-male cable.
3. Connect the CPU Mouse Port at the back of the 39121 to the
computer mouse port with a DB-9 male-to-female cable.
1.
4. Connect the CPU Monitor Port at the back of the 39121 to the
computer VGA port with a DB-15 male-to-male cable.
5. Connect the first Keyboard, Mouse, and Monitor console to the
Console 1 ports on the 39121's rear panel.
6. Connect the second Keyboard, Mouse, and Monitor console to
the Console 2 ports on the 39121's rear panel.
7. Set the DIP Switch switches according to your requirements.
See the DIP Switch Setting section (below), for details.
8. Plug the Power Adapter that came with the 39121 into an AC
source; plug the power adapter cable into the Power Jack on the
39121's rear panel.
9. The 39121 will be ready for operation one minute after the DOS
prompt appears on the monitor.
Note:
Before turning on the computer, be sure the first port has a
keyboard connected to it; otherwise, the error message:
Keyboard error Press <F1> to RESUME
appears. If this happens, connect a keyboard to the KB1 port on the
39121's rear panel; then press function key [F1] to continue.
DIP Switch Setting The meanings of the DIP Switch Settings are
made clear in the section on Operation, below.
DIP Switch Number
1
2
3
ON
ON
X
OFF
ON
X
ON
OFF
X
OFF
OFF
X
X
X
ON
X
X
OFF
X
X
X
X
X
X
-2-
Function
4
X
5 Second Timeout
X
15 Second Timeout
X
45 Second Timeout
X
90 Second Timeout
X
Private Mode Enabled
X
Private Mode Disabled
ON
Screen Save Enabled
OFF
Screen Save Disabled
Advertisement
Table of Contents

Related Manuals for Lindy 39121


Summary of Contents for Lindy 39121
-
Page 1: Packing Checklist
1. Turn the computer, all monitors, and the 39121 Off. The 39121 is a powerful microprocessor controlled CPU 2. Connect the CPU Keyboard Port at the back of the 39121 to the sharing device that enables two users to share a single computer keyboard port with a DIN-5 male-to-male cable. -
Page 2: Specifications
CONSOLE 2 From seeinghis used in accordance with the instruction manual, may When the 39121 is turned on it comes up in Auto Mode, and operations. To do so, the DIP switch number 3 must be set to ON cause interference to radio communications.
Need help?
Do you have a question about the 39121 and is the answer not in the manual?
Questions and answers