Table of Contents
Advertisement
Quick Links
Advertisement
Table of Contents

Related Manuals for NEC MultiSync E232WMT


Summary of Contents for NEC MultiSync E232WMT
- Page 1 MultiSync E232WMT User’s Manual...
-
Page 2: Table Of Contents
Index Warning, Caution ............................English-1 Registration Information ..........................English-2 Recommended use ............................English-3 Contents ................................English-5 Quick Start ..............................English-6 Controls .................................English-10 Specifications ..............................English-13 Troubleshooting .............................English-14 TCO Certified Displays 6 ..........................English-16 Manufacturer’s Recycling and Energy Information ..................English-17... - Page 3 This product can only be serviced in the country where it was purchased. Windows is a registered trademark of Microsoft Corporation. NEC is a registered trademark of NEC Corporation. ErgoDesign is a registered trademark of NEC Display Solutions, Ltd. in Austria, Benelux, Denmark, France, Germany, Italy, Norway, Spain, Sweden, U.K.
-
Page 4: Registration Information
Registration Information FCC Information Use the attached specified cables with the MultiSync E232WMT (L233QV) monitor so as not to interfere with radio and television reception. The power supply cord you use must have been approved by and comply with the safety standards of U.S.A., and meet the following condition. -
Page 5: Recommended Use
NOTE: As with all personal display devices, NEC DISPLAY SOLUTIONS recommends using a moving screen saver at regular intervals whenever the screen is idle or turning off the monitor when not in use. - Page 6 CORRECT PLACEMENT AND ADJUSTMENT OF THE MONITOR CAN REDUCE EYE, SHOULDER AND NECK FATIGUE. CHECK THE FOLLOWING WHEN YOU POSITION THE MONITOR: • For optimum performance, allow 20 minutes for the display to warm up. • Adjust the monitor height so that the top of the screen is at or slightly below eye level. Your eyes should look slightly downward when viewing the middle of the screen.
-
Page 7: Contents
Contents Your new NEC monitor box* should contain the following: • MultiSync monitor with tilt/height adjust stand • Power Cord* • Video Signal Cable (DVI-D to DVI-D cable)* • Video Signal Cable (Mini D-SUB 15 pin to Mini D-SUB 15 pin) •... -
Page 8: Quick Start
Quick Start To connect the LCD monitor to your system, follow these instructions: NOTE: Make sure to read “Recommended use” (page 3) before installation. 1. Turn off the power of your computer. 2. For a PC with DVI digital output: Connect the DVI signal cable to the connector of the display card in your system (Figure A.1). -
Page 9: Power Cord
3. Place hands on each side of the monitor to tilt the LCD panel and lift up to the highest position. NOTE: Handle with care when tilting the monitor screen. 4. Connect all cables to the appropriate connectors (Figure C.1). For using the USB cable, connect the B type connector to the USB upstream port on the right back side of the monitor and the A type connector to the downstream port on the computer (Figure C.1a). -
Page 10: Raise And Lower Monitor Screen
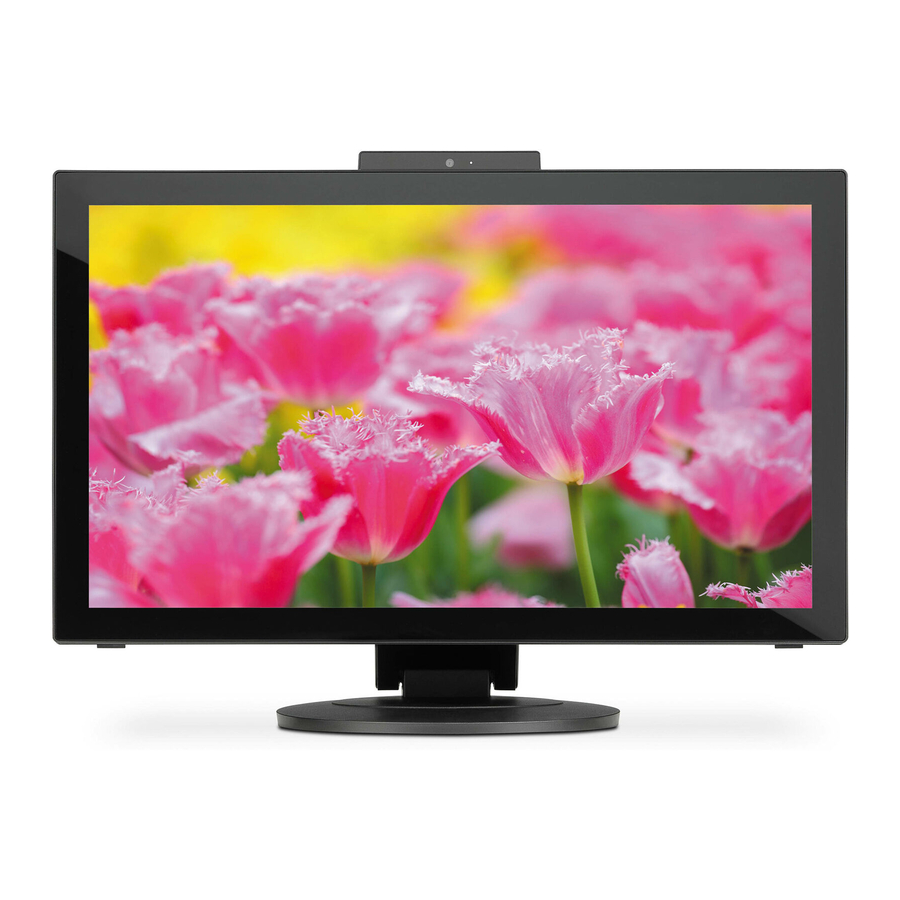
Camera The white light is lit up while Microphone the camera is in operation. Microphone DOWN Indicates that the power is on or off. AUTO MENU POWER Figure E.1 Raise and Lower Monitor Screen To raise or lower screen, place a hand on each side of the monitor and lift or lower to the desired height (Figure RL.1). NOTE: Handle with care when raising or lowering the monitor screen. -
Page 11: Remove Monitor Stand For Mounting
Remove Monitor Stand for Mounting To prepare the monitor for alternate mounting purposes: 1. Disconnect all cables. 2. Place a hand on each side of the monitor and lift up to the highest position. 3. Place monitor face down on a non-abrasive surface (Figure S.1). NOTE: Handle with care when the monitor is facing down. -
Page 12: Controls
Controls OSD (On-Screen Display) control keys on the side of the monitor function are as follows: To access OSD menu, press the MENU key. To change signal input, press the AUTO/EXIT key. NOTE: Exit OSD in order to change signal input. DOWN AUTO MENU... -
Page 13: English
BRIGHTNESS / CONTRAST Contrast (Only when Eco Mode Off) Adjusts the overall image and background screen brightness by input signal level. Brightness (Only when Eco Mode Off) Adjusts the overall image and background screen brightness. Eco Mode Decreases the amount of power consumption by reducing the brightness level. Off : No function. -
Page 14: Osd Setup
OSD Setup Timeout You can select how long the monitor waits after the last touch of a key to shut off the OSD menu. Language Selects the language used by the OSD. Extra Input Select Changes the video input source. Reset Allows you to reset all OSD control settings back to the factory settings. -
Page 15: Specifications
@ 75 Hz 1280 x 1024* @ 60 Hz to 75 Hz 1680 x 1050* @ 60 Hz 1920 x 1080 @ 60 Hz ........NEC DISPLAY SOLUTIONS cites recommended. Active Display Area Horiz.: 509.2 mm/20.0 inches Vert.: 286.4 mm/11.3 inches... -
Page 16: Troubleshooting
NOTE: As with all personal display devices, NEC DISPLAY SOLUTIONS recommends using a moving screen saver at regular intervals whenever the screen is idle or turning off the monitor when not in use. - Page 17 USB Hub does not operate • Check to make sure the USB cable is properly connected. Refer to your USB devise User’s Manual. • Check if the USB upstream port on the monitor is connected to the USB downstream port on the computer. And make sure the computer is ON.
-
Page 18: Tco Certified Displays 6
TCO Certified Displays 6 Congratulations! This product is TCO Certified – for Sustainable IT TCO Certified is an international third party sustainability certification for IT products. TCO Certified ensures that the manufacture, use and recycling of IT products reflect environmental, social and economic responsibility. -
Page 19: Manufacturer's Recycling And Energy Information
Dedicated recycling sites ensure that environmentally harmful components are properly handled and securely disposed. To ensure the best recycling of our products, NEC DISPLAY SOLUTIONS offers a variety of recycling procedures and gives advice on how to handle the product in an environmentally sensitive way, once it has reached the end of its life.
Need help?
Do you have a question about the MultiSync E232WMT and is the answer not in the manual?
Questions and answers