Table of Contents
Advertisement
Quick Links
Advertisement
Table of Contents

Related Manuals for Knoll HDP404


Summary of Contents for Knoll HDP404
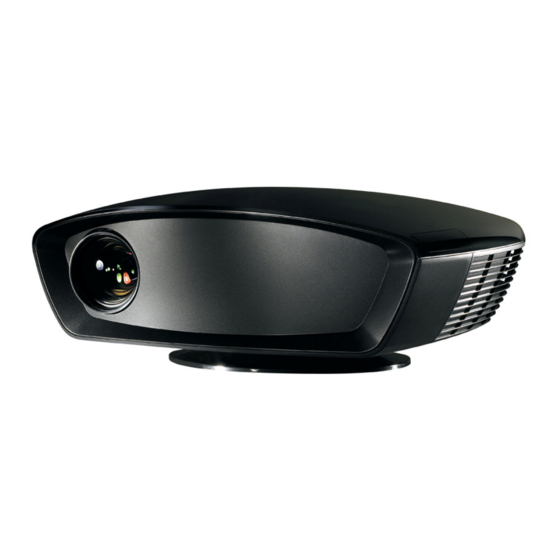
- Page 1 HDP404 1080p DLP™ Projector Users Manual v1.3...
- Page 2 This product is RoHS compliant. Declaration of Conformity Knoll Systems, 12140 Horseshoe Way, Richmond, BC V7A 4V5 We declare under our sole responsibility that this projector conforms to the following directives and norms: EMC Directive 89/336/EEC, Amended by 93/68/EEC EMC: EN 55022...
-
Page 3: Table Of Contents
Optimizing video images Customizing the projector Using the menus Picture menu Settings menu Maintenance Cleaning the lens Replacing the projection lamp Appendix Red LED behavior and projector errors Remote control discrete codes Projector dimensions Supported video formats RS-232 terminal specs Warranty Information... -
Page 4: Introduction
Locate the projector in a well-ventilated area without any obstructions to intake or • exhaust vents. Do not place the projector on a tablecloth or other soft covering that may block the vents. • Locate the projector at least 4' (1.2 m) away from any heating or cooling vents. - Page 5 Optional accessories can be found on our website at www.knollsystems.com, or at your retailer or dealer. 12 VDC triggers Rear Connector Panel S-video The projector provides the following connection options: • M1-DA/DVI (Digital Visual Interface) for DVI connection an M1-DA to DVI adaptor is required. Base Zoom ring Receiver (IR)
-
Page 6: Setting Up The Projector
NOTE: To ensure adequate cable access, do not place the projector within 6 inches (0.15 m) of a wall or other object. Position the projector on a flat surface (either on a table or ceiling mounted) at a right angle to the screen. -
Page 7: Projector Positioning
Position the projector the desired distance from the screen. The distance from the lens of the projector to the screen, the zoom setting, and the video format determine the size of the projected image. Projector Positioning The projected image becomes larger as the distance between the unit and screen increases. -
Page 8: Choosing The Aspect Ratio
Aspect ratio is the ratio of the image width to image height. HDTV and most DVDs are 16:9, which is the default for this projector. When in 4:3 mode the projector places black bars on both sides of the image. Native mode centers... -
Page 9: Connecting A Video Device
You can connect video devices such as VCRs, DVD players, camcorders, digital cameras, video game consoles, HDTV receivers, and TV tuners to the projector. Connect the audio from your video device to your stereo system to get sound. You can connect the projector to most video devices that can output video. -
Page 10: Digital Connections
HDMI cable into the video-out connector on the video device and into the HDMI connector on the projector. To display HDMI 1.3 with its deep color and 30-bit detail, a HDMI 1.3 source is needed. Please note the HDP410, HDP420 and HDP460 have no audio capabilities at all. -
Page 11: Adjusting The Image
Shutting down the projector Power Save The projector also has a Power Save feature that automatically turns the lamp off after no active sources are detected and no user interaction with the projector is performed for 20 minutes. By default, this feature is on. See page 21. -
Page 12: Troubleshooting Your Setup
Turning off the projector Press the Power button on the remote or keypad to turn the projector off. The lamp turns off and the LED blinks green for one minute while the fans continue to run to cool the lamp. While the LED is blinking green, the projector does not accept any user input. - Page 13 The following tables show common problems. In some cases, more than one possible solution is provided. Try the solutions in the order they are presented. When the problem is solved, you can skip the additional solutions.
- Page 15 When sending the projector in for repair, we recommend shipping the unit in its original packing material, or having a professional packaging company pack the unit. Please insure your shipment...
-
Page 16: Using The Remote Control
• Make sure the batteries are installed properly and are not dead. • Make sure you’re pointing the remote at the front of the projector or at the screen, not at the video device or the computer, and are within the remote range of 30 feet (9.14m). -
Page 17: Customizing The Projector
• Make sure your DVD player is set for a 16:9 television. See your DVD player’s user’s guide for instructions. Customizing the projector You can customize the projector for your specific setup and needs. See page 18 to page 21 for details on these features. • For rear projection, turn rear mode on in the Settings>System menu. -
Page 18: Picture Menu
Menu options are grayed out only if the source is selected but no signal is present. For example, if the projector is set to a video source but the source, such as a DVD player, is turned off video menu options are grayed out. - Page 19 If a hardware device, such as a DVD player, is not syncing properly with the projector, adjust this option to help it to sync when connected to the projector. Flesh Tone Correction: this modifies colors to make the skin complexion better.
-
Page 20: Settings Menu
These advanced controls have the same effect as contrast and brightness, but each controls a single color only. Video Standard: when it is set to Auto, the projector attempts to automatically pick the video standard based on the input signal it receives. (The video standard options may vary depending on your region of the world.) If the... - Page 21 Power Save: automatically turns the lamp off after no signals are detected for 20 minutes. After 10 additional minutes with no signal, the projector powers down. If an active signal is received before the projector powers down, the image is displayed.
- Page 22 • Freeze: takes a snapshot of the projected image. If you’re watching video, the source video continues to run but the image is frozen. • Source Info: the default effect. It opens a window with projector and source information. • Service Info: opens the Service info window.
-
Page 23: Maintenance
WARNING: To avoid burns, allow the projector to cool for at least 60 minutes before you replace the lamp. Be extremely careful when removing the lamp housing. In the unlikely event that the bulb ruptures, small glass fragments may be generated. -
Page 24: Remote Control Discrete Codes
Lamp Hours. See page 22 for details. Remote control discrete codes You can use these codes to program another remote to learn the projector’s remote functions. To activate discrete mode, press and hold the Custom button on the remote for 10 seconds. The backlight blinks twice when discrete mode is entered. -
Page 25: Rs-232 Terminal Specs
Supported video formats RS-232 terminal specifications Communication configuration To control the projector from and LCD control panel, connect RS-232 cable to the serial control connector on the projector and set your computer’s serial port settings to match this communication configuration. -
Page 26: Rs232 Command Format
RS232 COMMAND FORMAT All commands consist of 3 alpha characters followed by a request, all enclosed in parentheses. The request can be a read request (indicated by a “?”) or a write request (indicated by 1 to 4 ASCII digits). A read request format (AAA?) where starts the command denotes the command... -
Page 27: Supported Commands
Supported commands Function Aspect Ratio Auto Ceiling Enable Auto Color Gamut Enable Auto Color Space Enable ACS Auto Image Auto Power Enable Auto Source Enable Auto Video Standard Enable Black Level Calibration Blank Blank Screen Color Blue Gain Blue Offset Blue Only Enable Boot Version Brightness... - Page 28 Supported commands (continued) Function Gamma Table Green Color Offset Green Gain HDMI DDC Enable 1 HDMI DDC Enable 3 High Power Enable Horizontal Position Illuminating State Iris ISF Day Saved Status ISF Night Saved Status Keycode Entry Lamp Hours (Read only) Lamp Power Language Menu Enable...
- Page 29 SUPPORTED COMMANDS (CONTINUED) Function Power Up Source Presets Rear Project Red Color Offset Red Gain Screen Trigger Enable Sharpness Sleep Timer Sync Threshold Adjust Source Source 1 Program Source 2 Program Source 3 Program Source 4 Program Source 5 Program Source Advance Source Enable 0 Source Enable 1...
-
Page 30: Warranty Information
LIMITED WARRANTY Knoll Systems, Inc. (“Knoll”) warrants that each HDP404 (“the Product”) sold hereunder will conform to and function in accordance with the written specifications of Knoll. Said limited warranty shall apply only to the first person or entity that purchases the Product for personal or business use and not for the purpose of distribution or resale.
Need help?
Do you have a question about the HDP404 and is the answer not in the manual?
Questions and answers