Panasonic VL-W605BX Installation Manual
Wireless monitor
Hide thumbs
Also See for VL-W605BX:
- Operating instructions manual (56 pages) ,
- Operating instructions manual (56 pages)
Table of Contents
Advertisement
Thank you for purchasing a Panasonic product.
PLEASE READ BEFORE USE AND SAVE
LThis unit is an accessory unit for the VL-SW250BX and VL-MW250BX.
LYou must register this unit with your main monitor station before it can be used.
LThis Installation Guide describes only the steps needed to register and begin using the unit. Please
read the main monitor station's Operating Instructions for further details.
1-62, 4-chome, Minoshima, Hakata-ku, Fukuoka 812-8531, Japan
© Panasonic System Networks Co., Ltd. 2010
Installation Guide
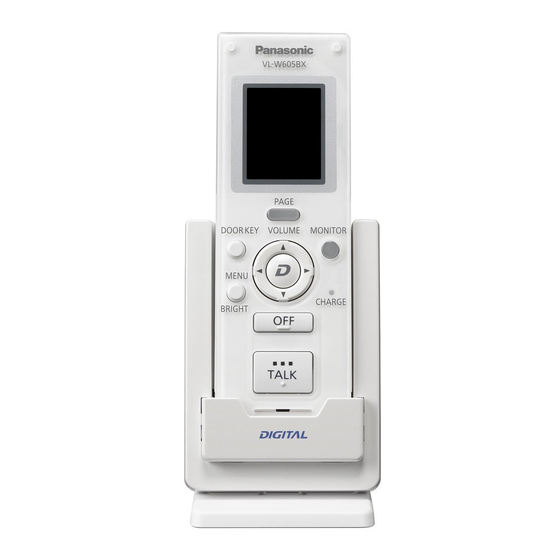
Wireless Monitor
VL-W605BX
Model No.
PNQX2914ZA
SV0910MM0
Advertisement
Table of Contents

Subscribe to Our Youtube Channel
Related Manuals for Panasonic VL-W605BX


Summary of Contents for Panasonic VL-W605BX
-
Page 1: Installation Guide
Wireless Monitor VL-W605BX Model No. Thank you for purchasing a Panasonic product. PLEASE READ BEFORE USE AND SAVE LThis unit is an accessory unit for the VL-SW250BX and VL-MW250BX. LYou must register this unit with your main monitor station before it can be used. -
Page 2: Table Of Contents
General Information Specifi cations ............................7 Product names used in this Installation Guide For plain explanation, the product names used in this guide are described as follows. Product fi gure VL-W605BX VL-MW250BX VL-V566BX Description in this guide Sub monitor station Main monitor station... -
Page 3: For Your Safety
Important Information For your safety To prevent severe injury and loss of life/property, read this section carefully before using the unit to ensure proper and safe operation of your unit. WARNING Power connection LUse only the power source marked on the unit. If you are not sure of the type of power supplied to your home, consult your dealer or local power company. -
Page 4: Charging The Sub Monitor Station
Preparation Charging the sub monitor station Insert the battery. A Align the terminals and insert. Terminals B Close the battery cover. LThe battery level is displayed Do not remove the pad at the back of the battery cover. Assemble the charger stand, and plug the AC adaptor into the power outlet (100 – 240 V AC). To assemble the charger stand A Plug the connector of the AC adaptor into the jack on the charger. -
Page 5: Registering The Sub Monitor Station To The Main Monitor Station (Registration)
Preparation Registering the sub monitor station to the main monitor station (REGISTRATION) Place the sub monitor station to be registered near the main monitor station and then operate the sub monitor station within 2 minutes in succession to the operations of the main monitor station. LCharge the sub monitor station to be registered for about 30 minutes before registration. -
Page 6: Canceling Registration Of The Sub Monitor Station (Cancellation)
Preparation Canceling registration of the sub monitor station (CANCELLATION) You can cancel the registration of a sub monitor station if you do not use it. Using the main monitor station {PAGE} {VOLUME} {MENU} {OFF} Press {MENU} (OK), then select the device Press {MENU}, then select “REGISTRATION/ number to be canceled by pressing CANCELLATION”... -
Page 7: Specifi Cations
General Information Specifi cations Sub monitor station Power supply: Ni-MH battery (3.6 V DC / 650 mAh) Dimensions: Approx. height 157 mm x width 52 mm x depth 35 mm (Excluding protruding sections) Mass (Weight): Approx. 175 g (including the battery) Operating environment: 0 °C to 40 °C, Up to 90 % RH (Relative Humidity) non condensing Display:... - Page 8 For your future reference Date of purchase Serial number (found in the battery compartment of the unit) Dealer’s name and address Dealer’s telephone number Attach your sales receipt here.
Need help?
Do you have a question about the VL-W605BX and is the answer not in the manual?
Questions and answers