Bose Lifestyle DVD Installation Manual
Home entertainment systems with vs-2 video enhancer
Hide thumbs
Also See for Lifestyle DVD:
- Operating manual (146 pages) ,
- Installation manual (136 pages) ,
- Owner's manual (82 pages)

Related Manuals for Bose Lifestyle DVD


Summary of Contents for Bose Lifestyle DVD
- Page 1 LIFESTYLE ® H O M E E N T E R T A I N M E N T S Y S T E M S w i t h V S - 2 V i d e o E n h a n c e r Installation Guide Guía de instalación Notice d’installation...
- Page 2 Please dispose of used batteries properly, following any local regulations. Do not incinerate. ©2007 Bose Corporation. No part of this work may be reproduced, modified, distributed, or otherwise used without prior written permission. For additional copyright, trademark, patent, and licensing information, please refer to pages at the back of this book.
-
Page 3: Table Of Contents
English Deutsch Español Français Italiano Nederlands Svenska ONTENTS NTRODUCTION YSTEM LACEMENT ASIC YSTEM ONNECTIONS IRST PERATION PTIONAL ONNECTIONS AND DDITIONS EFERENCE NTRODUCTION Welcome ................. . . Purpose of this guide . - Page 4 System model number (on the carton): LIFESTYLE _______ Series (if applicable) ______ Media center SN: __________________ VS-2 SN: ___________________ Acoustimass module SN: __________________ Dealer name:__________________________________ Dealer phone: ___________________Purchase date: ______________ Bose recommends that you keep your sales receipt and a copy of your Product Registration card together with this guide.
-
Page 5: Introduction
At this time, the website is provided in English only. For specific questions or help in assessing a problem, be sure to contact Bose directly. Refer to the contact list provided in the carton. -
Page 6: Unpacking The Carton
Unpacking the carton Carefully unpack your system and save all of the packing materials, which provide the safest means for shipping or transporting. If any product part appears damaged, do not attempt to use it. Notify Bose or your authorized Bose ®... - Page 7 English Deutsch Español Français Italiano Nederlands Svenska NTRODUCTION VS-2 video enhancer VS-2 cable HDMI cable S-Video cable Composite Stereo audio cable video cable Optical audio cable SCART adapter AM antenna FM antenna TV on/off sensor IR emitter cable ADAPTiQ ® audio calibration system...
-
Page 8: System
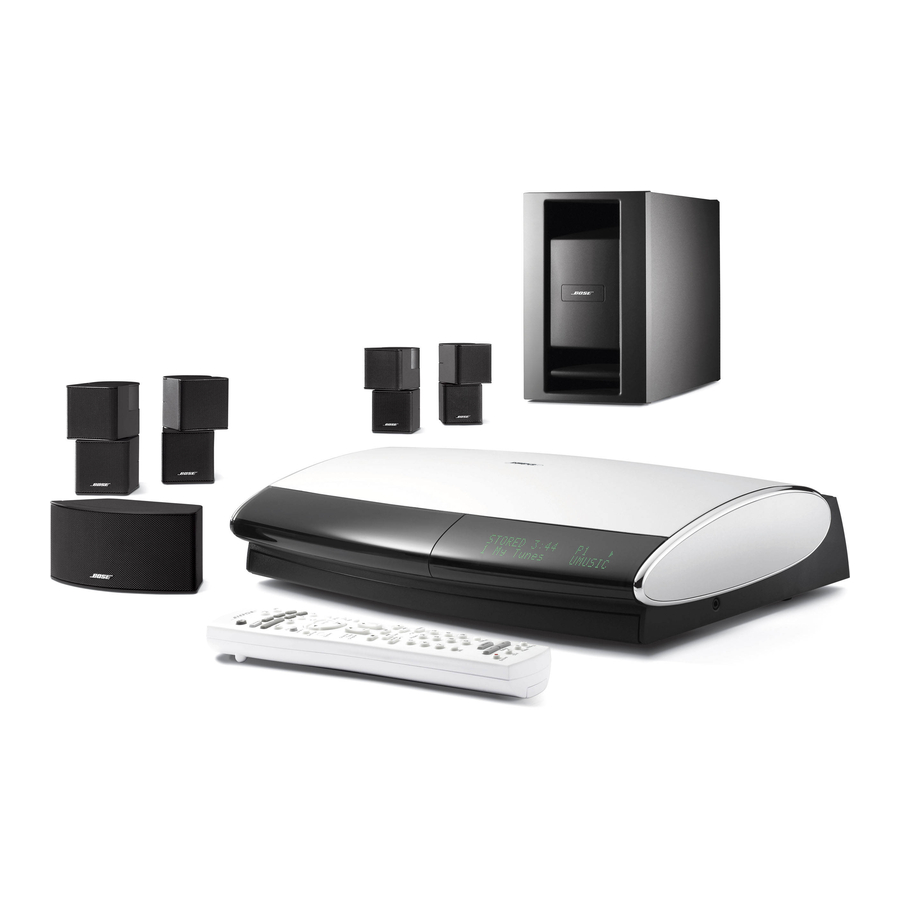
(Figure 1). You should try to arrange your system as close to this as possible. Placing your speakers and Acoustimass ® module properly is the first step to getting the full, rich Bose ® quality sound this system is designed to provide. Figure 1 System placement example... -
Page 9: Front And Rear Speaker Placement
® dealer or visit www.Bose.com. To contact Bose directly, refer to the contact list provided in the carton. CAUTION: Choose a stable and level surface for each speaker. Vibration can cause speakers to move, particularly on smooth surfaces like marble, glass, or highly polished wood. -
Page 10: Acoustimass Module Placement
Dansk Deutsch Español Français Italiano Nederlands Svenska English YSTEM LACEMENT ® Acoustimass module placement Place the module along the same wall as the TV or at the same end of the room as the front speakers. You can place it under a table or behind a cabinet, for convenience. However, do not put it where furniture or drapes block any openings on the module. -
Page 11: Hearing The Results Of Proper Placement
Note: If after placing the system you discover that you need additional cables, they are available from your local Bose dealer. Or, to contact Bose directly, refer to the contact list provided in the carton. If you prefer, you can order cables from our website: www.Bose.com. -
Page 12: Basic System Connections
Dansk Deutsch Español Français Italiano Nederlands Svenska English ASIC YSTEM ONNECTIONS This section provides a step-by-step approach to connecting the parts of the system together using the included cables. Performing the steps in order helps to ensure that all the basic connections are properly made. -
Page 13: Connect The Speaker Cables To The Speakers
English Deutsch Español Français Italiano Nederlands Svenska ASIC YSTEM ONNECTIONS Connect the speaker cables to the speakers The speakers you have are one of the two types shown here. They differ in how the cables connect to them. Before you start, route the cables around your room. To make the rear speaker cables reach each of the rear speakers, you can unzip the cables by simply pulling them apart. -
Page 14: Connect The Speaker Cables To The Module
To lengthen speaker cables, as needed, you can splice in 18-gauge or thicker cord (connecting + to + and – to –). Or, you can order heavy-duty speaker extension cables from Bose. To contact Bose directly, refer to the contact list provided in the carton. -
Page 15: Connect The Media Center To The Module
English Deutsch Español Français Italiano Nederlands Svenska ASIC YSTEM ONNECTIONS Connect the media center to the module Use the audio input cable, which has a multi-pin connector at each end, to connect the ® Acoustimass module to the media center. A. -
Page 16: Connect The Vs-2 Video Enhancer To The Media Center
Dansk Deutsch Español Français Italiano Nederlands Svenska English ASIC YSTEM ONNECTIONS Connect the VS-2 video enhancer to the media center To complete this connection, you need the power supply and the VS-2 cable. A. Insert the Serial Data plug into the Serial Data connector. B. -
Page 17: Connect Your Tv To The
English Deutsch Español Français Italiano Nederlands Svenska ASIC YSTEM ONNECTIONS Connect your TV to the VS-2 If possible, use an HDMI connection. This provides the highest video image quality. If your TV does not have an HDMI connector, use the type of connection that gives you the highest image quality possible. -
Page 18: Connect Video Source Outputs To Vs-2 Video Inputs
Dansk Deutsch Español Français Italiano Nederlands Svenska English ASIC YSTEM ONNECTIONS Connect video source outputs to VS-2 video inputs The VS-2 has video input connectors for a cable/satellite box (CBL-SAT), a VCR, and one other source (AUX). The type of video connection used for your TV determines the type of connection you can use for a video source: If the connection you made to your TV is: HDMI... -
Page 19: Connect Audio Source Outputs To Media Center Audio Inputs
English Deutsch Español Français Italiano Nederlands Svenska ASIC YSTEM ONNECTIONS Connect audio source outputs to media center audio inputs The media center has analog and digital audio inputs for your cable/satellite box, VCR, TV, and one other source. This step explains how to connect your sources using the analog audio input connections (Figure 11). -
Page 20: Connect Am And Fm Antennas To The Media Center
Dansk Deutsch Español Français Italiano Nederlands Svenska English ASIC YSTEM ONNECTIONS Connect AM and FM antennas to the media center The supplied AM and FM antennas connect to the rear panel of the media center (Figure 12). CAUTION: DO NOT connect your television antenna cable to the FM antenna jack. To connect the FM antenna A. -
Page 21: Connect The System To Power
AC power cord Note: Bose recommends using a high-quality surge suppressor on all electronics equipment. Voltage variations and spikes can damage electronic components in any system and the resulting damage may not be covered by the limited warranty. A quality suppressor can eliminate the vast majority of failures attributed to surges and may be purchased at electronics stores. -
Page 22: Install The Remote Control Batteries
Dansk Deutsch Español Français Italiano Nederlands Svenska English ASIC YSTEM ONNECTIONS Install the remote control batteries You need the four AAA (IEC-LR3) batteries to complete this step. A. Slide the battery compartment cover from the end of the remote (Figure 15). B. -
Page 23: First
English Deutsch Español Français Italiano Nederlands Svenska IRST PERATION This section guides you through turning on your system for the first time and playing the setup DVDs to validate and calibrate your system. Be sure to complete the “Basic System Setup” on page 12 before starting these steps: Page Prepare your TV ................... -
Page 24: Irst Time Peration
Open the ADAPTiQ audio calibration system carton ® ® Your system includes the Bose ADAPTiQ audio calibration system. It includes two compact discs and a special ADAPTiQ calibration headset (Figure 16). • Play both discs when all of the speakers are where you want them, your furnishings are arranged as intended, and all of the system connections are completed. -
Page 25: Play Disc 1
English Deutsch Español Français Italiano Nederlands Svenska IRST PERATION Play Disc 1 A. Lift up the media center front cover and press Open/Close on the control panel. B. Insert Disc 1 into the tray (label side up) and press Open/Close again. ®... -
Page 26: Disconnect The Adaptiq Headset
Dansk Deutsch Español Français Italiano Nederlands Svenska English IRST PERATION ® Disconnect the ADAPTiQ headset. ® Be sure to put the discs and headset back in the ADAPTiQ carton and store it in a safe place. If you move the system to another room or significantly change the arrangement of speakers or room furnishings, you can play Disc 2 again and calibrate your system in the new room environment. -
Page 27: Optional Connections And Additions
Note: When using a digital audio connection, be sure to maintain your analog connection, too. In this way, you ensure continuous sound when a digital signal is absent or interrupted. It also ® supports the use of a Bose link connection for expansion into other rooms. Making coaxial digital audio connections Using a 75Ω... -
Page 28: Using The Tv On/Off Sensor
Svenska Nederlands Français Italiano Deutsch Español English PTIONAL ONNECTIONS AND DDITIONS Using the TV on/off sensor The TV on/off sensor works with the system to automatically turn on the TV, as needed, when another video source (DVD, cable/satellite box, etc.) is selected. If you choose not to use the sensor, you need to turn on your TV separately. -
Page 29: Using The Ir Emitter
If your system does not respond to remote control commands, but you know the remote batteries are good, you may need to add an antenna extender to help the remote work within its specified range. To contact Bose to purchase an extender, refer to the address list included in the carton. -
Page 30: Using A Scart Adapter
Svenska Nederlands Français Italiano Deutsch Español English PTIONAL ONNECTIONS AND DDITIONS Using a SCART adapter The SCART adapter can be used to connect European TVs to your system (Figure 21). Use the appropriate adapter setting for the type of video signal your TV accepts: •... -
Page 31: Making Connections For Program Recording
English Deutsch Español Français Italiano Nederlands Svenska PTIONAL ONNECTIONS AND DDITIONS Making connections for program recording To record programs from your cable or satellite service, connect your cable/satellite box to your VCR or DVR. Before you start, make sure that your cable/satellite box and VCR/DVR have the necessary input and output connectors available. -
Page 32: Adding Audio Record/Playback Equipment
Svenska Nederlands Français Italiano Deutsch Español English PTIONAL ONNECTIONS AND DDITIONS Adding audio record/playback equipment Using a standard RCA stereo audio cable, you can connect external playback and recording equipment such as CD players and tape recorders to the rear panel of the media center. •... - Page 33 English Deutsch Español Français Italiano Nederlands Svenska PTIONAL ONNECTIONS AND DDITIONS To connect record/playback equipment Connect the Audio OUT connectors on the media center to the RECORD INPUT connectors on the recording equipment (Figure 24). • Connect the PLAY OUTPUT on the playback equipment to the AUX Audio IN connectors on the media center.
-
Page 34: Reference
Deutsch Español Français Italiano Nederlands Svenska English EFERENCE Mounting the VS-2 video enhancer For convenience, the VS-2 video enhancer can be mounted on a wall. Required tools Required hardware For solid wood No. 8 x 1½-inch (S6 x 36 mm) wood screws -inch (3.5 mm) drill bit For wallboard... -
Page 35: Enjoying Your System In Other Rooms
From this one system, you can play two different sources in different areas of your house at the same time, indoors and out. For this purpose, Bose offers you the AL8 homewide wireless audio link or two types of cables that connect to the Bose link jack: ®... -
Page 36: Making Them All Work Together
LIFESTYLE system sound on other audio equipment in other rooms, without the bother of running wires there. You can add up to seven additional receivers, available as the Bose link AR-1 wireless audio receiver. • Speaker mounting brackets and stands... -
Page 37: Contacting Customer Service
It also allows us to send you infor- mation about new products and special offers from Bose. Follow the instructions on your Product Registration card to register by mail, on the Internet, or by phone. - Page 38 Svenska English EFERENCE Media center outputs ® SPEAKERS, MAIN and BOSE LINK: Variable audio, user selectable AUDIO OUT L and R, fixed audio, 2 Vrms maximum DIGITAL AUDIO OUT: SPDIF OPTICAL OUTPUT: SPDIF, –15 to –21 dbm COMPOSITE VIDEO: NTSC or PAL 1V with sync 75Ω...
- Page 39 ©2007 Bose Corporation, The Mountain, Framingham, MA 01701-9168 USA 305446 AM Rev.00 Y2N...
Need help?
Do you have a question about the Lifestyle DVD and is the answer not in the manual?
Questions and answers