Advertisement
Quick Links
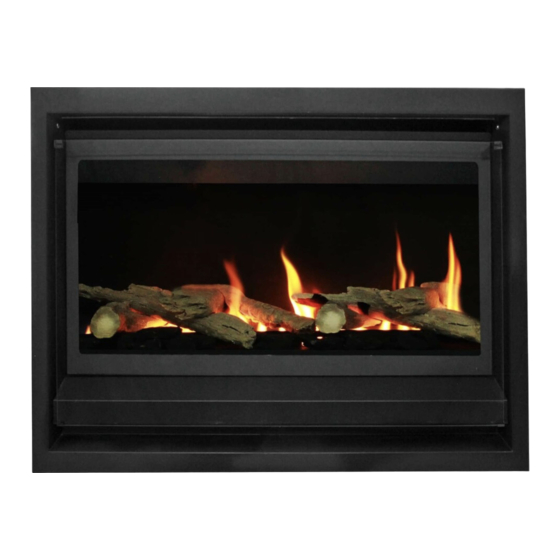
Real Fires Standard Range Installation Instructions
Model 700
INSTALLATION INTO EXISTING MASONRY FIREPLACE
Ventilation
Ventilation to the room that houses the fire must meet the requirements of NZS5261
Fireplace cavity and chimney inspection.
Real Fires are designed for installation into an existing masonry fireplace and
chimney.
Prior to installation the fireplace should be measured and a suitable size Real Fire
selected. In most situations the fireplace will require masonry alteration to
accommodate the firebox. See installation drawing.
The chimney will need to be inspected for suitability and checked for draw. Ensure it
complies with a minimum height of 2.4 Metres. The top of the chimney is a minimum
vertical clearance of 900mm from the roofline and 2 Metre horizontal clearance from
any roofline or any other part of the building. see cowl clearance drawing
The chimney should be swept prior to installation.
New Masonry Block Chimney
Installation of a Real Fire into a new masonry chimney may require installation with
an insulation kit and flue kit. This will also involve leaving the fireplace opening
1200mm high to allow installation. The method of installation is as per timber frame
installations. Please consult Real Fires in this situation for advice prior to
installation.
Hearth
A non combustible Hearth must be provided in front of the Real Fire unless the
flooring in front of the fire is non combustible. The minimum size is 300mm out from
the fire and 150mm each side wider than the fire.
Height of fire from floor
It is important to confirm the height the fire is going to be installed above the floor.
This is usually the hearth height. For example if the hearth is going to be 100mm high
then the base of the fireplace cavity usually needs to be the same height. (note- some
elevated installations specify the fire higher than the hearth).
It is important that the base of the cavity is plastered smooth and level.
Gas supply
A suitable gas supply needs to be provided at the right hand rear corner of the
fireplace cavity. The pipe sizing should be calculated to supply gas to suit the
megajoule rating of the fire. See rating chart. The gas supply should be reduced down
to 10mm copper pipe at the fireplace location and left with a 10mm coil of approx
1metre to feed into the firebox.
Advertisement

Related Manuals for Real Fires 700

Summary of Contents for Real Fires 700
- Page 1 Ventilation to the room that houses the fire must meet the requirements of NZS5261 Fireplace cavity and chimney inspection. Real Fires are designed for installation into an existing masonry fireplace and chimney. Prior to installation the fireplace should be measured and a suitable size Real Fire selected.
- Page 2 Gas Rate Chart Model Natural Gas 36 MJ/h 38 MJ/h 34 MJ/h 39 MJ/h 42 MJ/h 40 MJ/h 50 MJ/h 40 MJ/h 1000 51 MJ/h 47 MJ/h 1200 65 MJ/h 53 MJ/h Electrical supply An electrical supply will required for fires fitted with the optional Fan Set or Electric On/Off.
- Page 3 Installation instructions- Firebox continued As the fire is positioned into the masonry cavity, the 10mm copper gas pipe is pushed through the hole at the right hand rear of the firebox (RH from the front of the fire) This pipe is to be connected to the burner after firebox installation. Apply high temperature sealant to the back of the flange around the front of the firebox.
- Page 4 If a fan has been selected with the fire, it will already be fitted in the firebox at the factory. It is controlled by a wall switch, which should be fitted by an electrician. There is no switching on the fire and the wall switch is not suppled by Real Fires. Fitting Trim to firebox Fit the Stainless Steel or Black trim to the firebox.
- Page 7 Real Fires Log and Coal Layout This drawing is a typical example of the log and coal layout on a Real Fire 800 The layout is basically the same for all models with logs and coals decreased or increased in width to suit the size of fi...
- Page 8 Real Fires Standard Range installation instructions Model 700 INSTALLATION INTO TIMBER FRAMING AND NEW MASONRY BLOCK CONSTRUCTION New Masonry Block The following instructions are for installation into timber frame. The method of installation is the same for New Masonry Block.
- Page 9 When installed into timber framing the Real Fire must be installed with an insulation kit. This must be ordered with the fire and fitted in the factory by Real Fires. The insulation kit allows the firebox to be installed with minimal timber clearances: 10mm clearance on sides of firebox and 25mm clearance from rear and top of firebox The timber clearance from the twin wall flue is also 25mm.There is no requirement...
- Page 10 (Please ensure the electrical leads are not left behind the firebox and overlooked. It is difficult to gain access once the giboard is fixed) Timber surround If a timber surround is to be fitted, ensure it complies with Real Fires minimum clearance dimensions. See installation drawing Installation of Real Fires burner into firebox The burner is supplied boxed complete with, firebox reflectors, grate, ash cover, vermiculite, logs, &...
- Page 11 Connect the gas pipe. Test for soundness. Remove plastic protective film from side reflectors. Position reflectors each side of firebox and fit the front Grate onto the brackets at the front of the burner. The Grate holds the reflectors in place. Natural Gas Burner Fill the burner tray with the vermiculite supplied ensuring the burner tube is completely covered.
- Page 12 There is no electrical switching within the fire and the wall switch is not supplied by Real Fires. Once the installation is complete, instruct the user on the operation of the fire and complete commissioning details in Real Fires user manual. All installations must be Certified...
- Page 16 Real Fires Log and Coal Layout This drawing is a typical example of the log and coal layout on a Real Fire 800 The layout is basically the same for all models with logs and coals decreased or increased in width to suit the size of fi...
Need help?
Do you have a question about the 700 and is the answer not in the manual?
Questions and answers
My real fire 700 keeps turning itself off
The Real Fires 700 may keep turning itself off if the logs and coals are placed too tightly or too close to the pilot, affecting heat output and flame travel across the burner. Repositioning may be required to ensure proper operation.
This answer is automatically generated