
Related Manuals for Makita 3803A


Summary of Contents for Makita 3803A
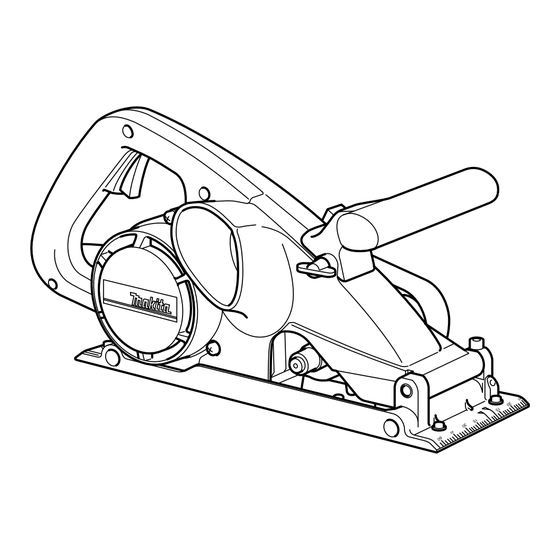
- Page 1 Groove Cutter MODEL 3803A 004818 I N S T R U C T I O N M A N U A L WARNING: For your personal safety, READ and UNDERSTAND before using. SAVE THESE INSTRUCTIONS FOR FUTURE REFERENCE.
-
Page 2: Specifications
SPECIFICATIONS Model 3803A Max. cutter blade size 46 mm x 120 mm (1-13/16” x 4-3/4”) Max. cutting depth 31 mm (1-7/32”) No load speed (RPM) 9,000/min. Overall length 411 mm (16-3/16”) Net weight 6.8 kg (15 lbs) • Manufacturer reserves the right to change specifications without notice. -
Page 3: Personal Safety
5. Avoid body contact with grounded sur- 14. Use safety equipment. Always wear eye faces such as pipes, radiators, ranges and protection. Dust mask, non-skid safety refrigerators. There is an increased risk of shoes, hard hat, or hearing protection must electric shock if your body is grounded. - Page 4 SERVICE 24. When servicing a tool, use only identical replacement parts. Follow instructions in 23. Tool service must be performed only by the Maintenance section of this manual. qualified repair personnel. Service or main- Use of unauthorized parts or failure to follow tenance performed by unqualified personnel Maintenance instructions may create a risk of could result in a risk of injury.
-
Page 5: Specific Safety Rules
SPECIFIC SAFETY RULES USB084-1 DO NOT let comfort or familiarity with product (gained from repeated use) replace strict adherence to groove cutter safety rules. If you use this tool unsafely or incorrectly, you can suffer serious personal injury. 1. Inspect for and remove nails or foreign 9. -
Page 6: Functional Description
FUNCTIONAL CAUTION: DESCRIPTION • Always be sure that the tool is switched off and unplugged before adjusting or checking function on the tool. Adjusting the depth of cut 004819 Loosen the knob on the belt cover. Move the handle up or down until the indication plate indicates the graduation for the depth of cut desired. - Page 7 • When using cutter blades 110 mm (4-3/8”) in diameter, 004822 simply re-install the indication plate upside down and adjust it so that it points to the “0” graduation. 1. When using cutter blades 110 mm (4-3/8”) in dia. 2. Depth indicator 3.
- Page 8 Installing or removing cutter blade 004825 To remove the cutter blade, loosen the wing bolt and take off the cutter cover. Hold the outer flange with wrench 21 and loosen the hex nut with wrench 19 by turning counterclock- wise. Remove the hex nut, outer flange and cutter blade. 1.
- Page 9 Side plates The side plates help to prevent splintering of workpiece. This tool is equipped with two side plate 21 - 30 (originally installed on the tool), a side plate 2.4 - 18 (provided as a standard equipment) and a side plate 33 - 46 (provided as a standard equipment).
- Page 10 Align the right side of the cutting blade with the cutting line. 004831 Move the guide rule until the shiplapping attachment con- tacts the side of the workpiece. Then tighten the wing bolt firmly to secure the guide rule. 1. Depth of cut 2.
-
Page 11: Operation
Dado cutting guide rule (optional accessory) 004834 Firmly clamp a straight board to the workpiece parallel to the cutting line and use it as a guide against the dado cutting guide rule. Adjust the dado cutting guide rule so that the arrow on the scale plate is aligned with the cutting line. -
Page 12: Maintenance
To maintain product SAFETY and RELIABILITY, repairs, any other maintenance or adjustment should be performed by Makita Authorized or Factory Service Centers, always using Makita replacement parts. 1. Screwdriver 2. Brush holder cap... - Page 13 CAUTION: • These accessories or attachments are recommended for use with your Makita tool specified in this manual. The use of any other accessories or attachments might present a risk of injury to persons. Only use accessory or attachment for its stated purpose.
- Page 14 Memo...
- Page 15 Memo...
- Page 16 Memo...
- Page 17 Stamp Timbre Makita Canada Inc. 1950 Forbes Street, Whitby, Ontario L1N 7B7 Fold...
- Page 18 Your answers to the following questions are appreciated. 1. This product was purchased from? 3. How did you first learn of Makita Power Tools? Hardware/lumber Store Industrial Supply Magazine/Newspaper Catalog Tool Distributor Other ( From dealer Other ( Store display 2.
- Page 19 When you need service... DATE • Explain the problem in a letter PURCHASED: • Enclose the letter with the tool DEALER’S NAME • Package carefully and send prepaid & ADDRESS: to the nearest Makita factory or authorized service centre MODEL NO.: SERIAL NO.:...
-
Page 20: Warranty Policy
WARRANTY. “The Makita Warranty is the only and the entire written warranty given by Makita for the Makita tools. No dealer or his agent or employee is authorized to extend or enlarge upon this warranty by any verbal or written statement or advertisement.”...
Need help?
Do you have a question about the 3803A and is the answer not in the manual?
Questions and answers