Table of Contents
Advertisement
Quick Links
Download this manual
See also:
Instruction Manual
Advertisement
Table of Contents

Related Manuals for Celestron COSMOS 44362


Summary of Contents for Celestron COSMOS 44362
- Page 1 L C D D I G I T A L M I C R O S C O P E INSTRUCTION MANUAL MODEL #44362 ENGLISH ENGLISH...
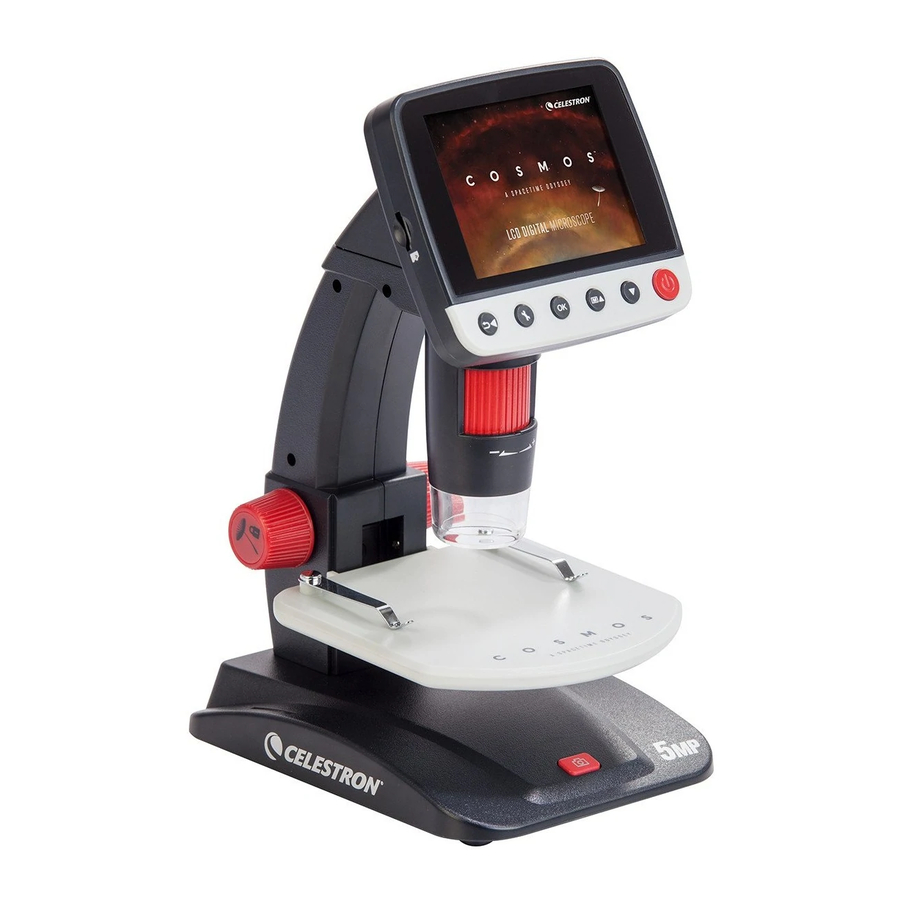
- Page 2 2. INTRODUCTION Thank you for purchasing the Cosmos LCD Digital Microscope by Celestron with a 5MP sensor and 3.5” color LCD screen. Your microscope is a precision optical instrument, made of the highest quality materials to ensure durability and long life. It is designed to give you a lifetime of pleasure with a minimal amount of maintenance.
- Page 3 PARTS FUNCTION 1. 3.5” Full Color LCD display 2. MicroSD card slot 3. Focus Wheel 4. Microscope Tube 5. Stage 6. Stage Lock Wheel 7. Stage Height Adjustment Wheel 8. Capture Button 9. LED Illuminator Adjustment Wheel 11. 5v DC In port 12.
-
Page 4: Specifications
AC Adapter 44362: (multi country plug)- 100 to 240V- 50/60Hz Software On unit: Imaging software with zoom and timer features On CD (for computers): Celestron Portable CapturePro (with measuring and note-taking features) Operating Systems Supported Windows: Windows XP/Vista/7.0/8.0 Mac: OSX 10.6-10.8... -
Page 5: Install Battery
3. SETUP INSTALL BATTERY Open the Battery Compartment and insert the Lithium battery, making sure to align the connection points correctly. NOTE: Although the battery has a partial charge, if you are going to use the microscope with the battery only, be sure to charge the battery first. Refer to section 3.E below for more details on charging the battery INSERT MICRO SD CARD To capture images with your microscope while NOT connected... -
Page 6: Display Icons
DISPLAY ICONS Small Image Capture MicroSD Card Recognized Video Capture Video Capture Setting Time Lapse Capture Current Resolution Setting Battery Power Indicator Number of Images Taken/Number of Images Remaining Video Capture Time Remaining (Hours:Minutes:Seconds) NOTE: The Display Icons can be turned off by pressing the Zoom Button (10) inward. CHARGE THE BATTERY Plug the small end of the power adapter into the DC In port (11) located on the back of the unit. - Page 7 4. OBSERVING AND CAPTURING IMAGES: DIGITAL IMAGING A. Make sure your Cosmos, LCD Digital Microcope is powered ON. Put object onto the stage B. Place your specimen on the stage (5). If your object is thin C. Rotate the Stage Height Adjustment Wheel (7) to bring enough, secure it to the stage using the chrome clips.
- Page 8 5. SOFTWARE FEATURES REVIEW SAVED IMAGE FILES To play back video or review a still image, simply press and hold the Playback/Left button on the LCD housing. The following screen will appear with 3 choices: 1. Delete 2. Protect 3. Slide Show DELETE IMAGE FILES This choice deletes the selected image/video or ALL images.
-
Page 9: Slide Show
PROTECT IMAGE FILES This choice allows you to ‘lock’ and ‘unlock’ the selected image/video file or ALL images/video files on disk for protection. SLIDE SHOW This choice creates a slide show using all the image files on the MicroSD card. Select Slide Show, and then choose the interval between each image. -
Page 10: Digital Zoom
4. Stage Lock Wheel NOTE: Refer to section 5.E in this manual for instructions on installing and using 5. Power button the Celestron Portable CapturePro Software NOTE: When you connect to a computer via USB, the lithium battery will charge. NOTE: Once the software is launched, the LCD screen will go blank and you will begin controlling the microscope with the computer. -
Page 11: Resolution Setting
CONNECT TO TV cable into the Cosmos Microscope’s AV OUT port located Video-in on TV monitor on the back of the base. of your television’s yellow video input connectors. NOTE: Refer to your television’s manual to locate your TV’s video connector. Video-out to the appropriate input channel.) viewing on your television screen. - Page 12 In video mode, choices are: - VGA - QVGA TIME LAPSE SETTING FRAMES: In this window, you will set the number of frames you want to take. NOTE: The number above represents 32 frames. INTERVAL: In this window the interval between shots is set.
- Page 13 SHARPNESS Sharpness increases the differences the imaging process detects between the edges of the pixels. There are no rules when it comes to the sharpness settings. Experiment to find out which works best for your specimens. The Sharpness choices are: 1.
-
Page 14: Power Save
POWER SAVE Power Save allows you to conserve battery power by setting the unit to turn off automatically. The choices for times are: 1. OFF: Power Save feature is off; unit will not turn off automatically 2. 5 min.: Unit will turn off after 5 minutes of non-use 3. -
Page 15: System Reset
DATE/TIME Here you can set the correct Date and Time You can also choose from the following date display options: - YY/MM/DD - DD/MM/YY - MM/DD/YY SD CARD From this screen, you can format your MicroSD card. You should format your MicroSD before using it for the first time. NOTE: During formatting, ALL files will be erased from the card. -
Page 16: Care And Maintenance
7. MULTI-PLUG (OPTIONAL) There are 3 interchangeable plug heads that will fit outlets in Europe, the United Kingdom, Hong Kong and China. To change the plug head: - Grasp the main plug housing with one hand and the plug head of choice with the other. - Press the small button release on the plug housing (circled in below image). -
Page 17: Troubleshooting
The battery is not charging. 10. WARRANTY Your Cosmos Digital LCD Microscope has a two year limited warranty. Please visit the Celestron website for detailed information on all Celestron microscopes: www.celestron.com FCC Statement :This equipment has been tested and found to comply with the limits for a Class B digital device, pursuant to part 15 of the FCC Rules.
Need help?
Do you have a question about the COSMOS 44362 and is the answer not in the manual?
Questions and answers