
Subscribe to Our Youtube Channel
Related Manuals for Bionaire BSF1609RC


Summary of Contents for Bionaire BSF1609RC
- Page 1 ™ 16” Dual Oscillating STAND FAN Oscilación Dual 16” VeNTilADor De PeDeSTAl BSF1609RC MODEL/MODELO: iNSTrUCTioN MANUAl MANUAl De iNSTrUCCioNeS...
-
Page 2: Safety Instructions
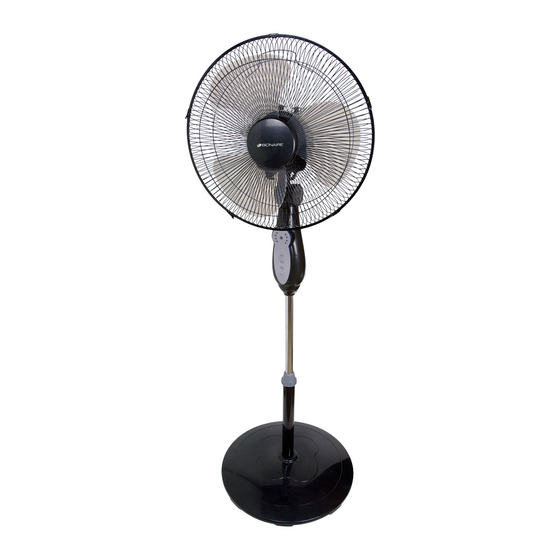
DeSCriPTioN oF eNGliSH THe APPliANCe reAD AND SAVe THeSe iMPorTANT A. Logo Plate SAFeTY iNSTrUCTioNS B. Hanging Grill Clip C. Front Grill D. Fan Blade Cap When using electrical appliances, basic safety E. Fan Blade precautions should always be taken including the following: F. - Page 3 ASSeMBlY Fig. 2 iNSTrUCTioNS (See FiGUre 1) Estimated assembly time: 10-15 minutes NoTe: MAKE SURE YOU REMOVE ALL CONTENTS 1. Speed Setting FROM THE PACKAGE. PLEASE CHECK LEDs PACKAGING MATERIALS FOR PARTS THAT 2. Timer Setting COULD BE REQUIRED TO OPERATE YOUR FAN. LEDs 1.
- Page 4 1. To operate your fan in a horizontal plane push • Do not discard used batteries into household the OSCILLATION PLUG H down and pull the trash containers. Contact your local government OSCILLATION PLUG V up. for disposal or recycling practices in your area. 2. To operate your fan in a vertical plane push ADJUSTMeNT iNSTrUCTioNS the OSCILLATION PLUG V down and pull the OSCILLATION PLUG H up.
- Page 5 DeSCriPCiÓN Del eSPAñol ArTeFACTo Por FAVor leA Y GUArDe eSTAS A. Placa con el Logotipo iNSTrUCCioNeS B. Gancho Colgante de la Rejilla C. Rejilla Frontal iMPorTANTeS D. Tapa de las Aspas del Ventilador E. Aspas del Ventilador Cuando se utilizan artefactos eléctricos, se deben seguir F.
- Page 6 iNSTrUCCioNeS PArA Fig. 2 eNSAMBlAr (Ver FiGUrA 1) 1. Ajuste de Velocidad con luz indicadora Tiempo estimado de ensamblaje: 10-15 minutos 2. Ajuste de NoTA: ASEGÚRESE DE RETIRAR TODO EL Temporizador con CONTENIDO DEL PAQUETE. POR FAVOR REVISE luz indicadora LOS MATERIALES DE ENSAMBLAJE DE LAS 3.
- Page 7 1. Para hacer funcionar el ventilador en un plano • No mezcle pilas nuevas y viejas. No mezcle horizontal empuje la CLAVIJA DE OSCILACIÓN H baterías alcalinas, estándar (carbón-zinc) o hacia abajo y hale la CLAVIJA DE OSCILACIÓN baterías recargables. V hacia arriba. • No deseche las baterías usadas en contenedores 2. Para hacer funcionar el ventilador en un plano de basura de su casa.
- Page 8 ™ ©2010 Sunbeam Products, Inc. All rights reserved. Distributed by Sunbeam Latin America, LLC, 5200 Blue Lagoon Drive, Suite 470, Miami, FL 33126. One year limited warranty – please see insert for details. ©2010 Sunbeam Products, Inc. Todos los derechos reservados. Distribuido por Sunbeam Latin America, LLC, 5200 Blue Lagoon Drive, Suite 470, Miami, FL 33126.
Need help?
Do you have a question about the BSF1609RC and is the answer not in the manual?
Questions and answers