Advertisement
Quick Links
Advertisement

Related Manuals for Art TPatch Artcessories


Summary of Contents for Art TPatch Artcessories
- Page 1 Eight Point Balanced Patch Bay Artcessories User's Manual...
- Page 2 IMPORTANT SAFETY INSTRUCTION – READ FIRST This symbol, whenever it appears, This symbol, whenever it appears, alerts you to important operating alerts you to the presence of and maintenance instructions in uninsulated dangerous voltage the accompanying literature. inside enclosure-voltage that may be Please read the manual.
- Page 3 Installation: Install the unit in accordance with the instructions printed in the user guide.
- Page 4 PA, AV and home theater, and live sound. The compact black-anodized all aluminum case and it’s passive design allow the TPatch to provide years of trouble free service. It’s full feature set and rugged construction make the ART TPatch the obvious choice.
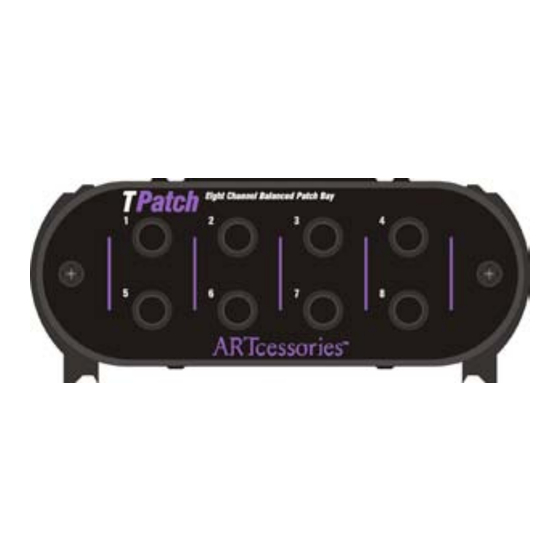
- Page 5 FEATURES: • Eight points of balanced direct signals • Four channels of linked input/output pairs • Switchable half normal and normal modes of operation (with through type connections) • 1/4" TRS phone jack connectors • Rugged extruded aluminum case...
-
Page 7: Using A Patch Bay
USING A PATCH BAY: Although the ART TPatch, like all patch bays, is conceptually a simple device, there is a lot in the terminology and usage conventions that can potentially cause confusion. Each vertical grouping of two jacks on the front of the unit and the corresponding two jacks and... - Page 8 All connections start at the rear of the unit. By convention, the top jacks are inputs and are connected to audio sources or sends and the bottom jacks are outputs and are connected to audio destinations or receives (see left diagram above). With no connections at the front of the unit, the vertical pair of rear panel jacks are connected together internally.
- Page 9 signal coming into the top rear jack, as shown in case C. Finally, we can plug into both front jacks and get two independent through signal paths where the original source goes to a new destination and the original destination gets a new source as shown in case D. With the rear panel pushbutton pushed in (Normal), the Normal mode is selected (refer to the Normal diagram above).
-
Page 10: Specifications
SPECIFICATIONS: Connectors: 1/4" TRS balanced phone jacks CMRR: > -90 dB (typical) Isolation: > -80 dB (typical) Dimensions HxWxD (in): 1.85 x 4.6 x 3.9 HxWxD (mm): 47 x 117 x 99 Weight ( lbs/kg): 0.84 / 0.38... -
Page 11: Warranty Information
This warranty is void if the serial number is altered, defaced, or removed. ART reserves the right to make changes in design or make additions to or improvements upon this product without any obligation to install the same on products previously manufactured. - Page 12 or consequential damages, so the above limitation or exclusion may not apply to you. This warranty gives you specific rights and you may have other rights, which vary, from state to state. The warranty terms listed above are only valid within the United States of America. For units purchased outside the United States, an authorized distributor...
- Page 13 You may want to consult with your dealer for assistance in troubleshooting or testing your particular configuration. If you believe that the ART unit is at fault, go to www.artproaudio.com. Select "Support", then "Return Authorization Request"...
- Page 14 www.artproaudio.com E-mail: support@artproaudio.com © 2014 Applied Research & Technology TPATCH...
- Page 15 TPAT-5004-101 V1.1...
Need help?
Do you have a question about the TPatch Artcessories and is the answer not in the manual?
Questions and answers