Table of Contents
Advertisement
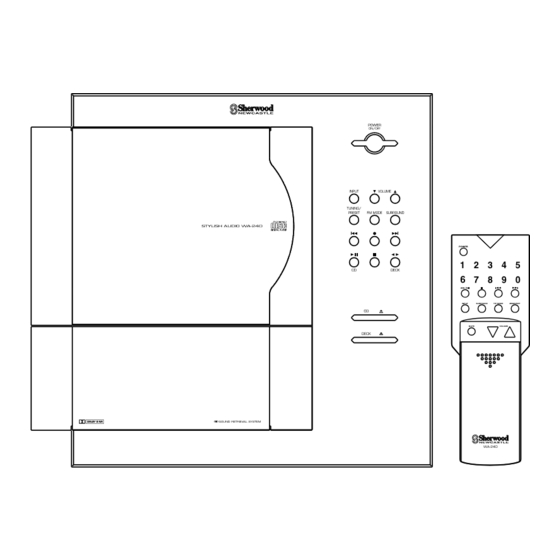
OPERATING INSTRUCTIONS
STYLISH AUDIO WA-240
SOUND RETRIEVAL SYSTEM
STYLISH AUDIO SYSTEM
WA-240
❏ STEREO INTEGRATED AMPLIFIER
❏ STEREO FM TUNER & TIMER
❏ COMPACT DISC PLAYER
❏ STEREO CASSETTE DECK
SP-240
❏ BASS REFLEX TYPE 2 WAY-
2 SPEAKER SYSTEM
POWER
ON/OFF
INPUT
VOLUME
TUNING/
PRESET
FM MODE
SURROUND
POWER
CD
DECK
INPUT
SURROUND
T/P MODE
MEMO/SET
CD
MUTE
VOLUME
DECK
WA-240
Advertisement
Table of Contents


Need help?
Do you have a question about the WA-240 and is the answer not in the manual?
Questions and answers