Table of Contents
Advertisement
Advertisement
Table of Contents

Subscribe to Our Youtube Channel
Related Manuals for Magicar M871A


Summary of Contents for Magicar M871A
- Page 1 MAGICAR M871A Car alarm with two-way remote ● User’s guide...
-
Page 2: Table Of Contents
MAGICAR M871A Car alarm with two-way remote User’s guide TABLE OF CONTENTS Table of contents ........................2 Important notice......................... 4 Introduction........................4 Remote control ........................4 3.1. Display of remote control ..................5 ... - Page 3 Alarm activation ....................... 14 5.1. Shock sensor trigger ................... 14 5.2. Additional sensor trigger ................14 5.3. Theft function (door, hood or trunk trigger) ............14 5.4. Engine start blocking ..................... 14 ...
-
Page 4: Important Notice
MAGICAR M871A offers options to enter the valet mode using a 2-digit PIN code and to disarm the alarm using a 4-digit code entered via RPS sensor. -
Page 5: Display Of Remote Control
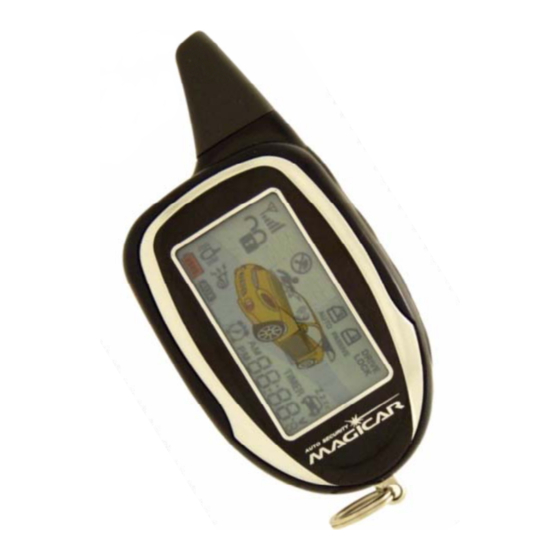
3.1. Display of remote control The two-way remote control is equipped with a color LCD display, which non-stop informs the owner of the car’s status. Using various icons the remote always provides exact information about what is actually happening to the car. 3.2. -
Page 6: Button Functions Description
3.3. Button functions description Pressing Button Description Function time 0,5 s Page 7 Arming/disarming 0,5 s Page 9 AUX 1 on/off 2x short Page 8 Remote vibrating on/off presses 0,5 s Page 9 AUX 2 on/off 2x short Page 9 Backlight of remote is turned on for 10 Sec. -
Page 7: Control
4. Control Every command from the remote control accepted by alarm is confirmed by the remote. If not, you are out of range. In the following text - • Short press = 0,5 seconds. • Long press = 2 sec ( or 4 sec) By pressing any button, on the remote control display there will appear an antenna symbol which means signal has been transmitted. -
Page 8: Vibrating Mode On/Off
If in the arming mode the alarm has gone off because of: • Opened doors, hood, trunk, additional sensor, 2 - shock sensor zone Then when turning the alarm off, the lights will flash 4x and siren with the remote will beep 4x. -
Page 9: Turning Aux1 On
the windows, turning the light on/off, and other features. Ask for more info at your service centre. Turning AUX outputs on/off It is necessary to enable this function before using AUX outputs. Keep buttons III + IV pressed • Icon will appear on display •... -
Page 10: Parking Timer
Car’s indoor temperature indication: If you have connected the temperature sensor with your alarm, the remote will display the actual temperature inside the vehicle (°C/°F). However, if you haven’t connected it, the remote will display “FAIL”. The temperature sensor can be placed at any place of car interior. Car battery voltage check: If you press button lV one more time, the remote will display car battery voltage (for example “12,6 V”) -
Page 11: Panic Mode
Button IV ––- 4.9. PANIC m Panic mode activation: Keep button IV pressed for 4 seconds. The door will lock, lights will flash and the siren will be hooting for 1 minute 30sec. „PANIC“ symbol will be flashing on display for 30 seconds. By a short press of button I you will turn PANIC mode off. -
Page 12: Turning Additional Sensors Off
Buttons (I + III) –- 4.12. Turning additional sensors off You can use this function if you do not wish the alarm to react to shock sensor and other additional sensors during armed mode Keep buttons I and III pressed. •... -
Page 13: Auto Mode
Auto mode. 4.16. RPS (Remote Paging System) Using MAGICAR M871A it is possible to call the owner of the car to the vehicle, if the car is armed and the RPS mode is on. -
Page 14: Alarm Activation
5. Alarm activation 5.1. Shock sensor trigger If the alarm is armed and the shock sensor is triggered by a strong impact, the alarm will go off, the siren will be hooting for 20 sec., remote starts beeping and will display the icon for about 9 sec., but it will continue flashing until you press any button. -
Page 15: Battery Saving Function
5.7. Battery saving function When the battery is almost empty and ready to be replaced, the battery icon will flash and Battery Save Mode will be in operation. Battery saving mode operation: The remote will only receive the confirmation signals for button I operations. -
Page 16: Valet Mode Deactivation
6.3. Valet mode deactivation. You can deactivate valet mode only by using the remote control: Push buttons I and III shortly at the same time. Siren will beep once and lights will flash twice. 7. Programming 7.1. Remote control programming System memory is designed for 3 remote controls. -
Page 17: Setup Of Security Code
7.3. Setup of security code Conditions for primary setup of security code! Function in Programming menu 1-04 must be set. Disarmed ignition on / Doors opened engine off Programming of security code (1111-9999): 1. Ignition on. 2. Open the door. 3. -
Page 18: Remote Options Set-Up
There is no code programmed in the alarm by a manufacturer. We recommend you set your own code immediately after taking your car from the garage! Buttons (II + III) –- 7.5. Remote options set-u Using the remote control you can set-up basic user’s functions. Keep buttons II and III pressed at the same time. -
Page 19: Setting The Shock Sensor Sensitivity And Siren
8. Setting the shock sensor sensitivity and siren. 8.1. Setting the shock sensor sensitivity. The shock sensor consists of two zones which can be adjusted according to your needs. Shock Sensor sensitivity can vary from vehicle to vehicle for many reasons, including where and how it is mounted, and the size of the vehicle.
Need help?
Do you have a question about the M871A and is the answer not in the manual?
Questions and answers