Velux KLI 110 Instructions Manual
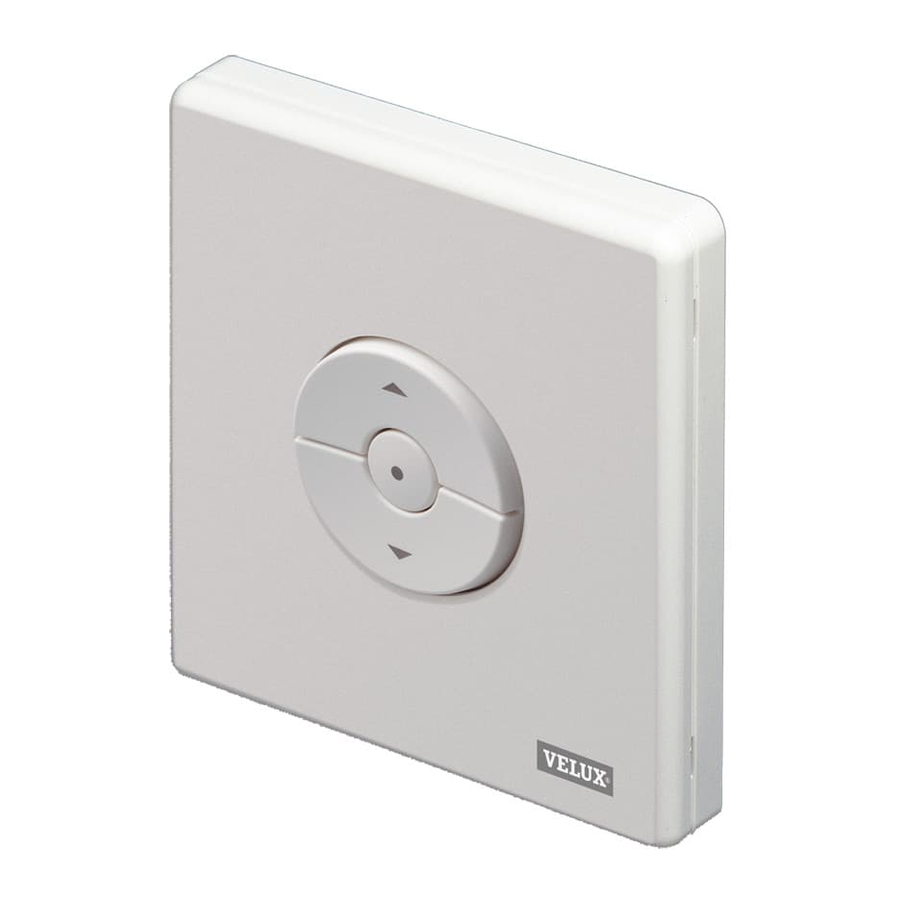
Control keypad
Hide thumbs
Also See for KLI 110:
- Instructions manual (48 pages) ,
- Manual (48 pages) ,
- Simple setup manual (37 pages)
Table of Contents
Advertisement
Advertisement
Table of Contents

Related Manuals for Velux KLI 110


Summary of Contents for Velux KLI 110
- Page 1 KLI 110 Instructions for control keypad VAS 452423-2009-12...
-
Page 2: Table Of Contents
- in addition to existing remote control KLR 100 - to control electrical products connected to control unit KLC 500 10-11 - in addition to existing control keypad KLI 110 12-13 Removing/adding control of electrical products connected to control unit KLC 500... -
Page 3: Important Information / Warnings
• If you have any technical questions, please contact VELUX. • This product has been designed for use with genuine VELUX products. • The control keypad has a Class 2 Low Voltage output (3 V d.c.). -
Page 4: Operation
Do not fix control keypad KLI 110 to the wall until set-up and programming have been completed and it has been verified that the relevant products can be operated from the proposed position. Remove front section and insert the two batteries supplied as shown. -
Page 5: Configuring Control Keypad Kli 110
Copy and transmit system from remote control KLR 100 as de- scribed in the user manual for KLR 100. Press PRG button on control keypad KLI 110 for max 2 seconds to receive system in the keypad. Reception can take up to 2 minutes. - Page 6 Configuring control keypad KLI 110 to control electrical products connected to control unit KLC 500 Disconnect all products that are not to be controlled by control keypad KLI 110 from control unit KLC 500. note: In case of new electrical products, complete item 2 within 10 minutes from reconnection.
- Page 7 When configuration has been completed, LED is green for 4 seconds. If configuration has failed, LED is red for 4 seconds. note: For configuration of control keypad KLI 110 in addition to exist- ing interface KLF 100, please refer to instructions provided with the interface.
-
Page 8: Removing/Adding Control Of Electrical Products Connected B
2 seconds. LED flashes green slowly for a few seconds. The product can now be controlled by control keypad KLI 110. When configuration has been completed, LED is green for four seconds. -
Page 9: Changing Security Key
Changing security key The security key of the system must be changed if security may have The control keypad KLI 110 can be reset to its initial factory settings. Press PRG button for at least 5 seconds. LED flashes red quickly. When been compromised, eg if a remote control is missing. -
Page 10: Installation
Installation Fix keypad to wall with screws or double-sided adhesive tape. 18 VELUX VELUX 19... -
Page 11: Velux
VELUX America Inc. 1-800-88-VELUX Cdn: VELUX Canada Inc. 1 800 88-VELUX (888-3589) aus: VELUX Australia Pty. Ltd 1300 859 856 VELUX New Zealand Ltd. 09-6344 126 VELUX-Japan Ltd. 03(3478)81 41 www.velux.com...
Need help?
Do you have a question about the KLI 110 and is the answer not in the manual?
Questions and answers