Download Print this page

Toshiba RAS-M14GAV-E Installation Manual

Split type
Hide thumbs Also See for RAS-M14GAV-E:

Advertisement

INSTALLATION MANUAL

AIR CONDITIONER (SPLIT TYPE)
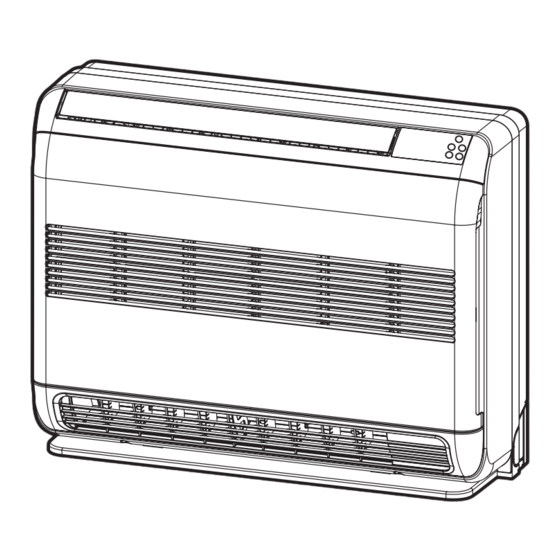
Indoor unit
RAS-(B) 10, 13, 18UFV Series
Outdoor unit
RAS-10, 13, 18SAV Series
RAS-M14GAV-E
RAS-M18GAV-E
RAS-3M18SAV-E
RAS-3M26GAV-E1
RAS-4M23SAV-E
RAS-4M27GAV-E1
RAS-5M34UAV-E
ENGLISH
ESPAÑOL
FRANÇAIS
ITALIANO
DEUTSCH
PORTUGUÊS
POLSKI
ČESKY
PУCСКИЙ
HRVATSKI
MAGYAR
TÜRKÇE
NEDERLANDS
ΕΛΛΗΝΙΚΑ
SVENSKA
SUOMI
NORSK
DANSK
ROMÂNĂ
БЪЛГАРСКИ
EESTI
LATVISKI
SLOVENČINA
SLOVENŠČINA
Toshiba 1112150201 (CVF)

Advertisement

loading

Summary of Contents for Toshiba RAS-M14GAV-E

  • Page 1: Installation Manual

    ČESKY PУCСКИЙ HRVATSKI MAGYAR TÜRKÇE NEDERLANDS ΕΛΛΗΝΙΚΑ SVENSKA Indoor unit SUOMI RAS-(B) 10, 13, 18UFV Series NORSK Outdoor unit DANSK RAS-10, 13, 18SAV Series ROMÂNĂ RAS-M14GAV-E RAS-M18GAV-E БЪЛГАРСКИ RAS-3M18SAV-E EESTI RAS-3M26GAV-E1 LATVISKI RAS-4M23SAV-E RAS-4M27GAV-E1 SLOVENČINA RAS-5M34UAV-E SLOVENŠČINA Toshiba 1112150201 (CVF)
  • Page 2: Table Of Contents

    Test İşlemi ................9 „ „ „ Probni Rad ................9 A Távirányítón az A-B Állás Kiválasztása........9 Otomatik Yeniden Başlama Ayarı ...........9 „ „ „ Postava za Automatsko Ponovno Pokretanje ......9 Tesztüzem ................9 „ „ Automatikus Újraindítás Beállítás ..........9 „ Toshiba 1112150201 (TOC)
  • Page 3 Izbira Nastavitve A-B na Daljinskem Upravljalniku ....9 „ „ Darbības Pārbaude ..............9 Testovacia Prevádzka .............9 „ „ „ Preizkus Delovanja ..............9 Darbības Automātiskās Atsākšanas Funkcijas Iestatīšana ..9 Nastavenie Automatického Reštartu ........9 Nastavitev za Samodejni Ponovni Zagon ........9 „ „ „ Toshiba 1112150201 (TOC)
  • Page 4: Precautions For Safety

    • WHEN INTALLING OR RE-INSTALLING THE AIR CONDITIONER, DO NOT INJECT AIR OR OTHER SUBSTANCES BESIDES THE DESIGNATED REFRIGERANT “R410A” INTO THE REFRIGERATING CYCLE. IF AIR OR OTHER SUBSTANCES ARE MIXED, AN ABNORMAL PRESSURE CAN OCCUR IN THE REFRIGERATING CYCLE, AND THIS CAN CAUSE AN INJURY DUE TO A PIPE RUPTURE. Toshiba 1112150201 (EN)
  • Page 5 Please make absolutely sure that the installation of this appliance is reported to the local power supplier before installation. If you experience any problems or if the installation is not accepted by the supplier, the service agency will take adequate countermeasures. Toshiba 1112150201 (EN)
  • Page 6: Installation Diagram Of Indoor And Outdoor Units

    (polyethylene foam, 8 mm thick) Putty, PVC tapes Air outlet each 90 mm 600 mm Drain outlet X When using a multi-system outdoor unit is used, refer to the installation manual provided with the model concerned. Toshiba 1112150201 (EN)
  • Page 7: Indoor Unit

    1. After determining the pipe hole position, drill the pipe hole (∅65 mm) at a slight downward slant to the outdoor side. NOTE • When drilling a wall that contains a metal lath, wire lath or metal plate, be sure to use a pipe hole brim ring sold separately. Toshiba 1112150201 (EN)
  • Page 8 • Use stranded wire only. • Wire type : H07RN-F or 60245 IEC66 (1.0 mm or more) Do not put the Do not put the drain hose end drain hose end in into water. the drainage ditch. Toshiba 1112150201 (EN)
  • Page 9: Concealed Installation

    Temperature indicator will light up for 5 seconds. - To cancel, press AIR OUTLET SELECT button for 20 seconds then, 5 beep sounds. Then indication at Temperature indicator will blinks for 5 seconds. - To prevent dewfall, above plate angle should be narrow. Toshiba 1112150201 (EN)
  • Page 10: Outdoor Unit

    9.52 0 to 0.5 1.5 to 2.0 13.2 33 to 42 3.3 to 4.2 such as from audio equipment, welders, and medical equipment. 12.7 0 to 0.5 2.0 to 2.5 16.6 50 to 62 5.0 to 6.2 Toshiba 1112150201 (EN)
  • Page 11: Evacuating

    Connection to fi xed wiring : A switch which disconnects all poles and • Securely tighten the valve stem cap with torque in the following table: has a contact separation of at least 3 mm must be incorporated in the fi xed wiring. Toshiba 1112150201 (EN)
  • Page 12: Others

    Note : 1. Repeat above step to reset Remote Control to be A. 2. Remote Control A has not “A” display. 3. Default setting of Remote Control from factory is A. “B” Display “00” Display PRESET Toshiba 1112150201 (EN)