
Related Manuals for Burson Soloist SL


Summary of Contents for Burson Soloist SL
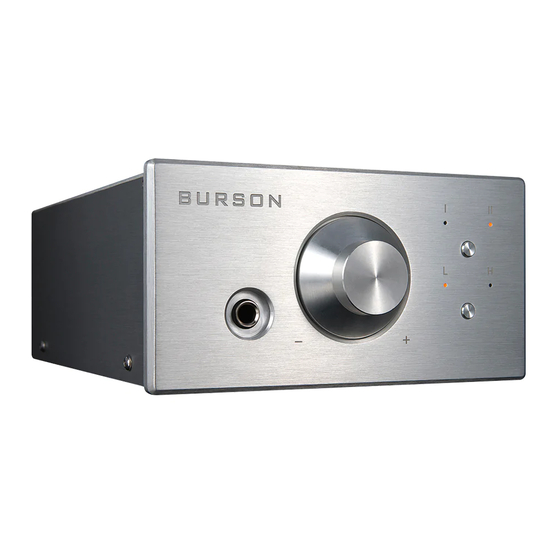
- Page 1 Burson Soloist SL Headphone Amplifier User Manual Want free warranty extension? Please read page 6 for details BURSON...
-
Page 2: Team Burson
Thank You. All of us at Burson Audio would like to say thank you, and congratulations for purchasing the Burson Soloist SL. We sincerely believe that your Burson Soloist SL is an intelligent investment that will bring you many years of musical enjoyment and satisfaction. -
Page 3: The Accessory Kit
After carefully unpacking your Burson Soloist SL, inspect for any shipping damage and call your dealer immediately if any is found. Do not plug your Burson Soloist SL into any outlet if you find shipping damage. Please save all packing materials so the unit can be easily and safely shipped if the need arises. - Page 4 Connections This section provides instructions to connect the Burson Soloist SL to the rest of your music system. Below is an illustration of the Burson Soloist SL rear panel, showing all inputs and outputs. BURSON Two way inputs selection Two level outputs selection Power Switch &...
-
Page 5: Output Level Switch
Burson Soloist SL when the AC power is switched off. Output level switch The Soloist SL has three levels of outputs. It allows user better match to their particular setup. There is no right or wrong settings please refer to table below for different level of gain. -
Page 6: Free Warranty Extension
Powering up time powering up you Soloist SL make sure volume control has been turn to minimal. Power up your system follows the three steps from source to power amp. When powering down your system reverse the steps. -
Page 7: Specifications
Specifications Testing setting @ 30 Ohm 1W ouput Measurement Total Distortion <0.04% Total Harmonic Distortion <0.03% Frequency Responds 0 – 50Khz Channel separation 63db Input Impedances >8K Output Impedances <1 Ohm Maximum Output 1W @ 30 Ohm 2W @ 8 Ohm ... -
Page 8: Warranty Conditions
Burson Soloist SL. Burson will not pay for loss of use or inconvenience caused by the failure of a Burson Soloist SL. Burson will not pay for damage caused to other audio components caused by the failure of the Burson Soloist SL within the limits allowed by Australian Law.
Need help?
Do you have a question about the Soloist SL and is the answer not in the manual?
Questions and answers