AVM INSPIRATION CS 2.2 Operating Instructions Manual
Compact streaming cd-receiver
Hide thumbs
Also See for INSPIRATION CS 2.2:
- Operating instructions manual (29 pages) ,
- Operating instructions manual (27 pages)
Table of Contents
Advertisement
Advertisement
Table of Contents

Related Manuals for AVM INSPIRATION CS 2.2


Summary of Contents for AVM INSPIRATION CS 2.2
- Page 1 Operating instructions INSPIRATION CS 2.2...
- Page 2 Dear customer thank you for purchasing this AVM product. You own now a versatile, excellent sounding hifi component. Before enjoying music, please read this manual carefully. After that you will know how to use your new AVM component in the optimal way.
-
Page 3: Table Of Contents
Table of contents 3.12 personal setup Vorwort 3.13 set display brightness Inhaltsverzeichnis 3.14 bass & treble control 3.15 skip unused inputs Getting started 3.16 define input names ... -
Page 4: Getting Started
1 Getting started 1.1 Scope of delivery INSPIRATION CS 2.2 Compact Streaming CD-Receiver • RC 9 remote control with docking station, power supply unit, USB charging cable • WLAN antenna • Power cable • CAUTION: After unpacking, please check the scope of delivery to ensure that all the parts have been supplied and are undamaged. -
Page 5: Installation And Cooling
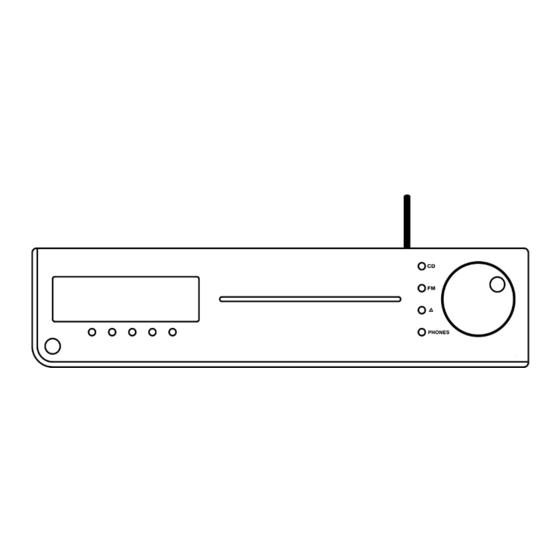
15 Antenna socket 25 Output for recorder (fixed level) 16 Ground socket for turntable chassis 26 Preamplifier output 17 Network connection 27 USB configuration port 18 Phono input 28 Speaker terminals 19 High-level analogue inputs 29 Digital input coaxial 20 Status LED 30 Digital input optical 21 Update button 31 Digital output coaxial... -
Page 6: Rc 9 Remote Control
1.8 RC 9 Remote control The included RC 9 remote control allows for easy and comprehensive control of the CS 2.2. Before you can use the RC 9 together with your CS 2.2, both components need to be connected. This process is also referred to as „Pairing“. -
Page 7: Connecting The Wlan Antenna
1.13 Connecting the WLAN antenna In order to use the WLAN connection of the CS 2.2, the included WLAN antenna needs to be installed. Please align the antenna until straight and screw it on the antenna socket (15). Afterwards you can adjust the angle of the antenna according to your needs. -
Page 8: Tuner
While level setting is active the display shows the actual level instead of the volume. Level can be set using the volume knob (6). Now you can switch between the sources (also CD and tuner) and adjust the levels. When this is done press the "EXIT LVL" knob and bring the unit back to normal operating mode. All level settings are now stored. -
Page 9: Cd-Player
2.5 CD-Player The basic functions of the CD player can be accessed by the buttons right under the display (4 – 8). For more sophisticated functions see chapter 3. 2.5.1 Insert / eject Insert a CD The CS 2.2 have a slot-in CD drive. Insert the CD (coverside up) and push slightly. The drive will now automatically draw the disc inside. -
Page 10: Advanced Settings
NOTE: The program function is only available while the player is stopped. The maximum number of programmed tracks is 99, the maximum program duration is 99 minutes. In case the Level setting is active. You must exit first. Example The CD inside the player contains 15 titles. You want to play only titles 7, 3 and 8. Press MENU (6) for more than 2 seconds. -
Page 11: Bandwidth
NOTE: Depending on actual setting the threshold for auto tuning will change (sensitive in MONO, less sensitive in STEREO). 3.5 Bandwidth Tuner must be selected as source Select bandwidth "narrow" / "wide" for best reception. 3.6 Sensitivity Tuner must be selected as source Choose between "local"... -
Page 12: Set Balance
3.11 set balance Set the balance between right and left channel for optimal stereo image. 3.12 personal setup Several settings can be done in the personal setup. To access the personal setup switch the unit to standby (power button (1)). Then press and hold the most right key under the display (8). -
Page 13: Fm Auto Store
Set the input where the main channels of the surround system are connected to fixed gain. When this input is selected, tone controls are bypassed, balance is set to neutral position and the gain is on a fixed level independently of the volume setting on the other inputs. 3.18 FM auto store This function is useful when storing a large quantity of stations from cable. -
Page 14: Remote Control
4 Remote control 4.1 Overview Power button (Standby mode)* 15 Favorites list Light sensor 16 Volume Colour display 17 Increase/Decrease Hotkeys 1-4 18 Mute Option keys (red, green, yellow, blue) 19 Play Home menu 20 Skip (backward) Zone menu 21 Skip (forward) Info menu 22 Record Settings... -
Page 15: Colour Display
NOTE: Before you can use your RC 9 remote control to switch on your device, both components need to be paired (for more information on the pairing process please refer to section 4.4.5). 4.2 Colour display The colour display divided into three sections in any operating mode: Header section: In the header section the current control area is shown (e.g. -
Page 16: User Settings
4.4.4 User Settings The menu item "Settings" offers a series of useful functions which can be accessed by pressing the Navigation keys (11), the Enter key (10) or the alphanumeric input keys (25). NOTE: The left Navigation key (11) is used to delete entered characters and numbers. The blue Option key (5) is used to toggle between upper and lower case characters. -
Page 17: Pairing
Delete Zone The menu item "Delete Zone" provides a list of all existing zones and the possibility to delete these along with all known data. Transportation lock The transportation lock deactivates the motion sensor and secures the RC 9 remote control against unintentional power-up and thus saves battery while moving. -
Page 18: Cleaning
The selection of the menu item „Network restart“ both resets all network options and restarts the streaming module of your CS 2.2 which can take up to approximately 30 seconds. NOTE: When changing from LAN to WLAN or vice-versa a network restart is mandatory. By activating the "Quick start function"... -
Page 19: Conditions Of Warranty (Ec Only)
5. The display shows „now disc“ althoug A CD is inserted a) Please make sure the CD has not been damaged and is inserted with the correct side facing b) Please clean your CD with a soft cleaning clot 6. No RDS display a) The receive signal is too weak, hence data can’t be decoded and aren’t displayed. -
Page 20: Tuner
THD (25 W/4 Ohm) < 0,1 % Frequency response (4 Ohm) < 5 Hz - > 50 kHz Damping factor (8 Ohm) >100 Output power > 2 x 110 Watt (8 Ω) / 2 x 165 Watt (4 Ω) 8.2 Tuner Frequency range 87,5 MHz –...
Need help?
Do you have a question about the INSPIRATION CS 2.2 and is the answer not in the manual?
Questions and answers