Table of Contents
Advertisement
Advertisement
Table of Contents

Summary of Contents for Zodiac V3
- Page 1 Instructions for installation and use English H03818-00.A3 - W2326A - 2012/03...
- Page 2 • Read this manual carefully before installing, maintaining or repairing this device! • The symbol indicates important information that must be taken into account in order to avoid risk of personal injury and/or damage to the appliance. • The symbol indicates useful information.
-
Page 3: Table Of Contents
Ink from the pattern can also rub off during the installation process or when it comes into contact with objects in the pool. Zodiac Group Australia Pty Ltd., is not responsible for, and the Limited Warranty does not cover, pattern removal, abrasion or markings on vinyl liners. -
Page 4: Information Before Use
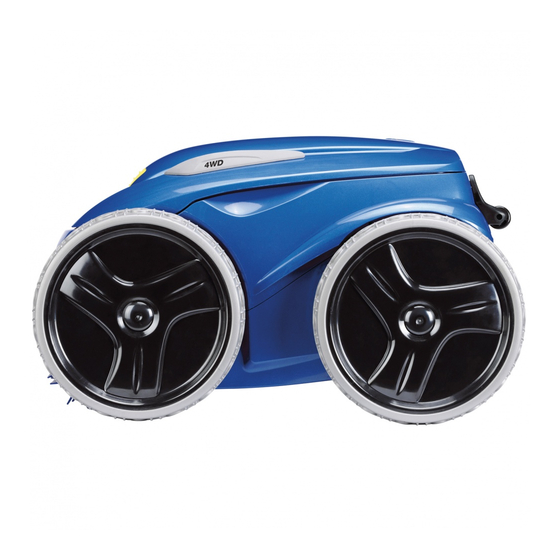
1. Information before use 1.1 Important Ensure that the unit has not been damaged in transit (impact, broken parts, etc.). Please report any damage, however minor, to your retailer immediately, before using. 1.2 Package contents The packaging should contain the following items: •... - Page 5 • Place two caps on the wheels (8). • Attach the support blocks to the caddy using four screws (V3 = figure 9; V3 4WD = figure 10). • The transport caddy is now ready to use 1.4 Connecting the control unit to the caddy...
-
Page 6: Use
1.5 Technical information 220-240 VAC, 50 Hz; short-circuit-proof safety isolating type Control unit voltage Robot supply voltage 30 VDC Installed load 150 W Cable length 18 m Cleaner size (WxDxH) 43 x 48 x 27 cm Pack size (WxDxH) 58 x 58 x 59 cm Weight of cleaner 11 kg 300 Packed weight... - Page 7 2.3 Electrical connection The cleaner control unit is water-resistant, not waterproof. In order to prevent electrocution, which could result in serious injury or death, never submerge the control unit. • Place the control box at a distance of at least 3.5 meters from the pool edge and away from direct sunlight;...
-
Page 8: Maintenance
Approximately 15 minutes after the cycle is completed, the light located on the control unit will flash slowly to indicate that the cleaner may be removed from the pool. The 15 minute period allows the motor to cool and will prevent damage to the cleaner. •... -
Page 9: Replacing The Brushes
3.2 Cleaning and Storing the Cleaner The cleaner must be cleaned regularly using slightly soapy clean water, do not use solvents such a trichloroethylene or its equivalent. Rinse the cleaner generously using clean water. Do not let your cleaner dry in direct sunlight near the pool. -
Page 10: Replacing The Tyres On The Cleaner
5. Replacing the Tyres on the Cleaner • Pull on the inside of the old tyre to remove the tyre lip from the wheel (1). • Remove the old tyre (2). • To replace the tyre, position the tyre on the wheel making sure to orient the tyre so that the tyre tread is on the outer side of the wheel (3). -
Page 11: Zodiac Australia - Express Warranty And Guarantees
(a) if the Product has not been installed in accordance with Zodiac's installation instructions; (b) if the Product has been modified other than as authorised by Zodiac Australia or if a component part has been replaced by a part that is not a genuine Zodiac product;... -
Page 12: Conformity
The manufacturer reserves the right to modify these specifications without notice. Although the cleaning robots have been tested in a large variety of Swimming pools, Zodiac cannot be held responsible in the case of a non perfect adaptation of the robot to a particular swimming pool. - Page 13 Notes...
- Page 14 Notes...
- Page 15 Notes...
- Page 16 Ph: +612 8786 6800 | FAX +61 2 9756 3987 For more information visit www.zodiac.com.au or call 1800 688 552 ZODIAC® is a registered trademark of Zodiac International, S.A.S.U., used under license. All trademarks referenced herein are the property of their respective owners.


Need help?
Do you have a question about the V3 and is the answer not in the manual?
Questions and answers