Sign In
Upload
Download
Table of Contents
Contents
Add to my manuals
Delete from my manuals
Share
URL of this page:
HTML Link:
Bookmark this page
Add
Manual will be automatically added to "My Manuals"
Print this page
×
Bookmark added
×
Added to my manuals
Manuals
Brands
JEFF ROWLAND Manuals
Amplifier
CONTINUUM 250
Owner's manual
JEFF ROWLAND CONTINUUM 250 Owner's Manual
Integrated amplifier
Hide thumbs
1
Table Of Contents
2
3
4
5
6
7
8
9
10
11
12
13
14
15
16
17
18
19
20
21
22
23
24
25
26
27
page
of
27
Go
/
27
Contents
Table of Contents
Bookmarks
Table of Contents
Table of Contents
Introduction
Product Features
Package Contents
Initial Inspection
Maintenance & Cleaning
Protection Systems
Installation, Use & Care
Remote Transmitter Operation
Front Panel Functions
Rear Panel Signal Connections
Rear Panel Power Connections
Specifications
Dimensions
Optional Adjustments
Advertisement
Quick Links
1
Introduction
2
Product Features
3
Installation, Use & Care
4
Rear Panel Signal Connections
5
Specifications
Download this manual
OW N E R ' S M A N UA L
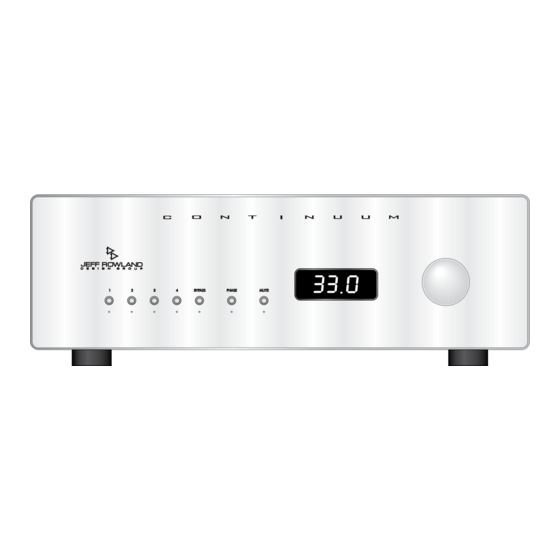
C O N T I N U U M 2 5 0/ 5 0 0 I N T E G R AT E D A M p l I f I E R
Table of
Contents
Previous
Page
Next
Page
1
2
3
4
5
Advertisement
Table of Contents
Need help?
Do you have a question about the CONTINUUM 250 and is the answer not in the manual?
Ask a question
Questions and answers
Related Manuals for JEFF ROWLAND CONTINUUM 250
Amplifier JEFF ROWLAND 501 Owner's Manual
Mono amplifier (17 pages)
Amplifier JEFF ROWLAND 201 Owner's Manual
(6 pages)
Amplifier JEFF ROWLAND CONTINUUM S2 Operational Manual
(21 pages)
Amplifier JEFF ROWLAND 1 Owner's Manual
Jeff rowland design group stereo amplifier owner's manual 1 (6 pages)
Amplifier JEFF ROWLAND 112 Owner's Manual
Jeff rowland design group stereo amplifier owner's manual 112 (19 pages)
Amplifier JEFF ROWLAND 12 Owner's Manual
Jeff rowland design mono power amplifier owner's manual model 12 (21 pages)
Amplifier JEFF ROWLAND Model 2 Owner's Manual
Jeff rowland owner's manual stereo power amplifier model 2 (18 pages)
Amplifier JEFF ROWLAND MC-6 Owner's Manual
Multi-channel power amplifier (34 pages)
Amplifier JEFF ROWLAND 312 Owner's Manual
Stereo amplifier (19 pages)
Amplifier JEFF ROWLAND 302 Owner's Manual
(24 pages)
Amplifier JEFF ROWLAND Synergy Owner's Manual
Stereo preamplifier (18 pages)
Amplifier JEFF ROWLAND Model 9T Owner's Manual
Mono power amplifier (18 pages)
Amplifier JEFF ROWLAND Coherence Owner's Manual
Stereo preamplifier (18 pages)
Amplifier JEFF ROWLAND 501 Owner's Manual
(6 pages)
Amplifier JEFF ROWLAND Model 10 Owner's Manual
Stereo power amplifier (19 pages)
Amplifier JEFF ROWLAND Model 8T Owner's Manual
Stereo power amplifier (18 pages)
This manual is also suitable for:
Continuum 500
Table of Contents
Print
Rename the bookmark
Delete bookmark?
Delete from my manuals?
Login
Sign In
OR
Sign in with Facebook
Sign in with Google
Upload manual
Upload from disk
Upload from URL


Need help?
Do you have a question about the CONTINUUM 250 and is the answer not in the manual?
Questions and answers