Dimplex Duo300n Installation Instructions Manual
Hide thumbs
Also See for Duo300n:
- Installation instructions manual (12 pages) ,
- Operating instructions manual (9 pages) ,
- Operating instructions (4 pages)

Related Manuals for Dimplex Duo300n


Summary of Contents for Dimplex Duo300n
-
Page 1: Installation Instructions
Installation Instructions Duo300n 1.3kW / 0.38kW 9.1kWh Duo400n 1.95kW / 0.47kW 13.65kWh Duo500n 2.6kW / 0.54kW 18.2kWh 87452 Issue 1 : December 2008 - 1 -... - Page 2 Circuit Diagram Charge Control Thermostat Limit Thermostat StorageHeater Elements Room Sensing Thermistor Core Sensing Thermistor Controller PCB User Display Peak Supply Radiant Element Live Neutral Pilot Wire Manual Fit Connector Live Storage In Live Storage Out Live Radiant In Live Radiant Out Signal In Signal Out Neutral Out...
- Page 3 Dimensions (including clearances diagram) (millimetres) Wymiary (w tym schemat minimalnych odleg o ci) (w milimetrach) Dimensiones (milímetros) Dimensioni (incluso lo schema degli spazi Dimensões (milímetros) liberi) (millimetri) 250mm min. 75mm min. 75mm 150mm min. min. 110mm Model Height Width Depth Modelo Altura Ancho...
- Page 4 1. Feet 2. Accessories Bag 1. Patas 2. Bolsa de accesorios 1. Pés de apoio 2. Saco de acessóries 1. Piedini 2. Sacchetto accessori 1. Nogo 2. Worek z akcesoriami 10mm - 4 -...
- Page 5 30mm 1. Brick 2. 8mm Drill 3. 3” No. 10 Screws (supplied) 4. 5. Plaster 6. Low density block 7. Special fi xing Length +15mm 5. Yeso 6. Pared blanda 7. Fijaciones especiales 1. Ladrillo 2. 8mm Ø 3. Incluye tornillos 3” No. 10 4. Lon- 5.
- Page 6 - 6 -...
- Page 7 - 7 -...
-
Page 8: Important Safety Advice
English THESE INSTRUCTIONS SHOULD BE READ CAREFULLY AND RETAINED FOR FUTURE REFERENCE NOTE ALSO THE INFORMATION GIVEN ON THE APPLIANCE TO ENSURE THIS APPLIANCE IS OPERATING CORRECTLY, IT IS ESSENTIAL TO PERFORM THE CHECK PROCEDURE DETAILED ON THE BACK PAGE OF THIS INSTRUCTION. THIS MUST BE COMPLETED BEFORE NORMAL OPERATION COMMENCES. IMPORTANT SAFETY ADVICE WARNING - This radiator is VERY HEAVY, it is essential that the radiator is FIXED SOUNDLY TO A WALL and mounted on a FIRM, LEVEL SURFACE. -
Page 9: Installation Of The Radiator
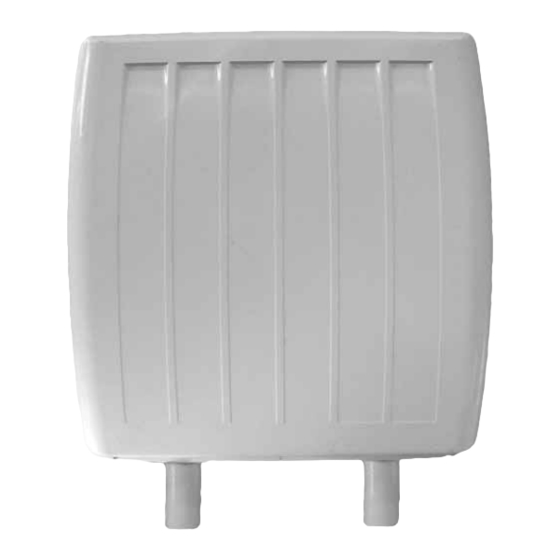
INSTALLATION OF THE RADIATOR ASSEMBLY Ensure the electronic components are not damaged 1. Open carton from the bottom. Remove feet and when removing the panel. Carefully place the panel to one side. accessories bag from the polystyrene packaging. (Fig. 1) Check that the mains supply cables are not damaged. - Page 10 Panelled internal walls DO NOT USE 30MM SPACER ON INSIDE OF RADIATOR. If possible, locate the studding and use No. 10 size USE ONLY EXTERNALLY - SEE FIG. 11 woodscrews. Where it is not possible to locate the studding use type M5 Rawlplug INTERSETS on securely fastened plasterboard panelling.
- Page 11 Fig. 18 , which will in accordance with the IEE regulations. prevent appliance settings being altered. For further details of connection to Dimplex programming devices, please refer to the relevant Dimplex programmer instructions. REASSEMBLY...
- Page 12 CHECK PROCEDURE FOR INSTALLERS FOLLOWING INSTALLATION THIS CHECK PROCEDURE SHOULD BE CARRIED OUR BY A COMPETENT INSTALLER ONLY. THE OPERATING INSTRUCTIONS ARE AVAILABLE FOR END USERS. DuoHeat has a built in self diagnostic function that enables To check the radiant panel operation (comfort both service engineers and end users to diagnose faults.
Need help?
Do you have a question about the Duo300n and is the answer not in the manual?
Questions and answers