Dimplex Studio G DXSTG25 Installation And Operating Instructions Manual
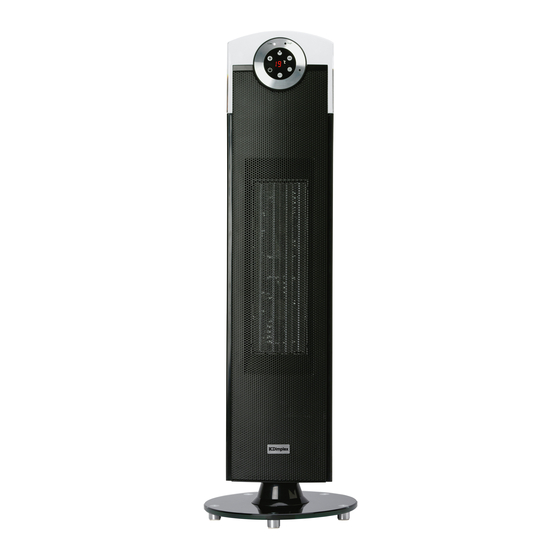
Ceramic tower heater
Hide thumbs
Also See for Studio G DXSTG25:
Table of Contents
Advertisement
Quick Links
Model:
Studio G
IMPORTANT: THESE INSTRUCTIONS SHOULD BE READ CAREFULLY AND RETAINED FOR
This product is only suitable for well insulated spaces or occasional use.
1. IMPORTANT SAFETY WARNINGS
• The appliance must only be used as described in the instructions for use! Use for
any other purpose is forbidden! Any damage resulting from improper use and
non-observance of the safety information will invalidate any liability and warranty!
• All liability is disclaimed for any frost damage caused by a heating capacity that is
insufficient for the room size, bad heat insulation of the room, incorrect use or force
majeure (e.g. power failure).
• Only connect the appliance to A.C. mains as specified on the rating plate!
• Never touch live parts! Danger to life!
• Never operate the appliance with wet hands! Danger to life!
• The appliance must be placed in a way that the control elements cannot be
touched by persons who are in a bath, shower, or any other water-filled receptacle.
• Do not use the appliance in rooms with bath, shower or swimming pool or in the
vicinity of wash basins or water connections!
• Do not expose the appliance to rain or other moisture! The appliance is not for
outdoor use. The appliance must only be stored indoors!
• Never use the appliance if the appliance or cord is damaged. Risk of injury!
• Check the power cord regularly for damage.
• If the power cord or the appliance is damaged to the extent that electrical parts are
exposed, disconnect it immediately from the mains and consult your retailer or
manufacturer!
• Improper repairs can expose the user to considerable danger.
• The appliance may only be opened up and repaired by authorized qualified
personnel.
• Do not store or use any flammable materials or sprays in the vicinity of the
appliance when the appliance is in use. Fire hazard!
• Do not use the appliance in flammable atmospheres (e.g. in the vicinity of
combustible gases or spray cans)! Explosion and fire hazard!!
• The appliance should not be used in areas which are a fire risk, such as garages,
stables, or wooden sheds.
• Important! Do not insert any foreign objects into the appliance openings! Risk of
injury (electric shock) and damage to the appliance!
• The appliance air inlet and outlet openings must not be obstructed in any way!
• Do not touch the air outlet grill whilst in operation or immediately after use. Risk of
burns!
• WARNING: IN ORDER TO AVOID OVERHEATING, DO NOT COVER THE
HEATER.
DXSTG25
Ceramic Tower Heater
FUTURE REFERENCE
Installation and Operating instructions
08/51280/0 Issue 5
Advertisement
Table of Contents

Related Manuals for Dimplex Studio G DXSTG25


Summary of Contents for Dimplex Studio G DXSTG25
- Page 1 Installation and Operating instructions Model: Studio G DXSTG25 Ceramic Tower Heater 08/51280/0 Issue 5 IMPORTANT: THESE INSTRUCTIONS SHOULD BE READ CAREFULLY AND RETAINED FOR FUTURE REFERENCE This product is only suitable for well insulated spaces or occasional use. 1. IMPORTANT SAFETY WARNINGS •...
- Page 2 The appliance is not intended for use by young children or infirm persons without supervision! Young children should be supervised to ensure that they do not play with the appliance! Attention! To avoid any danger due to unintentionally resetting the thermal cut-out, the appliance must not be supplied via a timer.
-
Page 3: Product Features
2. PRODUCT FEATURES 2 heat power selections Touch control panel Remote control Timer (1-12 hours) Oscillation function (76°) LED function indicators Overheat protection Tip-over protection Removable air filter for easy cleaning ... - Page 4 4. PARTS DESCRIPTION 5. OPERATING INSTRUCTION Firstly, plug in the appliance to a power source matching that on the units rating label. Power switch (located below the removable air filter at the rear of the unit) Press the power button to “I” position. You should hear a beep sound; the heater is now ready for use. Pressing the button to “0”...
- Page 5 HEAT When the unit is operated at low heating power, press the “ ” key, the high heating power will be turned on, and the LED indicator will show “HIGH”. Pressing this key allows for the selection of either low heat or high heat power options. OSC (Oscillation) When the unit is operating, press the “...
-
Page 6: Remote Control
6. REMOTE CONTROL (Picture 1) (Picture 2) Battery replacement in the remote control Slide out the battery holder at the rear of remote control. (Picture 1) Insert a 3V Li battery (CR 2032) into the tray of the door, battery text facing (Picture 2) ... -
Page 7: Cleaning And Maintenance
7. CLEANING AND MAINTENANCE Make sure the power switch is turned off and the plug is disconnected from the power socket before cleaning or any maintenance. Otherwise, it may cause electric shock. 1. Cleaning the unit surface: Clean the surface with damp cloth (or add some mild detergent). Do not use corrosive detergent or solvent to clean, such as Petrol, Tina, etc. -
Page 8: Contact Details
Electromagnetic Compatibility (EMC) EN 55014:1, EN55014:2, EN 61000-3-2 and EN 61000-3-3. These cover the essential requirements of EEC Directives 2014/35/EU and 2014/30/EU [c] Glen Dimplex All rights reserved. Material contained in this publication may not be reproduced in whole or in part, without prior permission in writing of Glen Dimplex.
Need help?
Do you have a question about the Studio G DXSTG25 and is the answer not in the manual?
Questions and answers