Table of Contents
Advertisement
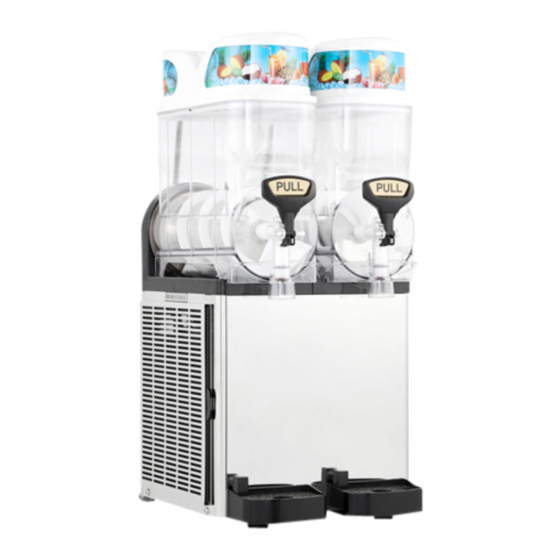
Slush & Smoothie Machine User Manual
SSM-180, 280, 420, 560, 52(MINI)
The product has been designed for indoor use only.
So do not use it outdoors.
Before use of the product, be sure to become familiar with this manual.
Keep the manual in a convenient place for quick and easy reference.
This manual contains the product warranty card.
The product design is subject to change for performance enhancement
without prior notice.
Advertisement
Table of Contents


Need help?
Do you have a question about the SSM-180 and is the answer not in the manual?
Questions and answers