Table of Contents
Advertisement
Quick Links
Download this manual
See also:
Instruction Manual
Advertisement
Table of Contents

Related Manuals for Lectrosonics H187


Summary of Contents for Lectrosonics H187
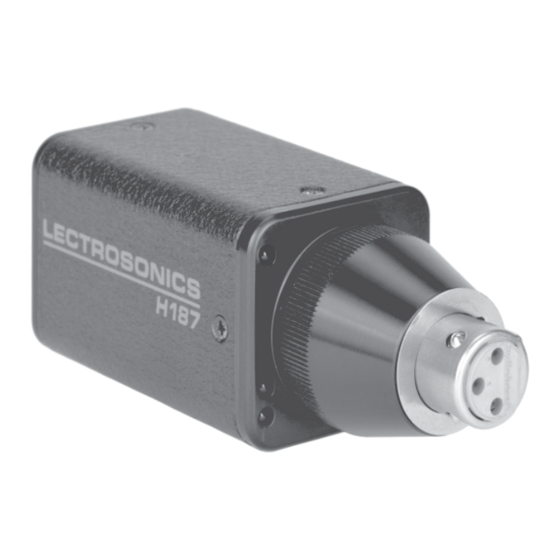
- Page 1 H187 PLUG-ON TRANSMITTER OPERATING INSTRUCTIONS and trouble-shooting guide ÿ3ÿ Wide Range Limiting ÿ3ÿ Surface Mount Technology LECTROSONICS, INC. Rio Rancho, NM www.lectrosonics.com...
-
Page 2: Table Of Contents
RETURNING UNITS FOR REPAIR ..............10 SPECIFICATIONS ....................11 APPENDIX 1: SERIAL PORT HARDWARE AND SOFTWARE ....... 12 SERIAL PORT COMMANDS AVAILABLE ............13 WARRANTY ..................Back cover The H187 transmitter is FCC type accepted under Part 90 (150-172 MHz), and Part 74 (174-216 MHz) -
Page 3: General Technical Description
The range of limiting action before gross distortion occurs is 35dB. The compandor in the 187 series transmitters is much tighter than the 185 series. The H187 compandor will hold the transmitter deviation to no more than ±15kHz under all circumstances. The 185 compandor would allow some excursions beyond 15kHz during strong audio “spikes.”... -
Page 4: Controls And Functions
“phantom” manner and will not interfere with any standard balanced microphone. If severe noise is experienced when the microphone is moved with respect to the H187, the cause is an unbalanced condition between pins 2 and 3 of the microphone. - Page 5 Plug-on Transmitter MODULATION LEDS Indicate the proper setting of the MIC LEVEL control. LEVEL LED Flickers or glows all the time if the audio volume is adequate for normal operation. LIMIT LED Lights up when the audio volume is high, indicating that the signal level is being limited by the compressor. Optimum signal-to-noise ratio is obtained when the limit LED lights occasionally.
-
Page 6: Operating Instructions
OPERATING INSTRUCTIONS 1) Insert the H187 into the selected microphone. Listen for the “click” that indicates the H187 has locked on to the microphone. Pull on the mic to insure proper locking has occurred. TO ATTACH Hold the transmitter case and rotate the Press firmly, listen for click. -
Page 7: Battery Replacement
Plug-on Transmitter BATTERY REPLACEMENT The H187 transmitter is powered by a standard alkaline 9 Volt battery. It is important that you use ONLY an ALKA- LINE battery for longest life. Standard zinc-carbon batteries marked “heavy duty” or “long-lasting” are not adequate. -
Page 8: Troubleshooting
TROUBLESHOOTING Before going through the following chart, be sure that you have a good battery in the transmitter the red power LED on the transmitter panel should glow brightly. SYMPTOM POSSIBLE CAUSE TRANSMITTER BATTERY LED OFF 1) Battery is inserted backwards. 2) Battery is dead. -
Page 9: Service And Repair
There are no adjustments inside that will make a malfunctioning unit start working. LECTROSONICS’ service department is equipped and staffed to quickly repair your equipment. In warranty repairs are made at no charge in accordance with the terms of the warranty. Out of warranty repairs are charged at a modest flat rate plus parts and shipping. -
Page 10: Warranty
This warranty does not apply to used or demonstrator equipment. Should any defect develop, Lectrosonics, Inc. will, at our option, repair or replace any defective parts without charge for either parts or labor. If Lectrosonics, Inc. cannot correct the defect in your equipment, it will be replaced at no charge with a similar new item.
Need help?
Do you have a question about the H187 and is the answer not in the manual?
Questions and answers