Table of Contents
Advertisement
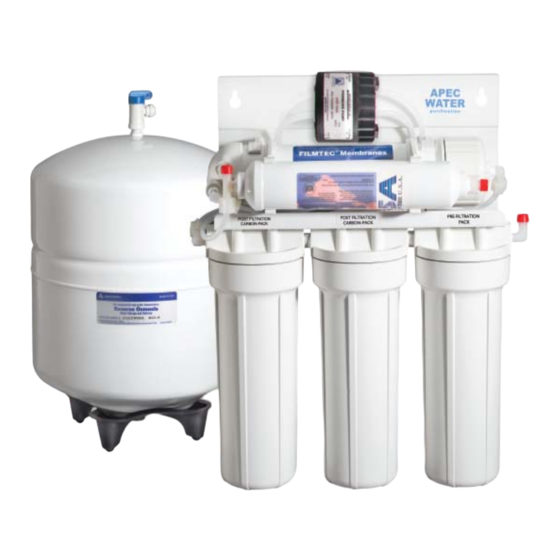
APEC PERMEATE-PUMPED R.O. SYSTEM: Installation
The steps for installing your Permeate Pumped RO system are the same as for installing the
non-pumped systems.
Please follow instructions in the Installation Manual from Pages 1 – 11.
When you get to Step 6: "Connecting the System" in the Manual, use this Addendum
for Steps 6. (Skip Manual pages 12-16).
Step 6: Connecting The System
Fitting Types: There are 3 types of fitting provided for connecting the system
1. Metal compression nut fitting
Addendum
How to install your RO-PERM system:
(comes with 1 insert, 1 sleeve, 1 nut)
Fig. 11
Important! Use plastic sleeve on the plastic tubing we provide.
Do Not use metal sleeve on plastic tubing or the connection
will leak!
1
free drinking water.com
Advertisement
Table of Contents

Related Manuals for APEC PERMEATE-PUMPED R.O. SYSTEM


Summary of Contents for APEC PERMEATE-PUMPED R.O. SYSTEM
- Page 1 APEC PERMEATE-PUMPED R.O. SYSTEM: Installation Addendum How to install your RO-PERM system: The steps for installing your Permeate Pumped RO system are the same as for installing the non-pumped systems. Please follow instructions in the Installation Manual from Pages 1 – 11.
- Page 2 How to connect: - See Fig. 11. Slide the compression nut onto the tubing. - Slide the plastic sleeve onto the Clear tubing. - Insert the “insert” into the tubing. - Insert the tubing into the opening of the fitting. - Slide the brass nut up, then tighten nut with a wrench.No Teflon tape! (An extra metal sleeve is provided in case you need to connect your own metal tubing.
- Page 3 Summary of Tubing Connections: There are 4 connections: See Fig. 10 and 10A Point A to X: Connect RO to COLD water supply — Red tubing. Point G to Y: Connect product water from 5th -stage filters to tank — Yellow tubing. This tubing is a 2-way line.
- Page 4 Details on Tubing Connections: Please: Do not disconnect the 4 lines on the Pump! No need to touch these lines for installation. Switching the lines on pump will cause Pump to malfunction. To ensure a smooth and correct installation, please connect the water lines following the sequence and the order outlined below.
- Page 5 Fitting type: See Fig. 11A. Plastic compression nut fitting with built-in sleeve. No teflon tape needed here. 6. Point G Stage-5 filter’s T-fitting connection: Tubing color: Yellow tubing. Connect the YELLOW tubing to Stage-5 filter’s T-fitting. Fitting type: See Fig. 11A. Plastic compression nut fitting with built-in sleeve. No teflon tape needed here. 7.
- Page 6 Option: Multiple Outputs - Add Shut Off Valve: If your RO is feeding several output points (icemaker, fridges, bathroom), you should add a Shut-Off valve to each output line (except the RO spigot line). This way, if you ever need to diagnose a problem in the system, you can easily shut off these lines to isolate the water flow and do accurate troubleshooting.
Need help?
Do you have a question about the PERMEATE-PUMPED R.O. SYSTEM and is the answer not in the manual?
Questions and answers