Table of Contents
Advertisement
Advertisement
Table of Contents

Related Manuals for Blue Yeti


Summary of Contents for Blue Yeti
- Page 3 THX Certified microphone, a validation of Yeti’s incredibly low distortion, high fidelity, and balanced frequency response. There are no drivers to install — simply plug the Yeti into your PC or Mac, load up your favorite recording software, and record something amazing.
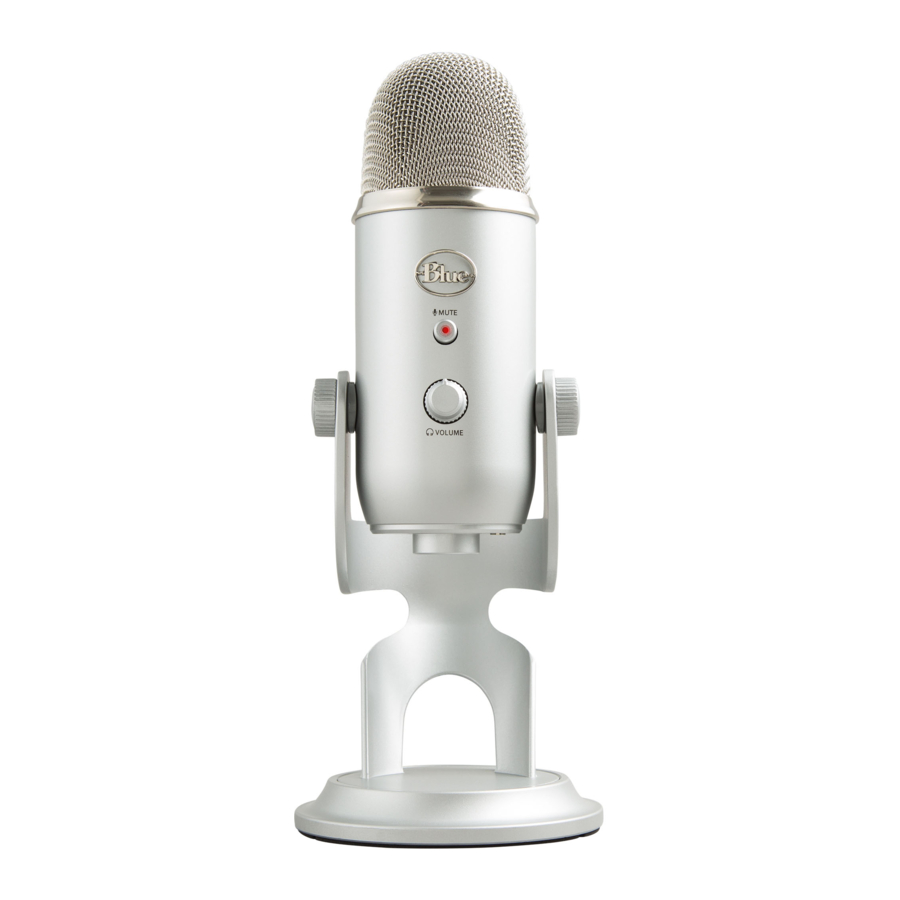
- Page 4 • Turn each of these knobs clockwise to tighten and secure the microphone at the desired angle. To remove the microphone from the included desk stand, simply unscrew both set screws entirely while supporting the microphone with your hand. Carefully remove the Yeti microphone by lifting directly up and out of the desk stand.
- Page 5 • Yeti connects to your computer with one simple USB cable. Plug the mini USB (small connector) into the USB port on Yeti, and plug the other end into an available USB port on your computer. To perform at its best, Yeti...
- Page 6 Tighten the set-screws on the left and right of the base after adjusting the microphone for your desired angle. Connect the Yeti to your computer with the supplied USB cable (avoid plugging Yeti into USB hubs or multipliers — plug directly into your computer for best performance).
- Page 7 From this screen, you will also want to adjust the computer’s Master Volume. As a starting point, set the computer’s master volume to 100%. Once you’ve selected the Yeti as your output device, you can control headphone volume with the volume knob on the front of the Yeti.
- Page 8 1. From the start menu, select the control panel. 2. From the control panel, select the “Sounds and Audio Devices” icon. 3. Select the “Audio” tab. 4. Select “Yeti Stereo Microphone” from the “Sound Playback” pull-down menu. 5. Select the “Volume” button within the “Sound Playback” area.
- Page 9 From this screen, you will also want to adjust the computer’s Master Volume. As a starting point, set the computer’s master volume to 100%. Once you’ve selected the Yeti as your output device, you can control headphone volume with volume knob on the front of the Yeti.
- Page 10 2. From the main Apple menu, select the “System Preferences.” 3. Select the “Sound” icon. 4. Now select the input tab and select “Yeti Stereo Microphone.” As a starting point, set the “Input Volume” to about 80%. If you decide you want to record something that is very loud, like a drums or a band practice, you will want to turn this setting down.
- Page 11 5. Select the output tab and select “Yeti Stereo Microphone.” 6. From this screen, you will want to set the “Output Volume” to 100%. Once you’ve selected the Yeti as your output device, you can control the headphone volume with the knob on the front of the Yeti.
- Page 12 r e c o r d i n g m o d e s g l a n c e Pattern Pattern Sound Source/ Recording Mode Direction Applications Setting Symbol vocals ensemble choir instruments STEREO podcasts voiceovers vocals instruments CARDIOID...
- Page 13 r e c o r d i n g m o d e s g l a n c e Pattern Pattern Sound Source/ Recording Mode Direction Applications Setting Symbol conference calls field recordings events/orchestras OMNIDIRECTIONAL interviews instruments vocal duets BIDIRECTIONAL...
- Page 14 To start, point the microphone at the sound source that you want to record (the “front” of the microphone is the side of the microphone with the Blue Microphones Logo). Depending on the instrument and/ or sound that you want to achieve, place the grill of the microphone anywhere from 2 inches to several feet in front of the sound source.
- Page 15 These charts are only a starting point for the sound provided. How the microphone reacts in a particular application will differ greatly because of many variables, like room acoustics, distance from sound source (proximity), tuning of instruments, mic cabling and other factors. For more tips on miking and recording techniques, check out the Blue website.
- Page 16 These charts are only a starting point for the sound provided. How the microphone reacts in a particular application will differ greatly because of many variables, like room acoustics, distance from sound source (proximity), tuning of instruments, mic cabling and other factors. For more tips on miking and recording techniques, check out the Blue website.
- Page 17 These charts are only a starting point for the sound provided. How the microphone reacts in a particular your Yeti, as well as more information on general recording techniques, application will differ greatly because of many variables, like room acoustics, distance from sound source (proximity), tuning of instruments, mic cabling and other factors.
-
Page 18: Specifications
Dimensions (extended in stand): 4.72” (12cm) x Sample Rate: 48kHz 4.92”(12.5cm) x 11.61”(29.5cm) Bit Rate: 16bit Weight (microphone): 1.2lbs (.55kg) Capsules: 3 Blue-proprietary 14mm condenser capsules Weight (stand): 2.2lbs (1kg) Polar Patterns: Cardioid, Bidirectional, Omnidirectional, Stereo Frequency Response: 20Hz – 20kHz System Requirements Sensitivity: 4.5mV/Pa (1 kHz) - Page 19 Blue Microphones. The warranty does not include transportation costs incurred because of the need for service unless arranged for in advance. Blue Microphones reserves the right to make changes in design and improve upon its products without obligation to install these improvements in any of its products previously manufactured.
Need help?
Do you have a question about the Yeti and is the answer not in the manual?
Questions and answers