Table of Contents
Advertisement
Advertisement
Table of Contents

Related Manuals for Sea-doo XP DI 2003


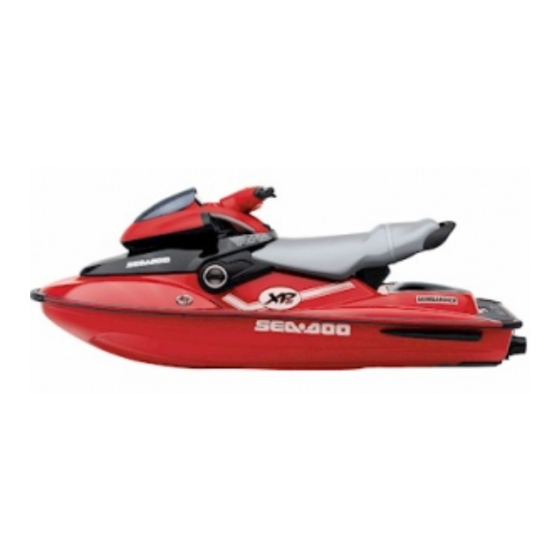
Summary of Contents for Sea-doo XP DI 2003
-
Page 2: Declaration Of Conformity
2003 PWC Electro Magnetic Compatibility (EMC) Compliance with 93/68 EC Directive. The 2003 Sea-Doo Personal Watercraft do comply with the above men- tioned directive and with 89/336 EC directive in order to match the current European requirements on Personal Watercraft (PWC). - Page 3 NOTE Dear 2003 XP DI watercraft owner. Use the information pertaining to the RX DI model in the 2003 Operator’s Guide (P/N 219 000 290) and then use this supplement to complete the specific information that applies to your XP DI model.
-
Page 4: Table Of Contents
TABLE OF CONTENTS LOCATION OF THE IMPORTANT LABELS ........LOCATION OF CONTROLS, COMPONENTS AND INSTRUMENTS . FUNCTIONS OF CONTROLS, COMPONENTS AND INSTRUMENTS ................15) Oil Injection Reservoir Cap..............16) Front Storage Compartment Cover ........... 26) Mooring Cleats .................. 37) Fuses ....................38) Battery .................... -
Page 5: Location Of The Important Labels
LOCATION OF THE IMPORTANT LABELS XP DI Models F08L1UL TYPICAL... - Page 6 Label 1 F08A04L...
- Page 7 XP DI Model Only Label 5 The location of these labels differ on the XP DI model. Label 2 F00A23Y Label 8 F00A22Y Label 3 F00A27Y F02L2D0 Label 9 Label 4 F00A1AY Label 12 F00L29Y F08G04Y F00L2XY...
-
Page 8: Location Of Controls, Components And Instruments
LOCATION OF CONTROLS, COMPONENTS AND INSTRUMENTS XP DI Model F08L1WL TYPICAL NOTE: Components not shown here are the same as on the RX DI models in the 2003 Sea-Doo Operator’s Guide. - Page 9 41) Storage Compartment/Engine Cover Latches 42) Rear Access Cover 43) Automatic Bilge Pump NOTE: Some components shown in the 2003 Sea-Doo Operator’s Guide do not apply to this watercraft. Refer to the following list: 7) Shift Lever 8) Fuel Gauge/Low Oil Warning Light...
-
Page 10: Functions Of Controls, Components And Instruments
FUNCTIONS OF CONTROLS, COMPONENTS AND INSTRUMENTS The following components have the same operation as explained in the 2003 Operator’s Guide, only their loca- tion differ. To know where they are lo- cated, refer to the LOCATION OF CONTROLS, COMPONENTS AND IN- STRUMENTS section in the previous pages. -
Page 11: Mooring Cleats
42) Rear Access Cover WARNING It gives access to the battery, drive Ensure to properly secure extin- system, suspension, exhaust system guisher with the supplied retaining and bailer pick-ups. Always relatch straps. cover. 43) Automatic Bilge Pump 26) Mooring Cleats Bilge pump evacuates water from the All Models bilge. -
Page 12: Operating Instructions
OPERATING INSTRUCTIONS Variable Trim System The variable trim system (VTS) chang- es the angle of the jet pump nozzle to provide the operator with a fast, effec- tive system to compensate for load, thrust, riding position and water condi- tions. Correctly adjusted, it can im- prove handling, reduce porpoising, and position the watercraft at its best riding angle to attain maximum performance. - Page 13 8° F08J0BY TYPICAL 1. Push on arrow pointing downward on VTS button 2. Bow down 3. Nozzle down...
-
Page 14: Special Procedures
SPECIAL PROCEDURES Towing the Watercraft in Water It is the same as explained in the 2003 Operator’s Guide. The hose location and routing differs. Refer to the follow- ing updated text and illustration. Remove rear access cover. Install pincher as shown. F08E08Y 1. -
Page 15: Maintenance
MAINTENANCE Lubrication Seal Carrier Using a grease gun, carefully lubricate seal carrier of mid bearing until grease is just coming out of seal. F08E0BY 1. Grease seal carrier of mid bearing Periodic Inspection Chart The following is to be added for the XP DI models. FREQUENCY DESCRIPTION I: Inspect, verify, clean, adjust, lubricate,... -
Page 16: Fuses
Fuses Refer to this updated text and illustra- tions. Fuses can be found at 2 locations; on the MPEM and in the electrical box. MPEM To access fuses on the MPEM, open front storage compartment cover and remove storage tray. F18H06Y Locate MPEM on the left side of wa- FUSE IDENTIFICATION... - Page 17 Electric bilge pump fuse is located at the bottom of the electrical box. F08H0KY F12H02Y 1. Electrical box 1. Electric bilge pump fuse Unclip and remove cover of the electri- Properly reinstall removed components. cal box to expose the holder of the Properly relatch storage compartment main fuse.
-
Page 18: Trailering, Storage And Pre-Season Preparation
TRAILERING, STORAGE AND PRE-SEASON PREPARATION The information pertaining to traile- ring, storage and pre-season prepara- tion is similar to the one explained in the 2003 Operator’s Guide, except for the following updated text and illustra- tions. Storage Engine Draining Remove rear access panel. Check engine drain hose (the lowest one connected to the crankcase cool- ing outlet). - Page 19 We strongly recommend this op- eration be performed by an autho- rized SEA-DOO dealer. CAUTION: Always use ethylene gly- col antifreeze containing corrosion inhibitors specifically recommended for aluminum engines.
- Page 20 Hose Disconnection Pour antifreeze mix in engine until the colored solution appears at cooling Disconnect the bottom hose at the wa- system bleed outlet. ter regulator valve on muffler. At this point, install a hose pincher on bleed outlet hose. F08E0SY 1.
- Page 21 NOTE: Most of the antifreeze will drain out when removing the hose pinchers. Use a container to recover it. DISPOSE ANTIFREEZE AS PER YOUR LOCAL LAWS AND REGULATIONS. 1. Bleed outlet hose. 2. Engine drain hose (crankcase cool- ing cover outlet). 3.
- Page 22 Lift front end of watercraft to completely drain bilge. If any repairs are needed to body or to the hull con- tact your authorized SEA-DOO dealer. For paint touch up to mechanical parts use Bombardier spray paint. Final Steps Refer to this updated text.
-
Page 23: Specifications
SPECIFICATIONS XP DI ENGINE (6130/6131) Engine type Rotax 947, 2-stroke Induction type Reed valve Exhaust system Water cooled/water injected with regulator Exhaust valve Rotax Adjustable Variable Exhaust (RAVE) Type Oil injection Lubrication BOMBARDIER Formula XP-S II synthetic Oil type injection oil Number of cylinders Displacement 951.2 cm... - Page 24 Jet pump type Axial flow, single stage Transmission Direct drive/split front and rear Reverse system SEA-DOO synthetic Jet pump oil type polyolester oil SAE 75W90 GL5 Pivoting angle of direction (nozzle) ~ 20° Minimum required water level for jet pump...
Need help?
Do you have a question about the XP DI 2003 and is the answer not in the manual?
Questions and answers