Advertisement
Advertisement
Table of Contents

Related Manuals for Stabila LAR-250


Summary of Contents for Stabila LAR-250
- Page 1 Laser LAR-250 Operating instructions...
- Page 5 17ft 34ft ~ 17ft...
-
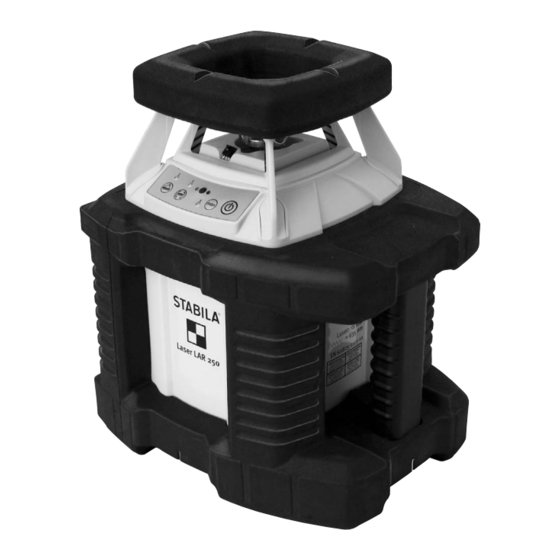
Page 6: Main Components
Operating instructions The STABILA LAR-250 rotation laser is an easy to operate rotation laser for horizontal and vertical levelling and plumb lines. The LAR-250 has a sealed casing (IP 65). It is self-levelling in a range of ± 5°. The laser beam can be received at distances of up to 175 m (570 ft) with the use of a receiver, even when it is no longer visible to the naked eye. - Page 7 When working with the remote control, this must be oriented to the laser's operating field. Recycling programme for our EU customers: In accordance with the WEEE regulations, STABILA provides a disposal programme for electronic products at the end of their service life. For more details, please contact: www.STABILA.de / Recycling...
-
Page 8: Operating Modes
Main applications: Levelling Set the unit on a firm base or a tripod. Tip: It is useful to set up the rotation laser centrally to the subsequent measurement points. Pressing the button (3), switches the rotation laser ON and it starts to level itself automatically. Once levelling is complete, the laser begins to rotate. - Page 9 Height of tool alert function Minor tremors or vibrations are automatically compensated for only up to a set threshold. If these disruptive influences are greater than this, the height of tool alert function engages and rotation stops. The laser beam switches off and the Y LED flashes.
- Page 10 After switching on (via button 3), press button (4c) until the Z LED lights. The unit is now in height of tool alert function mode. Buttons (17) and (18) on the remote control can now be used to incline this laser plane at right angles to the line from the targeting marks.
- Page 11 Vertical levelling Adjusting only in point mode (only using the Rotation and not the Scan function) (17) -> The laser plane moves to the left (18) -> The laser plane moves to the right 2 basic methods of vertical levelling Generating parallel planes: Swivelling until S1 = S2 Continuous...
-
Page 12: Checking The Calibration
Checking the calibration The LAR-250 rotation laser has been designed for building site use and leaves our factory perfectly calibrated. As with any precision instrument, however, its calibra- tion must be regularly checked. The unit should be checked before starting any new tasks, particularly when the unit has been exposed to strong vibrations. - Page 13 Adjustment - Horizontal If the readings are determined as being outside the tolerance limits during the horizontal check, the laser can be adjusted as follows. The decisive factor is the distance between the opposing measurement points, i.e. points 1 + 3 and 2 + 4. Points 1 and 3 on the unit's y-axis and points 2 and 4 on the unit's x-axis now cor- respond.For example, if the distance between points 2 + 4 is outside the tolerance limit of 0.1 mm/m, the laser must be adjusted along this axis!
- Page 14 Vertical checking (The unit is tilted 90° to the side foot). Two parallel wall surfaces at least 10m ( or 50 ft) apart are required for the vertical check. For vertical levelling, the rotation laser is set directly in front of wall A either on its side feet or mounted on a tripod.
-
Page 15: Remote Control
Adjustment - Vertical If a tolerance has been exceeded when performing the vertical check, the laser can be re-adjusted as follows. Switch the laser off. To go to Adjustment mode, hold down button (4a) first. Additionally press button (3). as soon as the y LED illumina- tes, release button (4a). - Page 16 Operating status display and error messages via the LEDs The red LEDs (5a) next to the corresponding buttons show the operating mode selected. Illuminated green LED -> laser in operation Illuminated green LED + -> The laser levels itself automatically laser beam flashing Flashing green LED ->...
-
Page 17: Care And Maintenance
• Clean the laser unit with a damp cloth. Do not spray or immerse the unit! Do not use solvents or thinners! The LAR-250 rotation laser must be handled carefully, in the same way as any precision optical instrument. Technical data...
Need help?
Do you have a question about the LAR-250 and is the answer not in the manual?
Questions and answers