Table of Contents
Advertisement
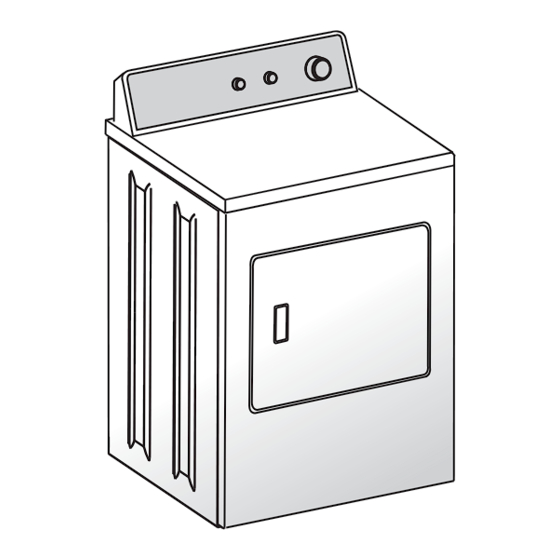
Owner's Manual
Electric Dryer
Product Registration ..............................................................2
Important Safety Instructions ............................................ 2-3
Drying Procedures .................................................................4
Operating Instructions ....................................................... 5-6
Features ................................................................................6
Care and Cleaning ................................................................6
Common Drying Problems ....................................................7
Avoid Service checklist ..........................................................7
Manufactured by Electrolux Home Products, NA
Table of Contents
Important Installation Safety Instructions ...............................8
Pre-installation Requirements ................................................9
Installation Requirements ................................................ 9-13
Installed Dimensions ...........................................................13
Installation Instructions ................................................. 14-15
Reversing door ....................................................................15
Accessories/Replacement parts ............................................15
Warranty ............................................................................16
Printed in U.S.A.
P/N 137296600A (0911)
Advertisement
Table of Contents

Related Manuals for Electrolux Electric Dryer


Summary of Contents for Electrolux Electric Dryer
-
Page 1: Table Of Contents
Installed Dimensions ............13 Features ................6 Installation Instructions ..........14-15 Care and Cleaning ..............6 Reversing door ..............15 Common Drying Problems ............7 Accessories/Replacement parts ..........15 Avoid Service checklist ............7 Warranty ................16 Printed in U.S.A. Manufactured by Electrolux Home Products, NA P/N 137296600A (0911) -
Page 2: Product Registration
Installation and service must be performed by a qualifi ed installer, service agency or the gas supplier. The California Safe Drinking Water 240 v Electric Dryer 240 v Electric Dryer and Toxic Enforcement Act requires the Governor of California to publish a list of substances known to the... - Page 3 Important Safety Instructions, continued To reduce the risk of fi re, electrical shock, or injury to persons when using this dryer, comply with the basic warnings listed below. Failure to comply with these warnings could result in serious personal injuries. You can be killed or seriously injured if you don’t follow these Important Safety Instructions: •...
-
Page 4: Drying Procedures
Drying Procedures 1. Prepare load for drying. • Dry items of similar fabric, weight and construction in To reduce the risk of fi re, electric shock or in- the same load. jury to persons, read the IMPORTANT SAFETY INSTRUCTIONS • Separate dark items from light-colored items. -
Page 5: Operating Instructions
OPERATING INSTRUCTIONS PUSH TO START PUSH TO START Auto Fabric Care Perm Press Cycle Selection AUTO COTTON / AUTO COLORS (on select models) Turn cycle selector clockwise to desired cycle and setting. This cycle is best for cotton items. Drying time is determined For best results automatically at the temperature selection of your choice. -
Page 6: Features
Energy Saving Tips Features • Keep the lint screen clean and exhaust the dryer correctly. END OF CYCLE SIGNAL • Sort laundry properly and select proper temperature and A signal will sound at the end of the cycle and periodically cycle settings. -
Page 7: Common Drying Problems
When in place, the duct must have no more than two 90° bends and must not exceed length listed in INSTALLATION INSTRUCTIONS. Electric dryer is connected to a 208 volt circuit. Drying time will be 20% longer than drying on a 240 volt circuit. -
Page 8: Important Installation Safety Instructions
Carpenter’s level • 3-wire or 4-wire 240 volt cord kit • Phillips, straight, & square bit screw- • External vent hood (electric dryer) drivers • 4-inch (10.2 cm), rigid metal or semi- • 4 in. (10.2 cm) clamp • Adjustable wrench rigid metal exhaust duct work •... -
Page 9: Pre-Installation Requirements
Electrical system requirements Because of potentially inconsistent voltage capabilities, the use of this dryer with power created by gas powered generators, solar powered generators, wind powered generators or any other generator other than the local utility company is not recommended. CIRCUIT - Individual 30 amp. - Page 10 Exhaust system requirements, continued Install male fi ttings in correct direction: - FIRE HAZARD - A clothes dryer must be exhausted outdoors. Do not exhaust dryer into a chimney, a wall, a ceiling, an attic, a crawl space or any concealed space of a building.
-
Page 11: Clearance Requirements
Exhaust system requirements, continued Clearance requirements Exhaust direction - EXPLOSION HAZARD - Do not install the dryer where gasoline or other fl ammables are kept or stored. All dryers shipped from the factory are set up for rear If the dryer is installed in a garage, it must be a minimum exhausting. -
Page 12: Electrical Installation
Grounding requirements - Electric dryer (USA) the plug MUST be plugged into an appropriate, copper - ELECTRICAL SHOCK HAZARD - Improper wired receptacle that is properly installed and grounded connection of the equipment grounding conductor can result in accordance with all local codes and ordinances. -
Page 13: Installed Dimensions
Grounding requirements - Electric dryer (Canada) 2. Since your dryer is equipped with a power supply - ELECTRICAL SHOCK HAZARD - Improper cord having an equipment-grounding conductor and connection of the equipment grounding conductor can result a grounding plug, the plug must be plugged into an in a risk of electrical shock. -
Page 14: Electrical Connection 3/4-Wire Cord
Electrical connection (non-Canada) 3-wire cord - ELECTRICAL SHOCK HAZARD - Failure to disconnect power source before servicing could result in 30 AMP 30 AMP personal injury or even death. 3-wire NEMA 10-30 NEMA 10-30 Neutral Neutral receptacle (center wire) (center wire) Turn off power supply to outlet. -
Page 15: Reversing Door
General installation Connect the exhaust duct to the outside exhaust system (see pages 4 through 6). Use of a 4” (10.2 cm) clamp (item A) is recommended to connect the dryer to the exhaust vent system. Use metal foil tape to seal all other joints. Carefully slide the dryer to its fi...
Need help?
Do you have a question about the Electric Dryer and is the answer not in the manual?
Questions and answers
Where are the fuses for heat in model ELFE4222AWOO?