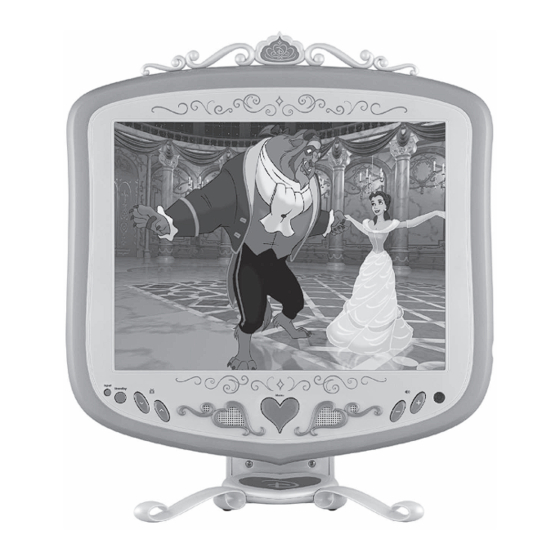
Summary of Contents for Disney P1500LTD
- Page 1 User’s Guide 15" LCD TV Manual del Usuario Televisor 15 LCD Guide d’utilisation Télévision 15 LCD P1500LTD...
-
Page 2: Table Of Contents
Introduction Contents Introduction ......................2 Thank you for purchasing this product which has been designed and manufactured to give you Safety is Important ....................2 many years of trouble-free service. Contents .........................3 You may already be familiar with using a similar product, but please take time to read these in- Safety Precautions ....................4 structions - they have been written to ensure you get the very best from your purchase. -
Page 3: Safety Precautions
Safety Precautions Getting Started PLEASE READ ALL THE SAFETY INFORMATION BEFORE USE. Carefully remove the LCD TV and all other items from the box. You may wish to store the pack- Safety Considerations aging for future use. • Position the power supply lead so that it cannot be walked on or pinched by items placed on or against it. -
Page 4: To Ensure Your Safety And The Safety Of Others, Please Ensure You Read The Safety Instructions Front /Side View
Location of Controls Location of Controls Location of Controls Rear View Front View 1. Input button 2. Standby button 3. Channel button 4. Speaker 5. Menu button 6. Volume button 7. Remote Sensor Side View 1. Hinge Headphone Socket 3. Stand base 1. -
Page 5: Remote Control
Remote Control Inserting Remote Control Batteries On the back of the remote control, Loosen the screw to open the battery compartment cover. 1. Mute ( ) button Insert the two AAA batteries supplied, ensuring that you follow the polarity diagram inside the 2. -
Page 6: Remote Control Operation
Remote Control Operation Remote Control Operation Channel Up and Down buttons Sleep Button Press the “ ” button to select TV higher or lower channel. • Prees the “SLEEP” button to select a predetermined time the TV will turn off. The sleep time 0~9 Numeric Buttons can be set to count down from 15 to 240 minutes. -
Page 7: Remote Control Operation (Digital)
Remote Control Operation (Digital) Switching on the unit Info button(Info/Display Button) Mains Power • Shows information for the current channel. Plug the mains plug into a mains socket to switch on the main power switch (located on the Guide button rear cabinet). -
Page 8: Program Information
First-Time Installation (Digital) General Viewing Function (Digital) Once you have correctly connected the TV, you will also need to perform a “First-time installation”. The “ENTER” button always confirms a selection within these menus, and pressing it will take you to the next step in the installation process. However, and this is important, more than one Screen 4 : value often has to be entered in a menu. -
Page 9: Extended Program Information
General Viewing Function (Digital) General Viewing Function (Digital) Channel List Extended Program Information The Channel selector is activated by a press on the “ENTER/CH-LIST” button while in viewing To obtain more information about present and following events, you can press twice “INFO/DIS- mode.The screen presents the channels of the current Channel lists. -
Page 10: Language
Settings (Digital) General Viewing Function (Digital) From everywhere, a press on the “DTV MENU” button displays the main menu: Subtitle Screen 12 : Main menu screen The subtitle display setting in (page20,user setting) allows the end-user to enable or dis- able subtitling. - Page 11 Settings (Digital) Settings (Digital) Factory settings This acknowledge pop-up allows you to erase all the custom parameters. If it is Screen 17 : confirmed, all services lists and user pref- Full scan channel installation erences are deleted and the TV restarts as for a “First Time installation”: Screen 20 : Factory settings Signal Information...
-
Page 12: Parental Control
Settings (Digital) Settings(Analog) Press “INPUT” button to select ATV. Parental Control The parental control item allows you to enable or disable the locking management. Tuning Automatic Tuning • Press the “MENU” button and press the “ ” button to select the TUNE, then press the “... -
Page 13: Fine Tune
Skipping Channels • Press the “ ” button to select Manual Install, then press the “ ” button to enter to Manual Install menu. If the tuning process has stored some channels that you do not use, these can be skipped so •... -
Page 14: Picture Menu
Picture Menu PC Adjust Menu In the picture menu, you can adjust the following parameters to your own preference. To adjust the Setting: Brightness 1. Press “MENU” button and press the “ ” button to select the PC ADJUST, then press the “... -
Page 15: Trouble Shooting
Trouble Shooting Technical Specification Power Supply AC 220 - 240V ~50Hz Your television is designed to give you trouble-free performance for many years. If you have a Power Consumption 35 W problem with your TV, try the solutions listed below. Remote Control Batteries AAA x 2 There is no picture or sound, or the TV doesn’t turn on.


Need help?
Do you have a question about the P1500LTD and is the answer not in the manual?
Questions and answers