Table of Contents
Advertisement
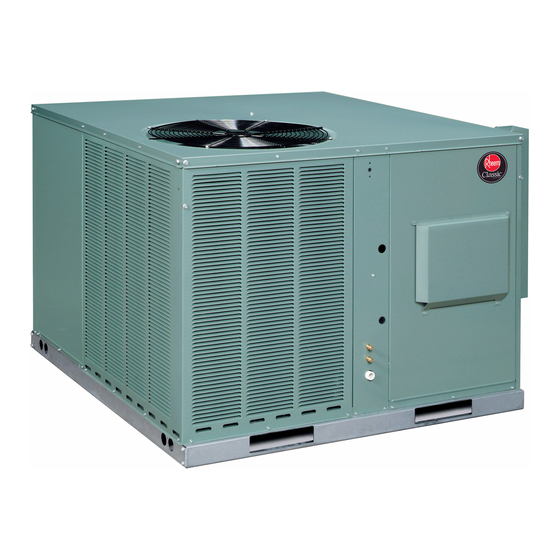
INSTALLATION INSTRUCTIONS
PACKAGE GAS ELECTRIC
FEATURING EARTH-FRIENDLY R-410A REFRIGERANT
RRNL- 13 SEER (2-5 TONS)
RRPL- 14 SEER (2-5 TONS)
RRRL- UP TO 16 SEER (2-5 TONS)
Seasonal Energy Efficiency Ratio (SEER)
RRNL
RRPL
13.0
14.0
—
10.6
Uses least energy
Annual Fuel Utilization Efficiency -
THIS MODEL
80.0%
MID
78%
82%
88%
ISO 9001:2000
RRRL
16.0
©
16.05
AFUE
HIGH
97%
(14 SEER &
ABOVE)
U.L. recognized fuel gas and CO (carbon monoxide) detectors are recommended in all
applications, and their installation should be in accordance with the manufacturer's
recommendations and/or local laws, rules, regulations, or customs.
r e f r i g e r a n t
92-21916-30-04
SUPERSEDES 92-21916-30-03
Advertisement
Table of Contents


Need help?
Do you have a question about the RRNL and is the answer not in the manual?
Questions and answers
Please confrm the minimum circcuit ampacity and FLA and RLA calues for this unit
The Rheem RRNL unit has the following electrical values:
- Minimum Circuit Ampacity: 26/26 amps for models B048CK06, B048CK08, B048CK10; 36/36 amps for models B048JK06, B048JK08, B048JK10
- FLA (Full Load Amps): 4.1 amps
- RLA (Rated Load Amps): 13.7/13.7 amps for B048CK models; 21.8/21.8 amps for B048JK models
This answer is automatically generated
What is the size of the start capacitor?
Where is the start capacitor located? I can't find it on any of the diagrams.