Table of Contents
Advertisement
Quick Links
Advertisement
Table of Contents

Summary of Contents for Russell Hobbs RHJM02
- Page 1 INSTRUCTIONS AND WARRANTY MODEL NO. RHJM02 FRESH TASTE JUICE MAKER...
-
Page 2: Important Safeguards
Congratulations on purchasing our Russell Hobbs Fresh Taste Juice Maker. Each unit is manufactured to ensure safety and reliability. Before using this appliance for the first time, please read the instruction manual carefully and keep it for future reference. IMPORTANT SAFEGUARDS... - Page 3 13. The use of accessory attachments that are not recommended or supplied by the manufacturer may result in injuries, fire or electric shock. 14. A short cord is provided to reduce the hazards resulting from becoming entangled in or tripping over a longer cord. 15.
-
Page 4: Parts Diagram
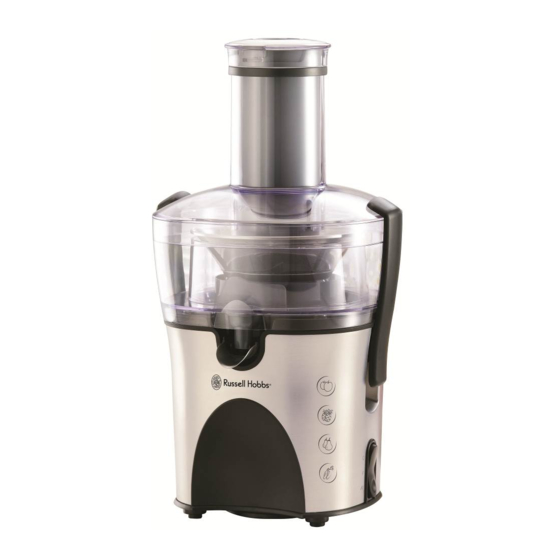
PARTS DIAGRAM Small Pusher Large Pusher Feeding tube Stainless Steel Filter Pulp container Juice stopper Juice spout Safety Clamp Main unit 10. Rubber Foot 11. Driving shaft 12. On/Off speed control 13. Cord storage OPERATING INSTRUCTIONS Take the cord out of the cord storage area at the bottom The filter is very sharp. - Page 5 Place the stainless steel filter into the driving shaft. Make sure that the filter is fitted securely onto the driving shaft (‘click’). Always check the filter before use. If you detect any cracks or damage, do not use the appliance. Click the two safety clamps onto the lid to lock it into place (‘click’).
- Page 6 Tips • Use fresh fruit and vegetables, as they contain more juice. Pineapples, beetroots, celery stalks, apples, cucumbers, carrots, spinach, melons, tomatoes, pomegranates, oranges and grapes are particularly suitable for processing in the juice extractor. • You do not have to remove thin peels or skins. Only thick peels, e.g. those of oranges, pineapples and uncooked beetroots need to be removed.
- Page 7 1 large apple, stalk removed 1 orange, peeled Process the fruits in the juicer, mix well, add a few ice cubes and serve immediately Temptation 6 apricots, seeded 2 cups melon, peeled 1/2 cup orange juice Process the fruits in the juicer. Mix the resulting extract well. Add 6 ice cubes. Serve immediately in medium-sized glasses garnished with strawberries or maraschino cherries and an orange slice.
-
Page 8: Cleaning And Maintenance
and sides of the mould with sponge fingers slightly moistened with the canned pineapple syrup. Then add a layer of cream and another layer of sponge fingers and so on. Finish with a layer of cream. Cool the cake in refrigerator for three hours and then remove it from the mould. -
Page 9: Storing The Appliance
• Do not immerse the appliance in water or any other liquid, or hold it under a running tap to clean. • To remove stubborn spots/marks, wipe the surfaces with a cloth slightly dampened in soapy water or mild non-abrasive cleaner. Rinse and dry a clean, dry, soft cloth. -
Page 10: Changing The Plug
CHANGING THE PLUG Should the need arise to change the fitted plug, follow the instructions below. This unit is designed to operate on the stated current only. Connecting to other power sources may damage the appliance. Connect a three-pin plug as follows: The wires in this mains lead are coloured in accordance with the following code: Green/Yellow = Earth Blue... - Page 11 PLEASE AFFIX YOUR PROOF OF PURCHASE/RECEIPT HERE IN THE EVENT OF A CLAIM UNDER WARRANTY THIS RECEIPT MUST BE PRODUCED. W A R R A N T Y Tedelex Trading (Pty) Limited (“Tedelex”) warrants to the original purchaser of this product (“the customer”) that this product will be free of defects in quality and workmanship which under normal personal, family or household use and purpose may manifest within a period of 1 (one) year from the date of purchase (“warranty period”).


Need help?
Do you have a question about the RHJM02 and is the answer not in the manual?
Questions and answers