Table of Contents
Advertisement
Quick Links
Download this manual
See also:
User Manual
Advertisement
Table of Contents

Subscribe to Our Youtube Channel
Related Manuals for Rosewill RNX-N150PCe


Summary of Contents for Rosewill RNX-N150PCe
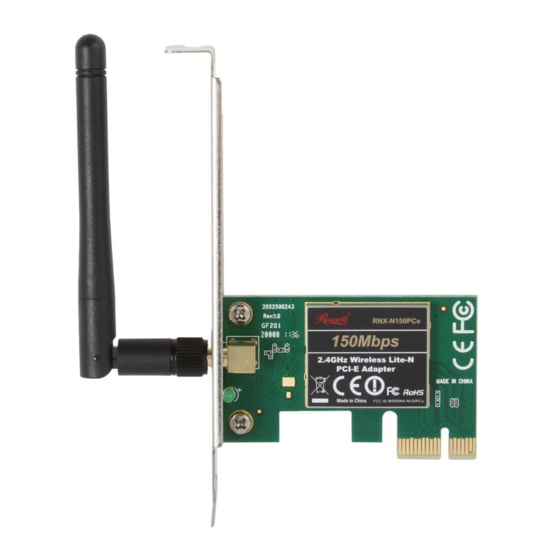
- Page 1 2.4GHz Wireless Lite-N PCI-E Adapter RNX-N150PCe Quick Installation Guide...
-
Page 2: Hardware Installation
2.4GHz Wireless Lite-N PCI-E Adapter RNX-N150PCe Quick Installation Guide The Quick Installation Guide will help you to install RNX-N150PCe 150M Wireless Lite-N PCI-E Adapter, including basic hardware and software installation, as well as configuration of wireless network availability. The Quick Installation bases on establishing an unencrypted wireless network. - Page 3 Double-click the icon , then the Wireless Lite-N Client Utility will appear, you can also run the utility by clicking Start→All programs→Rosewill→Wireless Lite-N Client Utility. On the prompted configuration tab page, click the Profile Management, and you will see the next screen (Figure 2).
- Page 4 2.4GHz Wireless Lite-N PCI-E Adapter RNX-N150PCe Quick Installation Guide Figure 3 In the screen above, highlight a network name and click Activate, then you will see the next screen (shown in Figure 4). Enter the Client Name and SSID, click OK and you can connect to the network.
-
Page 5: Software Installation For Windows 2000
2.4GHz Wireless Lite-N PCI-E Adapter RNX-N150PCe Quick Installation Guide Figure 5 After that, you will see the next screen (shown in Figure 6) with many available wireless network choices. You can highlight a network and then click Connect to add to a network. -
Page 6: Software Installation For Windows Vista
F. Software Installation for Windows Vista Insert the Resource CD into your CD-ROM drive. Find the CD/DVD drive where the installation CD was placed. Open RNX-N150PCe folder, and double-click Setup.exe. Then the following screen for preparing setup will appear. Figure 8 Follow the step-by-step instructions screen to complete InstallShield Wizard steps. - Page 7 2.4GHz Wireless Lite-N PCI-E Adapter RNX-N150PCe Quick Installation Guide Figure 9 The following screen (shown in Figure 10) will show you available wireless networks. Highlight the one you want to join in, and then click Connect. Figure 10 To continue, click Connect Anyway. To end the connection, click Cancel.
-
Page 8: Software Installation For Windows 7
H. Software Installation for Windows 7 Insert the Resource CD into your CD-ROM drive. Find the CD/DVD drive where the installation CD was placed. Open RNX-N150PCe folder, and double-click Setup.exe. Then the following screen for preparing setup will appear. Figure 12 Follow the step-by-step instructions in the continued prompted screens to complete InstallShield Wizard steps. - Page 9 2.4GHz Wireless Lite-N PCI-E Adapter RNX-N150PCe Quick Installation Guide Figure 13 If your wireless network is secured, you will be required to enter the security key as shown in Figure 14. Enter the passphrase, take 1234567890 for example. And then click OK.
-
Page 10: Wps Configuration
First, the WPS software should be installed. Insert the Resource CD into your CD-ROM drive. Double-click My Computer, and then double-click the CD/DVD drive where the installation CD was placed. Open RNX-N150PCe folder, and double-click wps.exe. Then you will see Figure 16. - Page 11 2.4GHz Wireless Lite-N PCI-E Adapter RNX-N150PCe Quick Installation Guide Figure 16 Please follow the clue of the continued screens to complete the WPS installation. After that, WPS function can be enabled. Here we will introduce two ways to configure the WPS (For the configuration of WPS. For more ways of WPS configuration, please refer to the User Guide inside the CD attached in package).
-
Page 12: Pin Method
2.4GHz Wireless Lite-N PCI-E Adapter RNX-N150PCe Quick Installation Guide Figure 19 and click Next. Figure 19 Then wait a minute until Figure 20 appears. Click Finish to complete the WPS configuration. Figure 20 2. PIN method Double click the icon on the desktop to open the WPS Utility and you will see Figure 21. - Page 13 Note: If you generate a new PIN code for your router, please enter the new one instead. Thank you for purchasing a quality Rosewill Product. Please register your product at: www.rosewill.com for complete warranty information and future support for your product. 7109504173...
Need help?
Do you have a question about the RNX-N150PCe and is the answer not in the manual?
Questions and answers