Razor Ground Force Owner's Manual
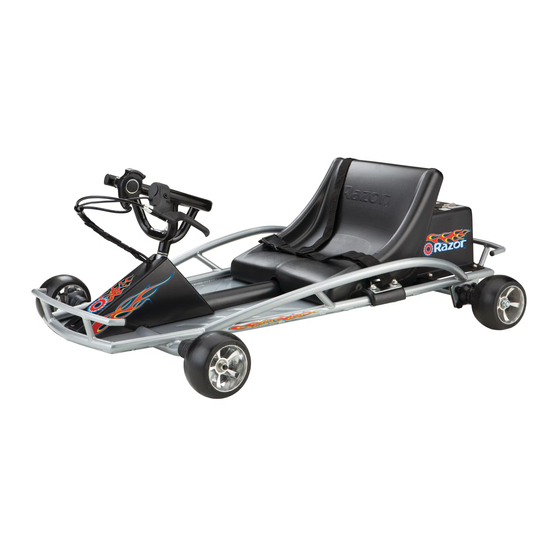
Electric-powered go kart
Hide thumbs
Also See for Ground Force:
- Owner's manual (16 pages) ,
- Controller installation manual (2 pages) ,
- Owner's manual (20 pages)
Table of Contents
Advertisement
TM
TM
TM
Electric-Powered Go Kart
Read and understand this entire manual before driving.
(Specifications subject to change without notice.)
Save this manual with your original sales receipt.
For service bulletins and answers to frequently asked questions, go to: www.razor.com.
For your records, write serial number (located on motor bracket)__________________
O w n e r ' s
M a n u a l
Item number: 300001-SL
Advertisement
Table of Contents

Subscribe to Our Youtube Channel
Related Manuals for Razor Ground Force


Summary of Contents for Razor Ground Force
- Page 1 (Specifications subject to change without notice.) Save this manual with your original sales receipt. For service bulletins and answers to frequently asked questions, go to: www.razor.com. For your records, write serial number (located on motor bracket)__________________ O w n e r ’ s...
-
Page 2: Table Of Contents
..... .2 2. Key Parts of the Ground Force ....4 3. - Page 3 • Do not exceed the weight limit of 120 pounds (see warning on back page). • Do not attempt or do stunts or tricks on your Ground Force. The Ground Force is not made to withstand abuse from misuse such as jumping, curb grinding or any other type of stunts.
-
Page 4: Key Parts Of The Ground Force
(auxiliary) WARNING: REGARDING USE OF NON-RAZOR PRODUCTS WITH YOUR RAZOR Ground Force. The Ground Force has been built to certain Razor design specifications. The original equipment supplied at the time of sale were selected on the basis of their compatibility with the frame, fork and all other parts. Certain after- market products may or may not be compatible. - Page 5 Razor Ground Force legally. In many states and local areas, riders are required BY LAW to wear a helmet. Check local laws and regulations regarding laws governing helmet use, age and vehicle operation in your area.
- Page 6 Figures 2b and 2c. Carefully turn the Ground Force on it’s side. We recommended that you have someone hold the Ground Force up or, alternately, you can lean it against a wall for the installation of the tie-rod to the steering axle.
-
Page 7: Attach The Seat
Figures 2a, 2b and 2c. Positioning the steering wheel for attachment to tie-rods. Tighten securely. Position the tie-rod control arm onto the steering axle as shown in Figure 3a and install the washers and fixing bolt. Using a 10mm wrench, tighten securely. Figure 3a and 3b. - Page 8 Figure 5b using the supplied screw, tighten securely. Figure 5a and 5b. WARNING: The seat belt arrangement suppled with the Ground Force is for “play” use only. It is not an ASTM-approved safety belt system and is not intended to function as an approved lap/shoulder/seat restraining device.
-
Page 9: The Brake
3E. The brake. The Ground Force is fitted with a hand-operated brake. To use the brake, squeeze the brake lever to increase the pressure on the brake until so you come to a smooth and controlled stop. -
Page 10: Circuit Breaker
An excessive overload, such as too heavy a driver or too steep a hill, could cause the motor to overheat. If the Ground Force suddenly stops running, wait a few seconds and then push the breaker to reset the circuit. Avoid whatever conditions caused... -
Page 11: Safety Check Before Riding
Check out the Razor website: www.razor.com for any updates on the latest maintenance, repair and trouble-shooting procedures. 5A. Adjusting the DRIVE CHAIN NOTE: Turn power switch off before maintenance procedures. - Page 12 NOTE: the motor cover does not need to be removed for this adjustment procedure. The chain adjustment can be checked tipping the Ground Force on it’s side and reaching under the cover (with power switch OFF). However, for the first time you make this adjustment we recommend you remove the cover to see exactly what is happening.
- Page 13 5B2. To replace a front wheel, make sure the bearings are seated and the center spacer is installed. Position the wheel so the Razor logo is toward the outside. Install the washer and tighten the self-locking nut securely. Refer to Figure 10 for assembly detail.
- Page 14 NOTE: The exact procedure for chain replacement may vary depending on how your Ground Force is configured. The following procedure is based on the design at time of publication of this Owner’s Manual. If your Ground Control does not look exactly like this, please check the Razor website (www.razor.com) for updates.
- Page 15 Figure 12a Figure 12b 4C4. Remove the brake guard and, using the small Allen key, loosen setscrew to release the brake drum. This may or may not require the loosening of the brake cable to gain access to the fixing screw. Loosen the drive pulley in the same manner. Slide the brake drum toward the drive pulley.
-
Page 16: Safety
6. Safety NOTE: The following RECOMMENDATIONS ARE excerpted from: ASTM F1928-98, “Standard safety Guide for Consumer recreational use of Fun-carts” Go kart shall not be operated with any modifications to the kart or it’s components. Go Karts shall not be operated to perform racing, stunt riding, jumps, spin-outs, donuts or other maneuvers which may cause loss of control, or may cause uncontrolled operator or kart actions or reactions, as such activities are likely to result in possible injury to the operator or bystanders or both. - Page 17 Never carry a passenger. Never hitch a ride with another vehicle. Driving the Ground Force may be a hazardous activity and has inherent dangers that no amount of care, caution, instruction or expertise can eliminate. Certain conditions may cause the equipment to fail without fault of the manufacturer. Activities involving the use of electric vehicles carry the risk of injury or death.
-
Page 18: Illustrated Parts Breakdown
SB 1918 (California) declaration: YOUR INSURANCE POLICIES MAY NOT PROVIDE COVERAGE FOR ACCIDENTS INVOLVING THE USE OF THIS SCOOTER/ELECTRIC VEHICLE. TO DETERMINE IF COVERAGE IS PROVIDED, YOU SHOULD CONTACT YOUR INSURANCE COMPANY OR AGENT. 8. ILLUSTRATED PARTS BREAKDOWN See Figure 14 (Specifications and parts list subject to change without notice) ITEM# DESCRIPTION... - Page 19 ILLUSTRATED PARTS BREAKDOWN Figure 14...
- Page 20 DO NOT RIDE UNLESS YOU CAN SAFELY RIDE AND CONTROL THE GROUND FORCE. Rider weight does not necessarily mean a persons’ size is appropriate to fit or maintain control of the Ground Force. Read additional warnings inside this manual.
Need help?
Do you have a question about the Ground Force and is the answer not in the manual?
Questions and answers