
Related Manuals for Russell Hobbs 14390


Summary of Contents for Russell Hobbs 14390
- Page 1 INSTRUCTIONS AND WARRANTY MODEL NO. 14390 RUSSELL HOBBS CURVED GLASS TOUCH TOASTER...
-
Page 2: Important Safeguards
Congratulations on purchasing our Russell Hobbs Glass Touch Toaster. Each unit is manufactured to ensure safety and reliability. Before using this appliance for the first time, please read the instruction manual carefully and keep it for future reference. FEATURES OF THE RUSSELL HOBBS GLASS TOUCH TOASTER... - Page 3 13. The area around the toasting slot gets very hot – don’t touch! 14. Don’t cover the toaster or put anything on top of it. 15. If the bread gets jammed, unplug the toaster, let it cool, and carefully remove the bread.
-
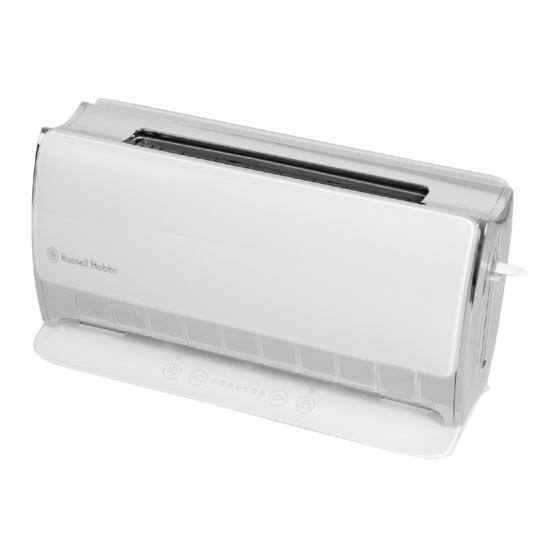
Page 4: Parts Diagram
31. Ensure that the switch is in the “Off” position after each use. 32. The manufacturer does not accept responsibility for any damage or injury caused by improper or incorrect use, or for repairs carried out by unauthorised personnel. 33. In case of technical problems, switch off the machine and do not attempt to repair it yourself. -
Page 5: Operating Instructions
OPERATING INSTRUCTIONS TOUCH CONTROLS Don’t press just touch them. • SLEEP MODE If you don’t touch the controls for 5 minutes, the lights will go out, to save • electricity. To wake the toaster, simply touch • BEFORE USING FOR THE FIRST TIME 1. - Page 6 Press the lever down fully, it won’t lock down unless the toaster is connected to the electricity supply. The browning level lights will count down: a) the lights on the right, will flash, the lights to the left, will glow b) the lights on the right will go out, the lights to the left, will flash c) this will go on until all the lights are out d) once they’ve all stopped glowing, the toast will pop up.
-
Page 7: Hints And Tips
HINTS AND TIPS 25. If you toasting more than one slice, use slices of similar size, thickness and freshness. 26. Old (yesterday’s) bread contains less moisture, so makes crisper toast. 27. Old or thin bread, crisps faster than fresh or thick bread-use a lower setting. 28. -
Page 8: Storing The Appliance
STORING THE APPLIANCE Unplug the unit from the wall outlet and clean all the parts as instructed above. • Ensure that all parts are dry before storing. Store the toaster in its box or in a clean, dry place. • Never store the toaster while it is still wet or dirty. -
Page 9: Changing The Plug
CHANGING THE PLUG Should the need arise to change the fitted plug, follow the instructions below. This unit is designed to operate on the stated current only. Connecting to other power sources may damage the appliance. Connect a three-pin plug as follows: The wires in this mains lead are coloured in accordance with the following code: Green/Yellow = Earth Blue... - Page 10 PLEASE AFFIX YOUR PROOF OF PURCHASE/RECEIPT HERE IN THE EVENT OF A CLAIM UNDER WARRANTY THIS RECEIPT MUST BE PRODUCED. W A R R A N T Y Tedelex Trading (Pty) Limited (“Tedelex”) warrants to the original purchaser of this product (“the customer”) that this product will be free of defects in quality and workmanship which under normal personal, family or household use and purpose may manifest within a period of 1 (one) year from the date of purchase (“warranty period”).
Need help?
Do you have a question about the 14390 and is the answer not in the manual?
Questions and answers