Table of Contents
Advertisement
USER GUIDE
Solo Single/Twin/Triple/Quad
Solo Single
Solo Single
Solo Single
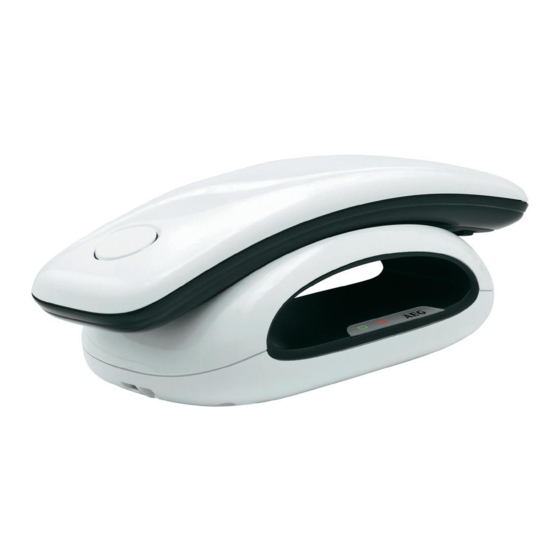
DECT Telephone
DECT
Telephone
DECT
DECT
Telephone
Telephone
Binatone Helpline
Binatone Helpline
Binatone Helpline
Binatone Helpline
(for UK only)
(for UK only)
(for UK only)
(for UK only)
Monday to Friday from 9:00am to 5:00pm
Tel: 0845 345 9677**
**Please note that all calls are charged at local rate
Or visit our websites: www.binatonetelecom.com
EMERGENCY
EMERGENCY TELEPHONE
EMERGENCY
EMERGENCY
ALTERNATIVE ARRANGEMENTS
ALTERNATIVE
ALTERNATIVE
ALTERNATIVE
Downloaded from
www.Manualslib.com
/Twin/Triple/Quad
/Twin/Triple/Quad
/Twin/Triple/Quad
www.binatonetelecom.com
www.binatonetelecom.com
www.binatonetelecom.com
www.iDECTonline.com
www.iDECTonline.com
www.iDECTonline.com
www.iDECTonline.com
THIS EQUIPMENT
THIS
THIS
THIS
EQUIPMENT IS IS IS IS NOT
EQUIPMENT
EQUIPMENT
TELEPHONE CALLS
TELEPHONE
TELEPHONE
ARRANGEMENTS SHOULD
ARRANGEMENTS
ARRANGEMENTS
TO EMERGENCY
TO
EMERGENCY SERVICES.
TO
TO
EMERGENCY
EMERGENCY
Before operating this set,
Before operating this set,
Before operating this set,
Before operating this set,
please read these instructions carefully.
please read these instructions carefully.
please read these instructions carefully.
please read these instructions carefully.
manuals search engine
NOT
NOT DESIGNED
NOT
DESIGNED FOR
DESIGNED
DESIGNED
FOR MAKING
FOR
FOR
CALLS WITHOUT MAINS POWER.
WITHOUT MAINS POWER.
CALLS
CALLS
WITHOUT MAINS POWER.
WITHOUT MAINS POWER.
SHOULD BE MADE
BE MADE FOR
SHOULD
SHOULD
BE MADE
BE MADE
SERVICES.
SERVICES.
SERVICES.
MAKING
MAKING
MAKING
FOR ACCESS
ACCESS
FOR
FOR
ACCESS
ACCESS
Advertisement
Table of Contents


Need help?
Do you have a question about the Solo Single and is the answer not in the manual?
Questions and answers