Table of Contents
Advertisement
Advertisement
Table of Contents

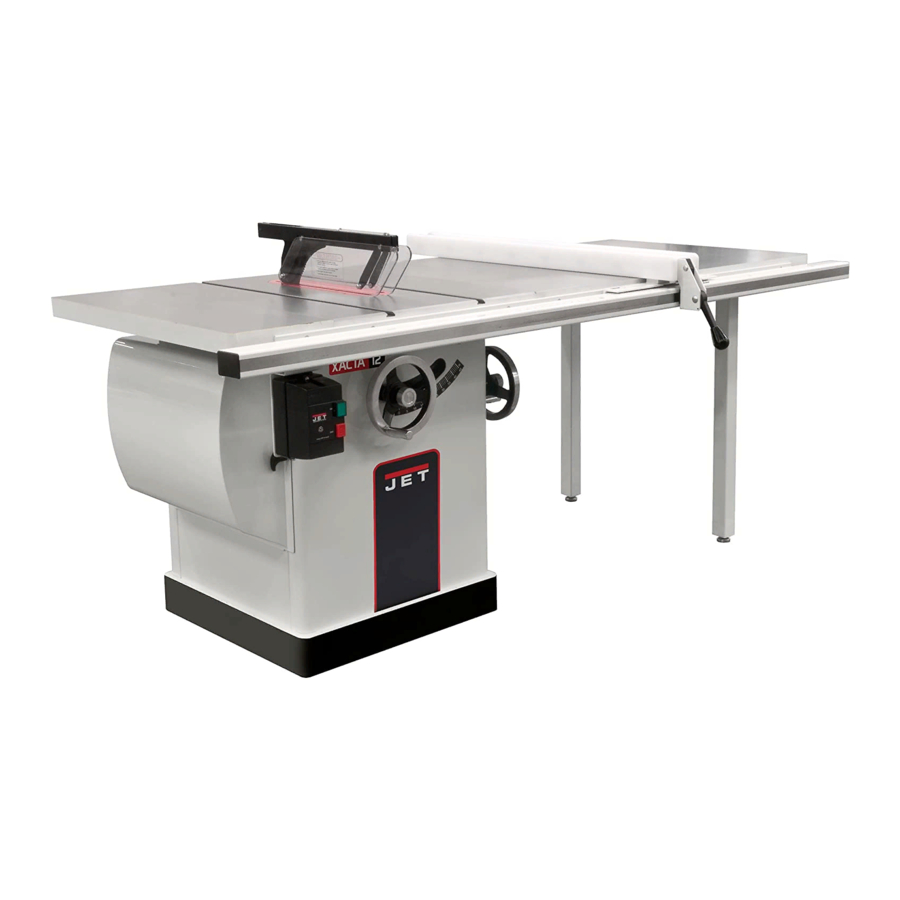
Summary of Contents for Jet JTAS-10
- Page 29 This Manual is Bookmarked Owner's Manual ® XACTA Fence II Commercial 30/50 WMH TOOL GROUP 2420 Vantage Drive Elgin, Illinois 60124 Part No. M-708950Z Ph.: 800-274-6848 Revision J 01/07 www.wmhtoolgroup.com Copyright © WMH Tool Group...
-
Page 30: Warranty And Service
Warranty and Service WMH Tool Group, Inc., warrants every product it sells. If one of our tools needs service or repair, one of our Authorized Service Centers located throughout the United States can give you quick service. In most cases, any of these WMH Tool Group Authorized Service Centers can authorize warranty repair, assist you in obtaining parts, or ®... -
Page 31: Table Of Contents
Tools required... 9 Installation ... 9 Guide Tube ... 10 XACTA Fence ... 11 Leveling Fence to the Saw Table ... 11 Adjusting Fence Parallel to the Miter Slot... 12 Clamping Pressure ... 12 90° to the Table... 12 Cursor Adjustment ... 12 Parts for the XACTA Fence II Commercial 30/50 ... -
Page 32: Warnings
Table Saw, do not use until proper training and knowledge have been obtained. 5. Do not use this Table Saw on which the XACTA Fence II is used for other than its intended use. If used for other purposes, WMH Tool Group disclaims any real or implied warranty and holds itself harmless from any injury that may result from that use. -
Page 33: Ordering Replacement Parts
The right tool will do the job better and safer. 26. Use recommended accessories; improper accessories may be hazardous. 27. Maintain tools with care. Keep saw blades sharp and clean for the best and safest performance. Follow instructions for lubricating and changing accessories. -
Page 34: Unpacking
Unpacking Open shipping cartons and check that all parts are intact. Report any damage immediately to your distributor. Read the instruction manual thoroughly assembly, alignment, instructions. Contents of the Shipping Containers XACTA Fence II Front Rail Rear Rail Guide Rail Black Plastic End Caps Hardware Package Owner’s Manual... -
Page 35: Installation
The hardware that secures the left extension table should be left loose to accommodate the switch installation (below). Switch Installation At this time refer to your JTAS-10, JTAS-12 or ® XACTA Saw manual and attach the switch as described in the Switch Installation section. The switch should be attached before the guide tube installation covered later in this manual. -
Page 36: Back Rail Installation
Figure 4. 3. Secure the back rail to the pre-tapped holes in the saw table (B, C, Fig. 4) with two 5/16 x 3/4 hex cap screws and two 5/16 flat washers, as shown in Figure 5. Tighten screws securely with a 1/2"... -
Page 37: Wooden Extension Table
(or warning label on the router table) should face outward. The extension table is not bolted to the saw table, it is bolted only to the rails. The extension table and saw table must be aligned properly so the XACTA Fence II will slide smoothly from one to the other. -
Page 38: Guide Tube
Important: Before proceeding with the guide tube installation, the table saw switch should already be installed. If not, refer to the Switch Installation section in your JTAS-10, JTAS-12 or XACTA manual. Referring to Figure 13: The guide tube (A) is placed on top of the front rail (B) and is mounted with the scale facing toward the operator. -
Page 39: Xacta Fence
Leveling Fence to the Saw Table 1. Place the fence on the table and lock it. 2. View the fence from the left side of the saw (Figure 16). Look for the space between the table and the fence bottom to be equal along the entire length of the fence (A, B, Fig. -
Page 40: Adjusting Fence Parallel To The Miter Slot
90° to the Table 1. Place the fence on the saw table and lock it. 2. Place a square (A, Fig. 19) on the table next to the fence. The fence should be 90° to the table. -
Page 41: Parts For The Xacta Fence Ii Commercial 30/50
Parts for the XACTA Fence II Commercial 30/50 Index No. Part No. Description Size 1 ...XF2-101 ...Left Side Plate..1 2 ...XF2-102 ...Fence Body Assembly ..1 3 ...XF2-103 ...Tube Cover ..1 4 ...XF2-104 ...Right Side Plate ..1 5 ...TS-0640071 ...Lock Nut ... -
Page 42: Parts For The Xacta Fence Ii Rail Assembly
Index No. Part No. 1 ...XF2-201 ...Front Rail (50”)..1 ...XF2-201A...Front Rail (30”)..1 2 ...TS-081F081 ...Flat Head Screw ... 1/4”-20 x 1-1/2” ... 7 3 ...TS-0680021 ...Flat Washer... 1/4”... 24 4 ...TS-0720071 ...Lock Washer ... 1/4”... 19 5 ...TS-0561011 ...Hex Nut ... -
Page 43: Parts For The Xacta Fence Ii Leg Assembly
Parts for the XACTA Fence II Leg Assembly Index No. Part No. Description Size 1 ...XF2-301 ...Leg ..2 2 ...TS-0561031 ...Hex Nut ... 3/8”-16... 2 3 ...XF2-303 ...Adjusting foot ..2 4 ...TS-1533052 ...Machine Screw ... M5×16... 8 Appendix –... - Page 44 WMH Tool Group 2420 Vantage Drive Elgin, Illinois 60124 Phone: 800-274-6848 www.wmhtoolgroup.com...


Need help?
Do you have a question about the JTAS-10 and is the answer not in the manual?
Questions and answers