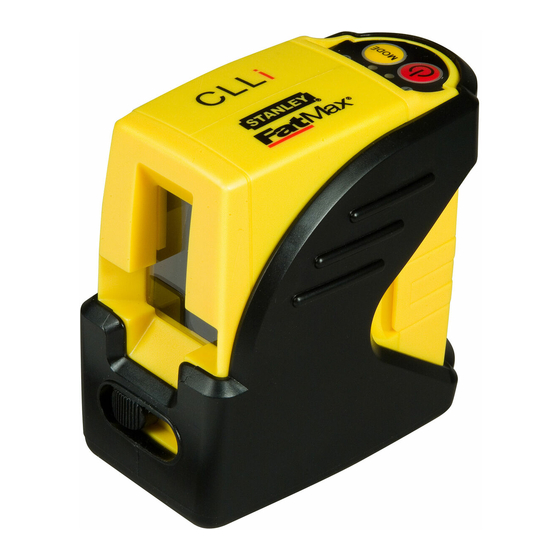
Summary of Contents for Stanley CLLi
- Page 1 2 - Beam Self-Leveling Cross Line Laser CLLi 77-117 Please read these instructions before operating the product Self-Leveling...
-
Page 2: Table Of Contents
Contents DO NOT remove any warning label(s) on the housing. This instrument must only be used for leveling and layout tasks as outlined in this manual. ALWAYS make sure that any bystanders in the vicinity of use are made aware of the Safety dangers of looking directly into the laser tool. -
Page 3: Safety
Declaration of Conformity WARNING: Batteries can explode or leak and can cause injury or fire. To reduce this risk: The Stanley Works declares that the CE Mark has been applied to this product in accordance with the CE Marking Directive 93/68/ ALWAYS follow all instructions and warnings on the battery label and package. -
Page 4: Product Overview
Product Overview Tripod Laser Unit 1/4 - 20 Screw Mount Elevator Column Window for Cross Beam Laser Adjustable Legs Transport Lock L-Type Bracket Keyboard Keyhole Slots Laser Warning Label 1/4 - 20 Screw Mount Battery Compartment Cover Pole Clamp 1/4 - 20 Threaded Mount Clamp 3 Pin Key Magnetic Mount... -
Page 5: Specifications
Specifications Operating Instructions Battery Installation / Removal Leveling Accuracy: ≤ 4 mm / 10 m (≤ 5/32 in / 30 ft) Horizontal / Vertical Accurracy ≤ 1.5 mm / 3 m (≤ 1/16 in / 10 ft) Turn laser unit to back. Open battery Lift Out Working Range: Self-Leveling to ±... - Page 6 Laser Unit Laser beam(s) will dim when battery power is low. Replace batteries. Transport lock in locked position. Self-leveling function is disabled. Locked Transport lock in unlocked position. Tripod Self-leveling function is enabled. Unlocked Press power key to power laser ON / OFF. 1/4 - 20 screw mount to attach laser unit.
- Page 7 L-Type Bracket, Pole Clamp, and Magnet Mount Applications Plumb: Using the vertical laser beam, establish a 1/4 - 20 screw mount to attach laser unit. vertical reference plane. Position the desired Allows for full 360° placement of the laser object(s) until they are aligned with the unit.
-
Page 8: Calibration
= 0,0048 x (D ft - (2 x D ft)) calculated maximum offset distance the Compare: unit must be returned to your Stanley ≤ ± Max Distributor. Example: D = 10 m, D = 0,5 m = 30,75 mm, D... - Page 9 = 0,006 maximum offset distance the unit must be Compare: Measure the horizontal distances between returned to your Stanley Distributor. ≤ Max and the vertical beam from the 2nd location. Example: D...
-
Page 10: Maintenance And Care
Store the laser unit in its case when not in use. If storing for extended time, remove batteries before storage to prevent possible damage to the instrument. To the extent permitted by law, Stanley Tools shall not be liable under this Warranty for indirect or consequential loss resulting from deficiencies in this product. - Page 11 © 2010 The Stanley Works Stanley Europe, Egide Walschaertsstraat 14-16, 2800 Mechelen, Belgium Issue 1 01/10 WWW.STANLEYWORKS.COM...


Need help?
Do you have a question about the CLLi and is the answer not in the manual?
Questions and answers