
Subscribe to Our Youtube Channel
Related Manuals for Caliber RCD277DBT


Summary of Contents for Caliber RCD277DBT
-
Page 1: Operation Instructions
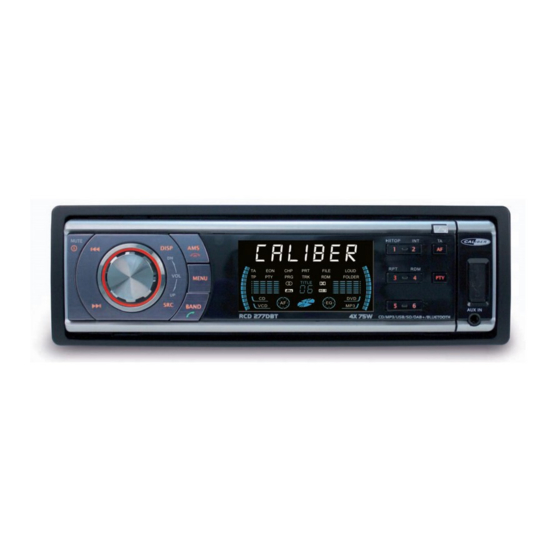
RCD277DBT Bluetooth/CD/MP3/SD/MMC/USB Player with DAB+/FM/AM tuner Operation Instructions... -
Page 2: Table Of Contents
Contents Safety Information Thank you for purchasing this product. Please data protection sheet to either side of a Safety Information ........1 read this manual carefully before operating and disc. Panel Controls ..........2 reserve it for future reference. • D o not expose a CD to direct sunlight or Other Instructions ......... -
Page 3: Panel Controls
Panel Controls Power on : Press any button on the panel except to turn on the unit. - Dial/Receive call 1. - Power on - Radio preset - Mute - While talking, press to transfer the call. Press 1~6 to listen to a preset station. - Press more than 2 seconds to power off. 6. - Press to select VOL/BAS/TRE/BAL/FAD, Hold 1~6 to store station. 8. - Program type 2. - Radio tune rotate the knob to adjust level. -
Page 4: Other Instructions
Other Instructions Press the button to open the panel and press to eject the disc. 1. - Disc eject 2. - Reset hole N ote: Pressing the RESET hole will erase the clock setting and stored stations. 3. - Panel status indicator L ights up when you flip the panel down; Twinkles when you remove the panel. -
Page 5: Remote Controls
Remote Control Operating range Replacing the lithium battery of 1. - Power on/off 2. - Volume remote control unit. Point the remote control unit to the remote 3. - Mute sensor when you operate with it. When the range of the operation of the card 4. - P ress to select VOL/BAS/TRE/BAL/FAD, use The remote control can operate within a remote control becomes short or no functions... -
Page 6: Usb/Sd/Mmc Mp3 Playback
USB/SD/MMC MP3 Playback Anti-Theft 1. Loading SD/MMC Card This unit is designed with a flip-down detachable panel. Press button to flip down the panel, insert the SD/MMC card into the slot, with the front The panel can be detached and taken side at left. Close the panel, the unit will play the with you, helping to deter theft. -
Page 7: General Operation
General Operation Disc Playback Power On/Off Button Note: Track skip: Press |<< or >>| briefly to go to the DAB Information(Press Disp Key): Press the MUTE/ button to turn the unit on next or previous track. Clock Disp->DLS Info ->PTY Disp->Signal when the vehicle ignition switch is on. Long Track seek: Press |<< or >>| for more than 2 Group Name Disp->Frequency Disp->Bit Rate press to turn the unit off. seconds to seek the forward or previous track. -
Page 8: Radio
Radio Operation RDS service availability varies with areas. Traffic Announcements Band Switch Please understand if RDS service is not Some RDS FM stations periodically provide P ress BAND button to select radio band as available in you area, the following service is traffic information. -
Page 9: Dab Operation
Radio Operation DAB Operation is updated by EON data. EON enables the Band Switch radio to make fuller use of RDS information. P ress BAND button to select DAB band as It constantly updates the AF list of preset follows: BAND1-> BAND2->BAND3 stations, including the one that currently tuned into. -
Page 10: Mp3 Playback
MP3 Playback MP3 Overview Searching Folders/Files Note on MP3 While playing MP3 disc/USB/SD/MMC- MP3 MUSIC, the folder/file name and ID3 1. P ress the AMS button twice and press “MP3” technology (mpeg audio layer3) TAG (Song title, Album and Artist) can scroll MENU button to access the “FILE SCH”... - Page 11 MP3 Overview Note on creating your own CD-Rs or • T he unit support multi-session disc with • S upport ID3 tag Version 1.XX and 2.XX, up to 16 characters can be displayed for MIXED & EXTRA format, but plays the CD-RWs containing MP3 files the title of the song, album and the artist.
-
Page 12: Bluetooth Operation
Bluetooth Operation Exit Pair Receive Note: For your safety, avoid talking on the phone as A f t e r p a i r s u c c e s s f u l l y , i f y o u w a n t t o 1. A fter pair successfully, if there is a call much as possible while driving. -
Page 13: Music Mode
Menu Function Bluetooth Operation Music Mode 2. W hen pairing, some types of mobile phone Press the MENU button more than 2 seconds hint that how to operate, for example, to enter menu mode, then each press changes A2DP when you make a phone call by the the mode, rotate the VOL knob to adjust. A2DP is short for Advanced Audio Distribution unit, if the mobile phone voice dosn’t be Profile. -
Page 14: Menu Function
Menu Function VOL LAST/ADJUST mode TA VOL functions saved in the buttons of steering wheel settings are cleared, you need reset Rotate the knob to adjust TA volume. Press MENU button to choose VOL LAST, them one by one once again, the method the turn-on volume level is the volume level of is same to the above step 1 and step 2. -
Page 15: Electrical Connections
Electrical Connections Wiring Diagram (Black) Microphone SWC (Steering Wheel Control) (Black) Antenna (Black) R(Red) Rear line out (Gray) L(White) Function For some VW/Audi or Opel(vauxhall) car models, you may need to Location Connector A Connector B modify wiring of the supplied power cord as illustrated, or else the Rear Right (+) / Purple memory of the unit may be lost after you power off. -
Page 16: Installation Guide
Installation Guide Install the unit Installing the panel Installation Procedures Important: • H old the panel and ensure the panel faces First complete the electrical connections, and Remove the two screws on the top of the unit dwonward, and at an angle set one side of check for correctness. -
Page 17: Troubleshooting
Troubleshooting If you suspect something is wrong, immediately switch power off. Do not use the unit in abnormal condition, for example without sound, or with smoke or foul smell, can cause fire or electric shock. Immediately stop using it and call the store where you purchased it. Never try to repair the unit yourself because it is dangerous to do so. General Car’s engine switch is not on. Turn your car’s key to ACC or ON. Cable is not correctly connected. Check connection. -
Page 18: Specifications
Specifications General AM(MW) Radio Power supply 1 2V DC(11V-16V) Test voltage 14.4V, Frequency range 5 22 – 1710KHz negative ground Usable sensitivity(S/N=20dB) 30dBμ Max.current consumption — — — — — — — — — — — — — — — — — — — —— — — — — — — — — —— Components Maximum power output 50Wx4 channels... - Page 19 PN: 127075003363...
Need help?
Do you have a question about the RCD277DBT and is the answer not in the manual?
Questions and answers