
Subscribe to Our Youtube Channel
Related Manuals for Alto MONITOR


Summary of Contents for Alto MONITOR
- Page 1 User's Manual PA/MONITOR ALTO MONITOR PROCESSOR www.altoproaudio.com Version 1.4 September 2005 English...
- Page 2 SAFETY RELATED SYMBOLS Fuse To prevent fire and damage to the product, use only the recommended fuse type as indicated in this CAUTION manual. Do not short-circuit the fuse holder. Before RISK OF ELECTRIC SHOCK DO NOT OPEN replacing the fuse, make sure that the product is OFF and disconnected from the AC outlet.
- Page 3 LTO Monitor PA/Monitor Processor is based on many years of experience and is designed to provide a precise equalization to studio engineer and sound contractor. It can be used to modify the frequency "contour" of a sound, eliminate the unwanted frequencies and suppress the feedback well.
-
Page 4: Table Of Contents
- In Line Connection - Insert Points Connection 4.3 Rack Mounting 5. APPLICATION ............................9 5.1 Using your LTO Monitor PA Processor in a Monitor system 6. TECHNICAL SPECIFICATIONS ......................10 7. BLOCK DIAGRAM ..........................11 8. WARRANTY ........ -
Page 5: Introduction
Monitor PA Processor. It is really efficient for PA monitor. Your LTO Monitor PA Processor is based on many years of experience and is designed to provide studio engineer and sound contractor with a precise equalization. It can be used to modify the frequency "contour" of a sound, eliminate the unwanted frequencies and suppress the feedback well. - Page 6 FILTER GAIN controls (5) These controls will boost or attenuate (either 6dB or 12dB) the select frequencies. When all slider potentio- meters are set in center position, the frequency response is flat (no boost and attenuate). RANGE switch (6) This switch is used to choose the gain range of the filter potentiometer either +6dB or +12dB. Up for +6dB, down for +12dB.
-
Page 7: The Rear Panel
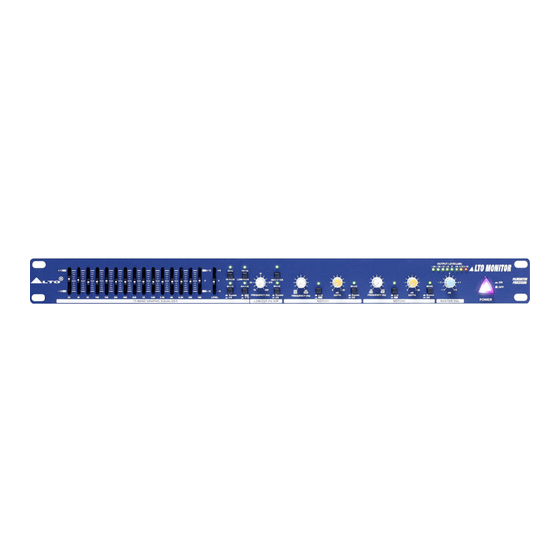
DEPTH switch (21) Rotate this knob to adjust the variation, which can be varied from 0dB to -20dB. (23) OUTPUT LEVEL(dB) LTO MONITOR PA/MONITOR PROCESSOR Û Û POWER MASTER VOL. -
Page 8: Installation & Connection
Country before plugging in the power cord into the AC socket. 4.2 Audio Connection Balanced XLR plus 1/4" TRS connectors are available on your LTO Monitor PA/Monitor Processor . In this way you can interface your LTO Monitor in several different ways without experiencing any noise or signal loss. -
Page 9: Insert Points Connection
The most secure mounting is on a universal rack shelf available from various rack manufactures or your music dealer. The LTO Monitor PA/Monitor Processor fit into one standard 19" rack unit of space. Be sure that there is enough air space around the unit for sufficient ventilation and please do not place the LTO Monitor PA/Monitor Processor on high temperature devices such as power amplifiers etc. -
Page 10: Application
Monitor PA Processor in a Monitor system In monitor system, how to get the pure and natural sound? How to get the sufficient gain before feedback occurs? How to eliminate the noise? Many top music engineers and performers have been searching for the solution for a long time... -
Page 11: Technical Specifications
6. TECHNICAL SPECIFICATIONS AUDIO INPUT Type Active balanced XLR and 1/4" JACK Impedance Balanced: 50kOhm Unbalanced: 25kOhm Operating level +4dBu/ 10dBV Maximum input level Balanced and Unbalanced: +19dBm >55dB @1kHz CMRR AUDIO OUTPUT Type XLR and 1/4" JACK Impedance Balanced: 60Ohm Unbalanced: 30Ohm Maximum output level +21dBm SYSTEM SPECIFICATIONS... -
Page 12: Block Diagram
7. BLOCK DIAGRAM... -
Page 13: Warranty
8. WARRANTY 1. WARRANTY REGISTRATION CARD To obtain Warranty Service, the buyer should first fill out and return the enclosed Warranty Registration Card within 10 days of the Purchase Date. All the information presented in this Warranty Registration Card gives the manufacturer a better understanding of the sales status, so as to purport a more effective and efficient after-sales warranty service. - Page 14 No. 1, Lane 17, Sec. 2, Han Shi West Road, Taichung 40151 Taiwan http://www.altoproaudio.com Tel: 886-4-22313737 email: alto@altoproaudio.com Fax: 886-4-22346757 All rights reserved to ALTO. All features and content might be changed without prior notice. Any photocopy, translation, or reproduction of part of this manual without written permission is forbidden. Copyright 2005 SEIKAKU GROUP NF 01356-1.4...
Need help?
Do you have a question about the MONITOR and is the answer not in the manual?
Questions and answers