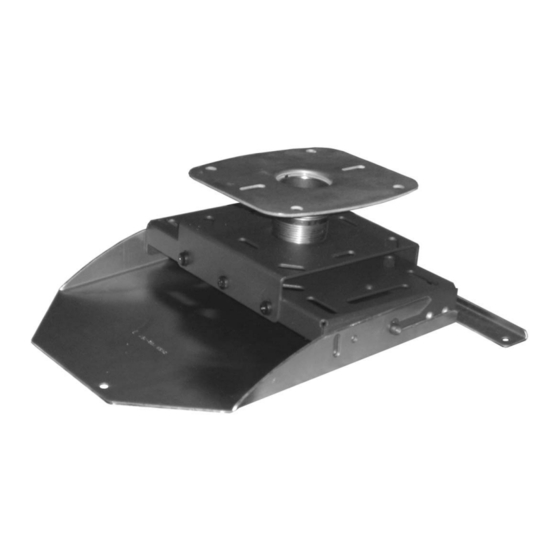
Summary of Contents for InFocus SP-CEIL-012
-
Page 1: Installation Manual
INSTALLATION MANUAL SP-CEIL-012 InFocus Corporation 27700B S.W. Parkway Ave. Wilsonville, OR 97070-9215 1-800-294-6400 www.infocus.com IN-SPECEIL012.R2... - Page 2 PBL-110 Projector Mount Page - 2 - Installation Manual...
-
Page 3: Table Of Contents
SP-CEIL-012 Table of Contents Warning Statements ...- 4 - Parts List ...- 5 - Installation Tools ...- 5 - Ceiling and Wall Installation ...- 6 - Adjustable Height ...- 7 - Adjustments and Extension Arm ...- 8 - Mount Installation...- 9 - Troubleshooting Procedures ...- 11 -... -
Page 4: Warning Statements
Recommended mounting surfaces: wooden studs and solid-flat concrete. If the mount is to be installed on any surface other than wooden studs, use suitable hardware (which is commercially available). Page - 4 - Warning Statements Contact InFocus Corporation with any questions. SP-CEIL-012 Installation Manual... -
Page 5: Parts List
SP-CEIL-012 Parts List NOTE: This mount is shipped with all proper installation hardware and components. Make sure that none of these parts are missing and/or damaged before beginning installation. If there are parts missing and/or damaged, please stop the installation and contact InFocus Corporation (800-294-6400). -
Page 6: Ceiling And Wall Installation
3. Start to secure the plate to the outer mounting points first. The plate may travel ½" front to back from center. 4. Secure the final wood screw to the center of the upper plate (Figure 1). Page - 6 - ® will be installed. The two (2) center mounting SINGLE STUD Figure 1. Single Stud Installation SP-CEIL-012 Installation Manual... -
Page 7: Adjustable Height
SP-CEIL-012 Adjustable Height 1. Screw the fully threaded nipple all the way into the secured top plate. Use the jam screw (supplied) to secure the pipe (Figure 2). 2. Screw the PBC coupling all the way onto the threaded nipple or (optional) 1-1/2" pipe and secure the M6 x 12 Phillip screw (Figure 3). -
Page 8: Adjustments And Extension Arm
SP-CEIL-012 Adjustments and Extension Arm SP-EXTARM-01 SP-EXTARM-02 SP-EXTARM-03 SP-EXTARM-04 Contact InFocus for extensions. Adjustments • Roll & pitch greater than ± 20° from center. • Quick positive release with positive security lock. • 360° yaw. • Cables can be routed inside the adjustable column of 1.5” piping. -
Page 9: Mount Installation
SP-CEIL-012 Mount Installation 1. Invert the projector and place it on a soft and flat surface. Locate the three (3) 6 (mm) mounting points found on the bottom of the projector. 2. Secure the mounting bracket using the three (3) 6 (mm) x 12 (mm) Phillip Head screws (supplied). - Page 10 3. Install the two (2) angle locking screws adjust the angle, lock it, and then tighten the hinge pin screws. Page - 10 - SP-CEIL-012 Figure 7 Figure 8 Installation Manual...
-
Page 11: Troubleshooting Procedures
SP-CEIL-012 Troubleshooting Procedures QUESTION: My projector mount must be set at an angle to be viewed properly on the wall, but the projector will not hold at this position. Why is this? ANSWER: The angle adjustments are not tight; they must be tightened. -
Page 12: Technical Specifications
Technical Specifications Page - 12 - 6.00 4.50 Figure 5. Technical Dimensions SP-CEIL-012 4.50 6.75 Installation Manual... -
Page 13: Warranty
SP-CEIL-012 Warranty Limited Lifetime Warranty All products carry a limited lifetime warranty from ship date against defects in materials and workmanship. InFocus Corporation is not liable for improper installation that results in damage to mounts, adapters, display equipment or personal injury. -
Page 14: Notes
SP-CEIL-012 Notes InFocus Corporation 27700B S.W. Parkway Ave. Wilsonville, OR 97070-9215 1-800-294-6400 www.infocus.com Page - 14 - Installation Manual IN-SPECEIL012.R2...


Need help?
Do you have a question about the SP-CEIL-012 and is the answer not in the manual?
Questions and answers