Table of Contents
Advertisement
Advertisement
Table of Contents

Related Manuals for Westinghouse WTM1800WC


Summary of Contents for Westinghouse WTM1800WC
-
Page 1: User Manual
USER MANUAL Top Mount Frost Free Refrigerator Freezer WTM1800WC WTM2000WC... -
Page 2: Table Of Contents
. We are sure you will find your new WTM1800WC features . . . . . . . . . . . . . . 4 appliance a pleasure to use . -
Page 3: Important Safety Instructions
iMpoRtANt SAfEtY iNStRUctioNS WARNING The refrigerator must be plugged into its own dedicated 220-240V, 50Hz AC electrical outlet . Please read the user manual carefully and store in a handy The plug must be accessible when the refrigerator is place for later reference . in position . -
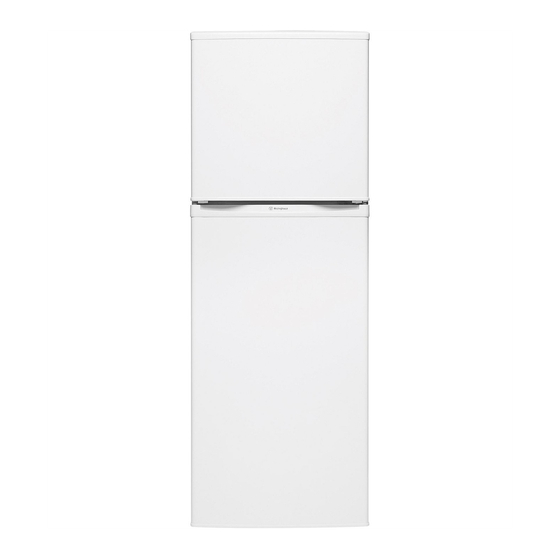
Page 4: Wtm1800Wc Features
Top cover Temperature sensor 17 Top freezer bin Freezer control slide 10 Fast chill zone sticker 18 Bottom freezer bin Fan housing 11 Light switch 19 Egg trays Wire freezer shelf 12 Wire shelves 20 Full width fridge door bin... -
Page 5: Wtm2000Wc Features
wtM2000wc fEAtURES Top cover Chiller drawer 17 Levelling legs Freezer control slide 10 Light 18 Door gaskets/seals Fan housing 11 Temperature sensor 19 Freezer bin Wire freezer shelf 12 Fast chill zone sticker 20 Egg trays Ice bin 13 Light switch 21 Full width fridge door bin Ice tray 14 Wire shelves... -
Page 6: Installing Your New Appliance
iNStALLiNG YoUR NEw AppLiANcE 1 . Move the appliance into its final position . AdEqUAtE vENtiLAtioN ARoUNd YoUR REfRiGERAtoR. Before you move your appliance into the place where it 2 . If the appliance is not tilting back as described earlier, will operate, check that it will have adequate clearance . -
Page 7: Initial Start-Up
iNitiAL StARt-Up USiNG YoUR AppLiANcE Your appliance was cleaned and polished before it left GENERAL iNfoRMAtioN the factory . Before use, dust and wipe over inside and out The refrigerator/freezer transfers heat from food placed using a clean dry cloth . This product is designed to operate inside to the outside air . -
Page 8: Using Your Appliance
USiNG YoUR AppLiANcE Freezer Compartment icE MAKiNG To make ice cubes, fill the ice tray with water and place • Do not store bottles in the freezer compartment as they it in the ice box . Avoid filling above the ice box grid to may break when frozen . -
Page 9: Removing/Replacing Chiller Door & Drawer
There is a node on each side at the top of the chiller door . These ‘nodes’ allow the door to swivel open and shut and iNStRUctioNS foR ModEL wtM1800wc also secure the door to ‘C ’ shaped clips on each side of 1 . -
Page 10: Replacing The Lamp (Wtm2000Wc)
LAMp REpLAcEMENt 5 . Unscrew the light bulb in an anti-clockwise direction . iNStRUctioNS foR ModEL wtM2000wc 1 . Switch off the power at the power point and remove the cord by pulling the plug . 2 . Remove the screw from the centre of the control panel . 3 . -
Page 11: General Information
cLEANiNG tHE REfRiGERAtoR ALwAYS do tHiS WARNING Check the power point is properly earthed – if you are not BEFORE CLEANING: Turn the refrigerator off at the power sure get an electrician to check it . point and unplug the cord to prevent any chance of Switch off and unplug the refrigerator at the power point electrocuting yourself . -
Page 12: Reversing The Door Opening Direction
REvERSiNG tHE dooR opENiNG diREctioN In this example, the operation is reversed from right side hinging to left side hinging . pREcAtioNS • Turn off the appliance • Unplug the power cable • Remove all food from the appliance • Remove shelves and baskets •... - Page 13 REvERSiNG tHE dooR opENiNG diREctioN iNStRUctioNS (coNtiNUEd) • Remove the plug (11) – if supplied with your appliance – from the hole in the top left of the refrigerator door and press firmly into the hole on the top right of the door •...
-
Page 14: Troubleshooting
wHAt to do bEfoRE cALLiNG foR SERvicE pRobLEM SoLUtioN pRobLEM SoLUtioN When the motor Your new refrigerator has a large fridge Refrigerator is not • Check that the power cord is plugged seems to run more than and freezer section to keep cool . So it is operating into the power outlet properly and that expected... -
Page 15: Warranty
Warranty FOR SALES IN AUSTRALIA AND NEW ZEALAND APPLIANCE: REFRIGERATION Electrolux authorised representative, the Appliance is transported at the This document sets out the terms and conditions of the product owner’s cost and risk while in transit to and from Electrolux or its ASC. warranties for Electrolux Appliances. It is an important document. Please keep it with your proof of purchase documents in a safe place 6. P roof of purchase is required before you can make a claim under for future reference should you require service for your Appliance. - Page 16 The Electrolux Group to consumers including delivery, home service and spare parts . westinghouse. we are part of the Electrolux family. Share more of our thinking at www.electrolux.com © 2011 Electrolux Home Products Pty Ltd ABN 51 004 762 341...
Need help?
Do you have a question about the WTM1800WC and is the answer not in the manual?
Questions and answers