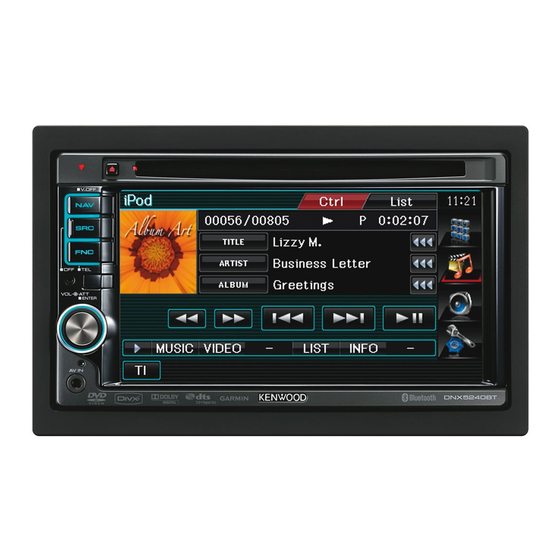
Kenwood DNX5240BT Installation Manual
Gps navigation system monitor with dvd receiver
Hide thumbs
Also See for DNX5240BT:
- Instruction manual (28 pages) ,
- Instruction manual (96 pages) ,
- Service manual (72 pages)
Summary of Contents for Kenwood DNX5240BT
- Page 1 GPS NAVIGATION SYSTEM DNX5240BT DNX5240 MONITOR WITH DVD RECEIVER DDX5024 DDX5054 DDX54R INSTALLATION MANUAL © B54-4692-00/00 (EW/QW/Q2W)
- Page 2 Accessories ..1 ..2 ..1 DNX5240BT/DNX5240 only ..1 ..1 DNX5240BT only ..1 DDX5054/DDX54R only ..1 ..1 DNX5240BT/DNX5240/DDX5024/DDX5054/DDX54R...
-
Page 3: Installation Procedure
Acquiring GPS Signals which they correspond. The unit may be damaged or fail to The first time you turn on the DNX5240BT/DNX5240, work if you share the - wires or ground them to any metal you must wait while the system acquires satellite part in the car. - Page 4 Power control/ Motor antenna control wire (Blue/White) Connect either to the power control terminal when using the optional power amplifier, or to the antenna control terminal in the vehicle. If no connections are made, do not let the cable come out from the tab. DNX5240BT/DNX5240/DDX5024/DDX5054/DDX54R...
- Page 5 Cooling fan Bluetooth Microphone (Accessory 6) (DNX5240BT only) (see page 11) GPS Antenna input GPS Antenna (Accessory 4) (DNX5240BT/DNX5240 only) (see page 11) FM/AM antenna input (JASO) FUSE ( 15A ) Wiring harness (Accessory 1) REVERSE REMO.CONT MUTE ANT. CONT...
-
Page 6: Connecting Wires To Terminals
To link the unit’s power to the ignition, connect the ignition cable (ACC...red) to a power source that can be turned on and off with the ignition key. DNX5240BT/DNX5240/DDX5024/DDX5054/DDX54R... -
Page 7: System Connection
System Connection USB device USB terminal (commercially available) Do not connect. ■ Audio Input Resistance-free stereo type mini plug ■ Visual Input Resistance-free mini plug ■ Rear View Camera Input • Visual input (Yellow) ■ Audio/Visual Output • Visual output (Yellow) ■... -
Page 8: Optional Accessory Connection
(DDX5024/DDX5054/DDX54R only) (Yellow) USB terminal USB terminal Navigation System (Optional Accessory) Audio Input (Black) KCA-BT200 input (Optional Accessory) (DNX5240/DDX5024/DDX5054/ DDX54R only) TV Tuner (Optional Accessory) Connection cable (Included in the Navigation System) Connection cable (Included in the TV tuner) DNX5240BT/DNX5240/DDX5024/DDX5054/DDX54R... - Page 9 Make sure that the unit is installed securely in place. If the unit is unstable, it may malfunction (eg, the sound may skip). Installing the Escutcheon (DNX5240BT/DNX5240/DDX5024 only) 1. Attach accessory 3 to the unit. Accessory 3...
- Page 10 7 cut-out against the center rib as illustrated. Use 2 pieces of accessory 8 for 1 accessory 7 cut-out. For Volkswagen 3. Attach accessory 7 cut-out to the unit. 1. Attach accessory 3 to the unit. Accessory 8 Accessory 3 DNX5240BT/DNX5240/DDX5024/DDX5054/DDX54R...
-
Page 11: Installing The Gps Antenna
Installing the GPS Antenna Installing the Microphone Unit (DNX5240BT/DNX5240 only) (DNX5240BT only) GPS antenna is installed inside of the car. It should 1. Check the installation position of the microphone (accessory 6). be installed as horizontally as possible to allow easy reception of the GPS satellite signals. -
Page 12: Removing The Unit
2. When the lower level is removed, remove the upper two locations. ⁄ • Be careful to avoid injury from the catch pins on the removal tool. 4. Pull the unit all the way out with your hands, being careful not to drop it. DNX5240BT/DNX5240/DDX5024/DDX5054/DDX54R...


Need help?
Do you have a question about the DNX5240BT and is the answer not in the manual?
Questions and answers