DeLonghi ECAM23.210 Instructions For Use Manual
Bean to cup espresso and cappuccino machine
Hide thumbs
Also See for ECAM23.210:
- Instructions for use manual (7 pages) ,
- Get started (17 pages) ,
- Manual (37 pages)
Table of Contents
Advertisement
Advertisement
Table of Contents
Troubleshooting

Related Manuals for DeLonghi ECAM23.210


Summary of Contents for DeLonghi ECAM23.210
- Page 1 BEAN TO CUP ESPRESSO AND CAPPUCCINO MACHINE Instructions for use ECAM23.210...
-
Page 6: Table Of Contents
CONTENTS Cleaning the coffee spouts ....... 15 Cleaning the pre-ground coffee funnel ..... 15 INTRODUCTION ........7 Cleaning the infuser ......... 15 Letters in brackets ..........7 DESCALE .........16 Troubleshooting and repairs ......7 SETTING WATER HARDNESS ....17 SAFETY ..........7 Measuring water hardness ....... -
Page 7: Introduction
INTRODUCTION SAFETY Thank you for choosing the ECAM 23.210 auto- Fundamental safety warnings matic coffee and cappuccino maker. We hope you enjoy using your new appliance. Danger! Take a few minutes to read these instructions. This is an electrical appliance and may cause This will avoid all risks and damage to the ma- electric shock. -
Page 8: Designated Use
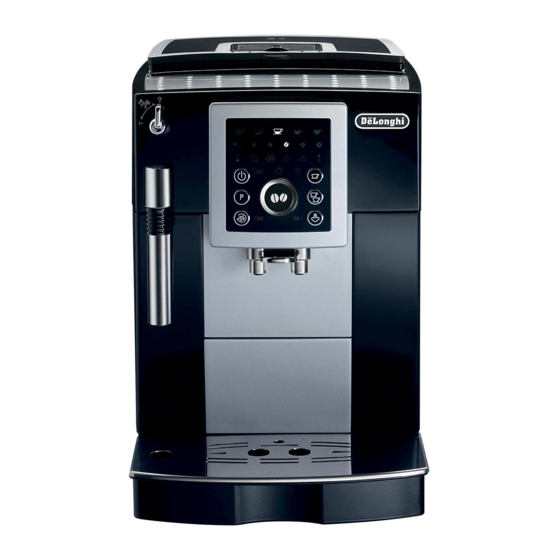
DESIGNATED USE DESCRIPTION This appliance is designed and made to prepare Description of the appliance coffee and heat drinks. (page 3 - All other use is considered improper. A1. Control panel This appliance is not suitable for commercial A2. Grinding adjustment knob use. -
Page 9: Description Of The Accessories
Description of the accessories PRELIMINARY CHECKS (page 2 - Checking the appliance C1. Measure After removing the packaging, make sure the C2. Cleaning brush product is complete and undamaged and that all C3. Descaler bottle accessories are present. C4. Water softener filter (certain models only) Do not use the appliance if it is visibly damaged. -
Page 10: Turning The Appliance On
for there to be traces of coffee in the mill. The appliance is ready for use only after comple- The machine is, however, guaranteed to be tion of this cycle. new. Danger of burns! During rinsing, a little hot water comes out of soon as possible following the instructions the coffee spouts and is collected in the drip tray in the section “Setting water hardness”... -
Page 11: Auto-Off
Auto-off mes on. 3. Press the button. The OK light flashes. Please note 4. Press the button to activate, or The appliance is set to turn off automatically if deactivate, the energy saving mode; not used for 2 hours. 5. Press the button to exit the menu. -
Page 12: Making Coffee
20-180 l 40 l 60 l 90 l 120 l how many times the water softener filter has been replaced. 5. The quantities are indicated by the flashing beans as follows: TENS OF MY COFFEE THOUSANDS THOUSANDS HUNDREDS TENS UNITS Customising the “my coffee”... -
Page 13: Tips For A Hotter Coffee
Tips for a hotter coffee Important! For a hotter coffee, before delivery you are re- commended to: thin and not creamy enough or too cold, read the tips in the “Troubleshooting” section on page 21. button. Hot water flows out of the coffee Lights may be displayed on the control pa- spouts and heats the internal circuit of the machine so that the coffee delivered will be... -
Page 14: Cleaning The Cappuccino Maker After Use
To avoid milk with poor froth or large bub- outwards and remove it by pulling it down- bles, always clean the cappuccino maker as wards (fig. 19). described in the section “Cleaning the cap- 3. Remove the nozzle downwards (fig. 20). puccino maker after use”. -
Page 15: Cleaning The Coffee Grounds Container
alcohol to clean the coffee maker. tainer (fig. 23); With De’Longhi superautomatic coffee ma- 2. Empty the drip tray and grounds container kers, you need not use chemical products to and wash them; clean the machine. 3. Check the condensate tray and empty if ne- The descaler recommended by De’Longhi is cessary. -
Page 16: Descale
Important! 8. Close the infuser door. The infuser may not be extracted when the ma- 9. Replace the water tank. chine is on. 1. Make sure the machine is correctly turned off (see “Turning the appliance off” on page 10). 2. -
Page 17: Setting Water Hardness
Level 1 9. Press the button to confirm introduc- tion of the solution. The light flashes telling you to turn the steam knob. Level 2 10. Turn the steam knob to the I position The descaling programme starts and the descaler liquid comes out of the cappuccino Level 3 maker. -
Page 18: Replacing The Filter
bubbles to escape (fig. 31). 12. Turn the steam knob and press the 5. Insert the filter in the filter housing (fig. 32A) button. and press as far as it will go. 13. At the end of delivery, the light flashes. 6. -
Page 19: Explanation Of Lights
rity differentiated waste collection centre or to enables the constituent materials to be recove- a dealer providing this service. Disposing of a red to obtain significant savings in energy and household appliance separately avoids possible resources.As a reminder of the need to dispose negative consequences for the environment and of household appliances separately, the product health deriving from inappropriate disposal and... - Page 20 LIGHT POSSIBLE CAUSE REMEDY The “pre-ground coffee” function Place pre-ground coffee in the funnel or has been selected without placing deselect the “pre-ground” function. any pre-ground coffee in the funnel. The machine must be descaled. The descaling procedure described in the section “Descaling”...
-
Page 21: Troubleshooting
TROUBLESHOOTING Below is a list of some of the possible malfunctions. If the problem cannot be resolved as described, contact Customer Services. PROBLEM POSSIBLE CAUSE REMEDY The cups were not preheated. Warm the cups by rinsing them with hot The coffee is not hot water (Please note you can use the hot water function).
Need help?
Do you have a question about the ECAM23.210 and is the answer not in the manual?
Questions and answers
I cannot remove the infuser for cleaning. It seems to be stuck in the wrong position
To remove the infuser from the DeLonghi ECAM23.210 if it is stuck:
1. Make sure the machine is completely turned off.
2. Remove the water tank.
3. Open the infuser door on the right side.
4. Press the two red release buttons inward while pulling the infuser outward at the same time.
Note: The infuser cannot be removed when the machine is on.
This answer is automatically generated