Table of Contents
Advertisement
Quick Links
operator manual
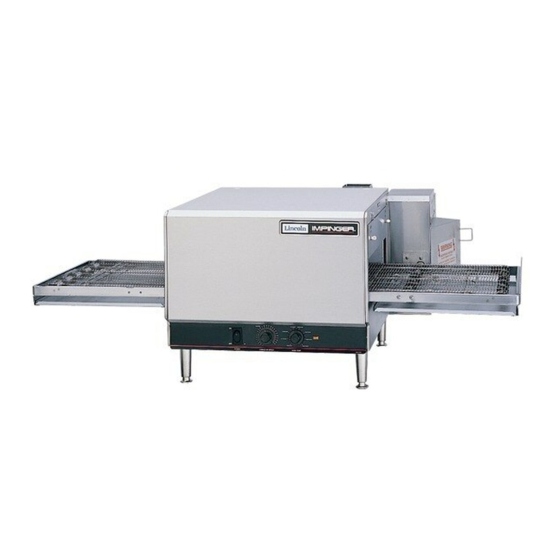
Countertop Conveyor Oven
Series 1300
This document includes:
• Safety Notices
• Specifi cations
• Installation Instructions
• Operating Instructions
• Cleaning Instructions
• Warranty Statement
P/N: 2810088
Revision: D
Lincoln Foodservice Products, LLC
1111 North Hadley Road
Fort Wayne, Indiana 46804
United States of America
Technical Support Hotline: (800) 678-9511
Telephone: (260) 459-8200
www.lincolnfp.com
Advertisement
Table of Contents

Related Manuals for Lincoln Foodservice 1300 Series


Summary of Contents for Lincoln Foodservice 1300 Series
- Page 1 • Installation Instructions • Operating Instructions • Cleaning Instructions • Warranty Statement P/N: 2810088 Revision: D Lincoln Foodservice Products, LLC 1111 North Hadley Road Fort Wayne, Indiana 46804 United States of America Technical Support Hotline: (800) 678-9511 Telephone: (260) 459-8200...
-
Page 2: Warnings And Safety Information
IMPORTANT WARNING AND SAFETY INFORMATION This manual contains important safety and installation-operation instructions. Require all operators to read this manual thoroughly before installing, operating or servicing this NOTE: equipment. Improper installation, adjustment, alteration, service or maintenance can cause property damage, injury or death. Do not work around conveyor belt with long hair, loose clothing, or dangling jewelry. -
Page 3: Table Of Contents
PURCHASER’S RESPONSIBILITY It is the responsibility of the purchaser to: See that the electric services for the oven are installed on site in accordance with the manufacturers specifi cations. Unload, uncrate, and install the oven in its proper location in accordance with this operator manual. See that the electric services are connected properly by a qualifi... -
Page 4: Utility Specification - Electric
UTILITY SPECIFICATION MODEL # Input Rate Voltage Amps Phase # of wires 1300 50/60 1301 1302 1303 1304 1305 380/220 1306 415/240 1307 50/60 1308 380/220 1309 415/240 1310 1311 380/220 1312-xxx-E 400/230 1313-xxx-E 400/230 NOTE: Do not install this (these) oven(s) in any area with an ambient temperature in excess of 95 F, 35 C. -
Page 5: Electrical Grounding Instructions
ELECTRICAL GROUNDING INSTRUCTIONS As it pertains to model units 1300, 1301, and 1302 only, this appliance is equipped with WARNING a three-prong (grounding) plug for your protection against shock hazard and should be plugged directly into a properly grounded three-prong receptacle. Do not cut or remove the DOMESTIC: grounding prong from this plug. -
Page 6: Assembly Instructions
ASSEMBLY INSTRUCTIONS INSTAL LEGS AS SHOWN CAUTION Legs MUST be installed to insure proper operation! Oven must be operated on an approved basis only. When utilizing a double-stack confi gura- CAUTION tion of ovens, the bottom unit must always be mounted on the legs provided. Before applying power to the oven, check to insure that the fi... -
Page 7: Stacking Instructions
STACKING INSTRUCTIONS FOR SINGLE AND DOUBLE STACK UNITS UPPER OVEN LOWER OVEN NOTE When stacking ovens, be sure to remove the bottom fl ue cap from top oven. When utilizing a double-stack confi guration, stack the ovens so that the small “foot” on the NOTE top oven fi... -
Page 8: Oven Start-Up And Shutdown
Clean the interior by sweeping up all loose particles then wash with a mild detergent solution and rinse with clean water. Clean the conveyor belt by wiping with a cleaning cloth or brushing with a soft wire brush. Lincoln catalog #369217. -
Page 9: Preventive Maintenance
You must discuss the need for preventive maintenance with your Authorized Service Agent to establish a proper program. If there are any questions that the service agent cannot answer, please contact the Lincoln Technical Service department at (800) 678-9511. -
Page 10: Finger Removal And Disassembly
FINGERS - REMOVAL & DISASSEMBLY FOR CLEANING DISASSEMBLY Release 1/4-turn fasteners (2 per panel) then pull Lift fi nger assembly to clear hanger on front wall back the panel. Lift panel off lower retaining tabs. of oven. Then slide to the rear and swing out. Remove fi...
Need help?
Do you have a question about the 1300 Series and is the answer not in the manual?
Questions and answers