BABYSTYLE Oyster Instruction Manual
Hide thumbs
Also See for Oyster:
- Instruction manual (41 pages) ,
- Instruction manual (19 pages) ,
- Instruction manual (8 pages)

Subscribe to Our Youtube Channel
Related Manuals for BABYSTYLE Oyster


Summary of Contents for BABYSTYLE Oyster
- Page 1 register your product at www.babystyledirect.co.uk I N S T R U C T I O N M A N U A L I N S T R U C T I O N M A N U A L I N S T R U C T I O N M A N U A L...
-
Page 2: Table Of Contents
Fitting the Oyster car seat to the chassis Removing the Oyster car seat from the chassis Carrycot/Car seat height adaptors Car seat adaptors Car seat options Fitting removing alternative car seats to the Oyster chassis 19-20 Using the safety harness 20-21 Hood/Sun canopy... -
Page 3: Important Safety Information
10. This vehicle has been designed for one child, do not attempt to carry more than one child in this vehicle. A second child may travel on the Oyster Ride on board up to a maximum weight of 20kg 11. WARNING: Incorrect assembly, folding or use of this vehicle may cause damage and affect the safety of the vehicle. -
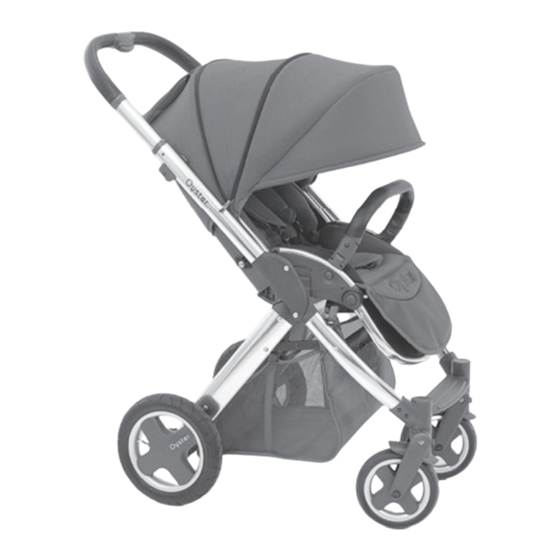
Page 4: Primary Features
P R I M A RY F E AT U R E S Zip for Handle height extendable canopy adjustment Handle grip Backrest recline lever Unfolding sliders Seat unit release handle Attachment device Rear wheel quick release Parking brake Shopping basket... - Page 5 Flip out canopy Bumper bar Bumper bar release button Leg rest Concealed insect/shade net Swivel wheel locks Footrest Front wheel quick release...
-
Page 6: Fitting And Removing The Front Wheels
F I T T I N G A N D R E M O V I N G T H E F R O N T W H E E L S Push in the front wheel quick release button on the front wheel housing and push the wheel unit onto the front wheel axle stub until it stops. -
Page 7: Fitting And Removing The Rear Wheels
F I T T I N G A N D R E M O V I N G T H E R E A R W H E E L S Hold the rear wheel and insert the rear wheel axle stub into the hole in the rear axle. -
Page 8: Operating The Swivel Front Wheels
O P E R AT I N G T H E S W I V E L F R O N T W H E E L S The front wheels can be used in swivel-wheel or fi xed-wheel mode. To switch from locked to swivel; press down the swivel wheel lock buttons (left &... -
Page 9: Using The Parking Brake
Pull handle to adjust height to one of four positions U S I N G T H E PA R K I N G B R A K E To engage the brake, fi rmly press down with your foot the brake lever found in the middle of the rear axle. -
Page 10: Opening The Chassis
O P E N I N G T H E C H A S S I S Release the chassis locking clip by pushing it outwards and pull up on the handle. The chassis will start to open and will click when the handle tube is locked in line with the lower tube. -
Page 11: Fitting The Seat Unit
F I T T I N G T H E S E AT U N I T To fi t the seat unit to the chassis: hold the seat unit by the seat unit release handles and lower the seat unit into the attachment devices left &... -
Page 12: Folding The Chassis
F O L D I N G T H E C H A S S I S To fold the chassis there are three steps, it is important that each step is fully complete before moving onto the next: Step 1: Standing in the pushing position locate the sliders on each side of the chassis. -
Page 13: Folding The Chassis With The Seat Unit Fi Tted
F O L D I N G T H E C H A S S I S W I T H T H E S E AT U N I T F I T T E D The Oyster can be folded with the seat unit fi tted facing either forwards or backwards. -
Page 14: Adjusting The Seat Unit Backrest
A D J U S T I N G T H E S E AT U N I T B A C K R E S T To recline the seat unit: With your fi ngers, hold the lever at the top back of the seat unit and lift the lever. -
Page 15: Lowering The Carrycot Hood
L O W E R I N G T H E C A R RY C O T H O O D The carrycot hood can be lowered (reclined backwards) by pressing in the two buttons (left & right) at the outside base of the hood opening. -
Page 16: Fitting The Oyster Car Seat To The Chassis
S E AT ( m o d e l L B 3 2 1 ) T O T H E C H A S S I S The matching Oyster Car Seat is fi tted to the chassis by using the LB321 Oyster car seat adaptors. The Car Seat can not be attached to the chassis until the seat unit or the Carrycot has been removed. -
Page 17: Removing The Oyster Car Seat From The Chassis
Car Seat (not the handle adjustment buttons where the handle turns) and lift the Car Seat away from the chassis. To remove the adaptors on the Oyster chassis pull up on the recessed handles and lift the adaptors away from the attachment device. -
Page 18: Car Seat Adaptors
Recessed handles for removing car seat adaptors from chassis C A R S E AT O P T I O N S The Oyster chassis can be combined with car seats from other leading brands. For details, see the table below. Always check with your retailer that you have the correct car seat adaptors if adaptors are required. -
Page 19: Fitting Removing Alternative Car Seats To The Oyster Chassis
The Car Seat can not be attached to the chassis until the seat unit or the carrycot has been removed. The Britax Baby Safe plus SHR does not require adaptors to fi t onto the OYSTER chassis. Hold the car seat by the carry handle and lower the car seat onto the chassis so that the fi... - Page 20 fi ttings below the car seat handle slot into the corresponding attachment device on the Oyster chassis. Push the car seat down fi rmly until it clicks and locks into position.
-
Page 21: Using The Safety Harness
U S I N G T H E S A F E T Y H A R N E S S Always apply the parking brake before placing your child in the vehicle. The safety harness has two shoulder straps, two waist belts and a crotch strap. -
Page 22: Hood/Sun Canopy
H O O D / S U N C A N O P Y The Oyster has a multi function hood that helps to protect your child from the elements. The hood has four sections and a viewing window. The hood can also be removed altogether. -
Page 23: Flip Out Canopy
F L I P O U T C A N O P Y The front section of the hood can be fl ipped out or folded back into the main part of the hood depending choice. To fl ip out the canopy hold the front part of the canopy and pull forwards. -
Page 24: Insect/Shade Net
I N S E C T / S H A D E N E T Concealed in a zippered pocket underneath the leg rest is the Insect/shade net. Unfasten the zip and unfurl the Insect/shade net. The elasticated top part of the Insect/shade net attaches over the hood frame. -
Page 25: Fitting The Footmuff
F I T T I N G T H E F O O T M U F F The footmuff top cover can be removed by unfastening the zip. The base of the footmuff can be used as a seat liner without the top part. -
Page 26: Care And Maintenance
• If any part of the pushchair is damaged contact your local Babystyle retailer immediately without using the pushchair. • Do not expose your pushchair to excessive sunlight for extensive periods of time, even normal exposure to sunlight may cause the colour of the fabric to change. -
Page 27: Warranty
Babystyle UK Ltd provides a warranty in support of the retailer from whom you purchased this product. The warranty is effective for 12 months from the date of purchase for the original purchaser/owner. - Page 28 BabyStyle UK Limited LE12 7RJ UNITED KINGDOM This instruction manual BabyStyle UK Limited 2013 All rights reserved. OYSTER AJB1620/12062013...
Need help?
Do you have a question about the Oyster and is the answer not in the manual?
Questions and answers