
Subscribe to Our Youtube Channel
Related Manuals for CleanForce CF1400


Summary of Contents for CleanForce CF1400
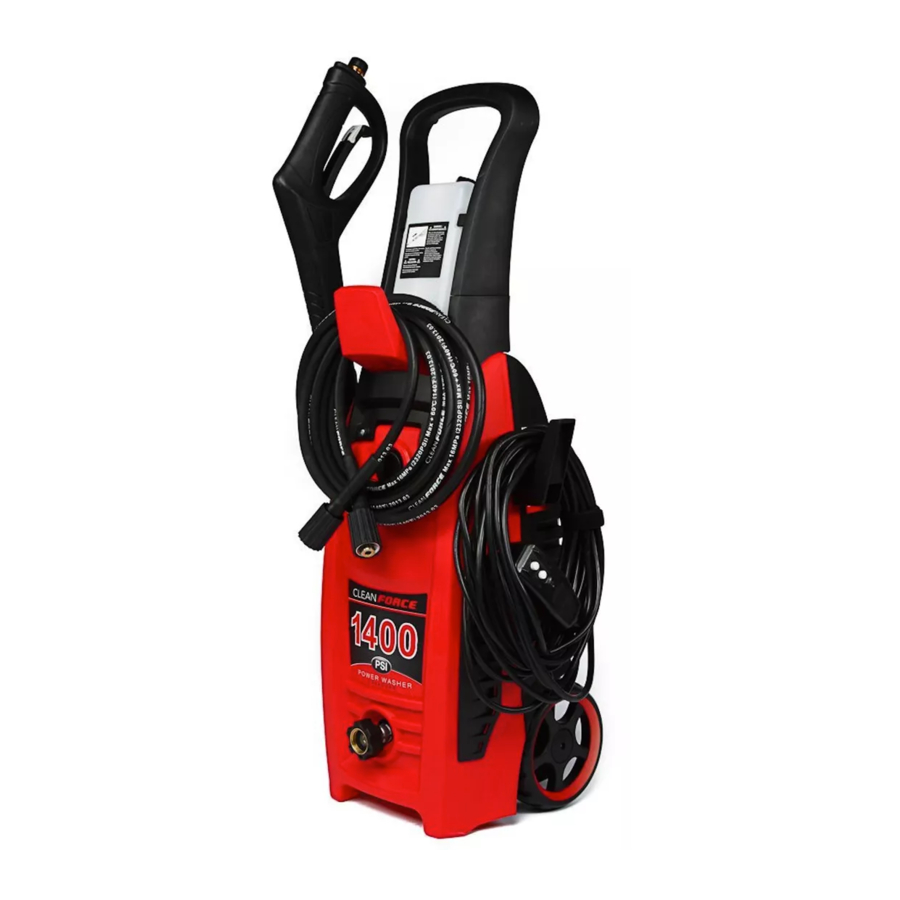
- Page 1 CF1400 DO NOT RETURN PRODUCT TO PLACE OF PURCHASE. IF YOU HAVE ANY QUESTIONS, CALL OUR TOLL FREE HOTLINE: 1-866-902-9690 8:00 am to 5:00 pm, C.S.T., Monday - Friday www.ForceToolsUSA.com...
-
Page 2: Table Of Contents
IMPORTANT SAFETY INSTRUCTIONS TABLE OF CONTENTS WARNING Important safety instructions ....................1 Risk of injury Safety features ........................4 Injection Hazard Parts and diagram list ......................5 • Equipment can cause serious injury if the spray penetrates the skin. •... -
Page 3: Important Safety Instructions
IMPORTANT SAFETY INSTRUCTIONS SAFETY FEATURES Total stop system (TSS) 8. Always wear safety glasses or goggles when operating or performing maintenance. 9. Always move switch on unit to “OFF” position before connecting or disconnecting The pressure washer is equipped with a total stop system (TSS) that will sense when the cord to electrical outlets. -
Page 4: Parts And Diagram List
PARTS AND DIAGRAM LIST ASSEMBLY AND OPERATING INSTRUCTIONS Tools Required • Philips Screwdriver Surface Preparation Before starting any cleaning task, it is important to inspect the area for objects that could create a hazard. Remove any objects from the work area that could be tripped over, such as toys or outdoor furniture. - Page 5 ASSEMBLY AND OPERATING INSTRUCTIONS ASSEMBLY AND OPERATING INSTRUCTIONS Attach garden hose to water supply and Make sure the ON/OFF switch is in the Attach gun holder and power cord bracket. Attach high pressure hose to the machine’s turn water on. OFF position.
-
Page 6: Using The Accessories
ASSEMBLY AND OPERATING INSTRUCTIONS ASSEMBLY AND OPERATING INSTRUCTIONS USING THE ACCESSORIES Adjustable Spray Nozzle The adjustable spray nozzle can be adjusted from fan to jet. The spray is adjusted from jet to fan spray by turning the nozzle. CAUTION Jet spray adjustment is very aggressive. Do not adjust while spraying. with detergent. -
Page 7: Shutting Down And Cleaning Up
ASSEMBLY AND OPERATING INSTRUCTIONS WINTERIZING AND LONG-TERM STORAGE OPTIMUM WINTERIZING PROCEDURE SHUTTING DOWN AND CLEANING UP Winterizing your pressure washer will help protect and prolong its life. We strongly recommend you follow the below steps using Pressure Washer Pump Saver (39-8602-0). This will keep the internal parts lubricated, protected from rust, and prevents the pump from freezing. -
Page 8: Cleaning And Maintenance
CLEANING AND MAINTENANCE TROUBLESHOOTING Connections Disconnect the machine from the power source before making any repairs. Connections on pressure washer hoses; gun and spray wand should be cleaned regularly and lubricated with non-water soluble grease. Symptom Cause Solution Motor will not start. On/Off switch is in the Turn switch to the “ON”... -
Page 9: Troubleshooting
TROUBLESHOOTING TROUBLESHOOTING Symptom Cause Solution Symptom Cause Solution Motor buzzes but fails to run. Supply voltage Verify that only the pres- Output pressure varies high Discharge nozzle is obstructed. Blow out or remove debris below minimum. sure washer is running on and low. -
Page 10: Technical Specifications
TECHNICAL SPECIFICATIONS WARRANTY Product Warranty Rated Pressure: 1400 PSI Always keep your receipt as proof of purchase. Power Source Requirement: 120 V / 60 Hz This product has a Parts Replacement, Product Exchange and/or Repair Warranty only. Electrical Cord: 35’ NO REFUNDS will be provided.
Need help?
Do you have a question about the CF1400 and is the answer not in the manual?
Questions and answers
leaking nozzle ...says to call toll-free hotline...i don't have that number :(
To fix a leaking nozzle on a CleanForce CF1400, follow these steps:
1. Make sure the water supply is turned ON.
2. Check for kinks in the garden hose and remove any kinks.
3. Ensure that all hoses and fittings are airtight.
4. Turn off the machine and purge the pump by squeezing the trigger gun.
5. Check the water filter and rinse it in warm water if clogged.
6. Make sure all fittings are tight. Loose fittings can cause leaks.
If the problem continues, the nozzle or seals may be damaged and might need replacement.
This answer is automatically generated
repair locations in the 37843 zip code?
The wand when attached to the gun wobbles back and forth, so it leaks water when in use. Shouldn't it fit snug? Is there something that attaches the wand to the gun that is missing, Photos attached of both ends.