Sign In
Upload
Download
Table of Contents
Contents
Add to my manuals
Delete from my manuals
Share
URL of this page:
HTML Link:
Bookmark this page
Add
Manual will be automatically added to "My Manuals"
Print this page
×
Bookmark added
×
Added to my manuals
Manuals
Brands
InFocus Manuals
Projector
X6
Reference manual
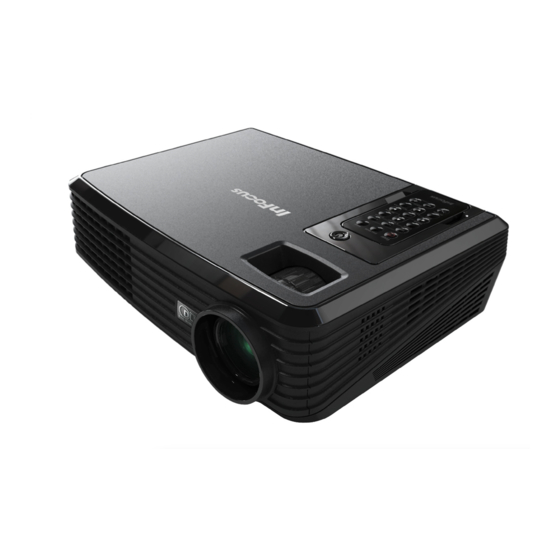
InFocus X6 Reference Manual
Infocus projector reference guide
Hide thumbs
Also See for X6
:
Technical specifications
(2 pages)
1
Table Of Contents
2
3
4
5
6
7
8
9
10
11
12
13
14
15
16
17
18
19
20
21
22
23
24
25
26
27
28
29
30
31
32
33
34
35
36
37
page
of
37
Go
/
37
Contents
Table of Contents
Troubleshooting
Bookmarks
Table of Contents
Table of Contents
Table of Contents
Usage Notice
Precautions
Important Operating Considerations for Safety
Introduction
Product Features
Package Overview
Product Overview
Main Unit
Connection Ports
Wireless Remote Control
Operation
Connecting the Projector
Powering On/Off the Projector
Powering on the Projector
Powering off the Projector
Warning Indicator
Adjusting the Projected Image
Adjusting the Height of Projector Image
Adjusting the Projector Zoom / Focus
Adjusting Projected Image Size
User Controls
On Screen Display Menus
How to Operate
Image (PC Mode)
Image (Video Mode)
Display Setting
Default Setting
Language
Information
Appendices
Troubleshooting
Replacing the Lamp
Compatibility Modes
English
Advertisement
Quick Links
1
Wireless Remote Control
2
Connecting the Projector
3
On Screen Display Menus
4
Troubleshooting
5
Replacing the Lamp
Download this manual
X6 X7
Reference Guide
Table of
Contents
Previous
Page
Next
Page
1
2
3
4
5
Advertisement
Table of Contents
Need help?
Do you have a question about the X6 and is the answer not in the manual?
Ask a question
Questions and answers
Related Manuals for InFocus X6
Projector InFocus X6 Technical Specifications
Meeting room projector x series (2 pages)
Projector InFocus X7 Reference Manual
Infocus projector reference guide (37 pages)
Projector InFocus X1a User Manual
Infocus multi-use performance user's guide x1a (50 pages)
Projector InFocus X3 User Manual
Multi-use performance (50 pages)
Projector InFocus LP 70+ User Manual
Infocus projector user's guide (47 pages)
Projector InFocus X1 User Manual
Infocus x1: reference guide (50 pages)
Projector InFocus X1 Service Manual
X1 (94 pages)
Projector InFocus X8 User Manual
(39 pages)
Projector InFocus X8 Quick Start Manual
(9 pages)
Projector INFOCUS X17 Reference Manual
(54 pages)
Projector InFocus X16 Quick Start Manual
Digital projector (20 pages)
Projector InFocus X2 User Manual
(45 pages)
Projector InFocus X2 Service Manual
(67 pages)
Projector InFocus X2 User Manual
Multi-use performance (49 pages)
Projector InFocus LPX9 Reference Manual
(37 pages)
Projector InFocus LP 120 User Manual
Infocus user's guide personal projection lp 120 (46 pages)
This manual is also suitable for:
X7
X15
Lpx6
Lpx7
Table of Contents
Print
Rename the bookmark
Delete bookmark?
Delete from my manuals?
Login
Sign In
OR
Sign in with Facebook
Sign in with Google
Upload manual
Upload from disk
Upload from URL


Need help?
Do you have a question about the X6 and is the answer not in the manual?
Questions and answers