Advertisement
Table of Contents
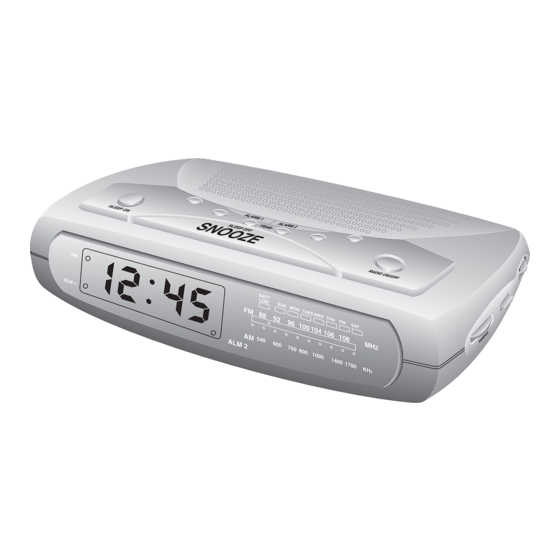
- 1 Clock Radio
- 2 Battery Information
- 3 Important Safety Instructions
- 4 Alarm Settings
- 5 Radio Operation
- 6 Fcc Information
- 7 Power Source
- 8 Location of Controls and Indicators
- 9 Adjusting Wake-Up Times
- 10 Displaying the Date
- 11 Displaying the Year
- 12 Front Panel
- 13 Back Panel
- 14 Clock/Alarm Operation
- Download this manual
291070_INS_SmartsetCloRad NEWT
5. Slide the holder with the new battery back into the opening in the cabinet.
6. Tighten the screw to secure the lithium battery holder and replace the
outer battery door. Turn the product right side up and confirm that the
BATT LOW indicator is off.
BATTERY PRECAUTIONS
•
Dispose of the old battery properly.
Do not dispose of the old battery in a fire.
•
Do not leave the battery lying around where a young child or pet could
play with or swallow it.
If the battery is swallowed, contact a physician immediately.
•
Battery may explode if mistreated.
Do not attempt to recharge or disassemble the battery.
Nashua, New Hampshire 03062
Customer Service 800-846-3000
10/3/02
9:38 AM
Page 1
291070
smartset
®
clock radio
Advertisement
Table of Contents

Related Manuals for Brookstone SMARTSET


Summary of Contents for Brookstone SMARTSET
- Page 1 Do not dispose of the old battery in a fire. • Do not leave the battery lying around where a young child or pet could play with or swallow it. smartset ® clock radio If the battery is swallowed, contact a physician immediately.
- Page 2 291070_INS_SmartsetCloRad NEWT 10/3/02 9:38 AM Page 3 When the battery power drops below a certain level, the BATT LOW indicator will be displayed. When you see this indicator, you should change the battery as soon as it is convenient for you to do so. To change the battery, proceed as follows: 1.
-
Page 3: Clock Radio
Clock Radio. Just plug it in and watch amount of time before replacement. During this initial storage period, the lithium as the correct time and date automatically appear from memory. SmartSet ® battery supplies power to the inside computer memory. Once you plug the technology always keeps perfect time, even through repeated power loss. - Page 4 291070_INS_SmartsetCloRad NEWT 10/3/02 9:38 AM Page 7 CAUTION 5. To stop the radio sooner, press either ALARM 1 or ALARM 2, or press RADIO ON/OFF. The radio will stop, but the alarm remains set and will turn the • TO PREVENT FIRE OR SHOCK HAZARD, DO NOT USE THIS PLUG WITH AN radio on again at the same time on the following day (depending on the EXTENSION CORD, RECEPTACLE OR OTHER OUTLET UNLESS THE BLADES Alarm Mode setting).
-
Page 5: Important Safety Instructions
291070_INS_SmartsetCloRad NEWT 10/3/02 9:38 AM Page 9 Waking to the Buzzer IMPORTANT SAFETY INSTRUCTIONS 1. Confirm your wake-up time and alarm mode settings. 1. Read, follow and keep these instructions. 2. Set the Alarm selector switch for one or both alarms to BUZZ. The appropriate alarm indicators will light up to confirm that the alarms are set. -
Page 6: Alarm Settings
291070_INS_SmartsetCloRad NEWT 10/3/02 9:38 AM Page 11 11. Protect the power cord from being walked on or pinched, particularly 4. Adjust VOLUME. at plug outlets, convenience receptacles, and the point where it exits 5. When you are finished listening, press RADIO ON/OFF to turn the radio off. the product. -
Page 7: Radio Operation
This product generates, uses, and can radiate radio frequency The SmartSet ® clock memory is now reset and the new lithium battery will energy and, if not installed and used in accordance with the instructions, may maintain it for the next five to eight years, depending on the number and cause harmful interference to radio communications. -
Page 8: Power Source
AM, Thursday, January 1st, 1998. If you notice that the time on your SmartSet ® This radio should be connected to an AC outlet that is always ‘live.’ Do not Clock Radio is completely incorrect, and the day indicator is also wrong, press connect it to an outlet that is controlled by a wall switch. - Page 9 Unwind the AC power cord and extend it to its full length. Unwind the FM Selecting Alarm Mode lead wire antenna and extend it to its full length. Your SmartSet ® Clock Radio allows you to select from among three different alarm operation modes for either alarm.
-
Page 10: Location Of Controls And Indicators
Adjusting Time Manually LOCATION OF CONTROLS AND INDICATORS Some people like to set their clocks fast to make sure that they will always be on time. Even though the SmartSet ® Clock Radio sets the time by itself, you still have the option of adjusting the time manually. -
Page 11: Displaying The Date
3. ALARM MODE (Weekdays/Weekends/Everyday) If you move to a different time zone, change the default zone display to the 4. ALARM 1 new zone and the SmartSet ® will remember that setting for you. 5. ALARM 2 Displaying the Date 6. -
Page 12: Front Panel
24. Tuning Dial If you do not live in the Eastern Time zone you must change the default zone 25. Lighted Dial Pointer display to your own zone. You only do this one time and the SmartSet ® will remember the new default time zone setting and will always return to that BACK PANEL setting after a power interruption.
Need help?
Do you have a question about the SMARTSET and is the answer not in the manual?
Questions and answers