
Related Manuals for CDA vk900


Summary of Contents for CDA vk900
- Page 1 Microwave Manual for Installation, Use and Maintenance Customer Care Department • The Group Ltd. • Harby Road • Langar • Nottinghamshire • NG13 9HY T : 01949 862 012 F : 01949 862 003 E : customer.care@cda.eu W : www.cda.eu...
- Page 2 Keep the oven door closed when in use. Appliance information: Please enter the details on the appliance rating plate below for reference, to assist CDA Customer Care in the event of a fault with your appliance and to register your appliance for guarantee purposes.
- Page 3 Appliance Model Serial Number CE Declarations of Conformity: This oven has been designed, constructed and marketed in compliance with safety requirements of EEC Directive 2006/95/EEC (Low voltage) and requirements of EMC Directive 2004/108/EEC. This appliance has been manufactured to the strictest standards and complies with all applicable legislation, including Electrical safety (LVD) and Electromagnetic interference compatibility (EMC).
- Page 4 Important • Read the user instructions carefully before using the appliance for the first time. • Do not allow children near the oven when in use. • Do not perform maintenance or cleaning of the oven without first switching off the electricity supply. If the oven has recently been used, allow to cool.
- Page 5 appliance. This could damage the appliance and may not be covered by the warranty. • Do not cook food or liquids in sealed containers as there is a risk they may explode. This includes baby bottles with the teat in place. •...
- Page 6 How Your Appliance Works The microwaves used for cooking are electromagnetic waves. They are commonly found in our environment fig. 1 in the form of radio waves, light and infrared rays. Their frequency is in the 2450 MHz range. Microwaves are reflected by metals, but travel through all other materials.
- Page 7 Using the Touch Controls The touch controls should be used with the flat of your finger, rather than the fingertip. fig. 2...
- Page 8 Fitting Out Your Appliance IMPORTANT: The shelf and drip tray must not be used for microwave or combination microwave cooking functions. 1. Shelf The metal shelf can only be used for toasting, browning and grilling. To install the flat grill, insert it at a 45-degree angle and then position it horizontally and push it all the way in to the end of the grill track.
- Page 9 2. Drip tray The metal drip tray can only be used for toasting, browning and grilling. The drip tray can be slid into its location underneath the shelf to collect the juices from grilling (figure 4). fig. 4 To remove it, lift slightly and slide it towards you.
-
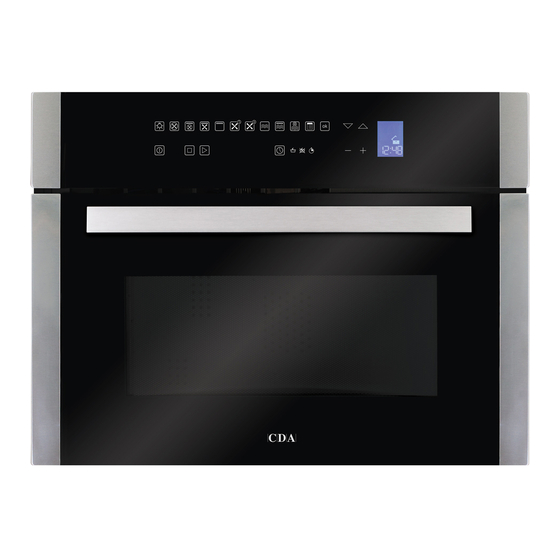
Page 10: The Control Panel
The Control Panel fig. 5 Oven light Fan oven Fan oven + grill Fan grill Grill Defrost by time Defrost by weight Traditional microwave On/Off and key lock Stop Start... - Page 11 Microwave + grill Microwave + fan oven Auto recipe Confirm Scroll downward / Reduce power Scroll upward / Increase power Digital display Timer function Timer - cooking time Timer - end time Minute minder Decrease settings Increase settings...
-
Page 12: Before First Use
Before First Use When the oven is connected to the electrical supply for the first time, the display will ask you to select your language: Use the buttons to select the language you want, use the “ok” button to confirm your choice. The oven will remember your language preference, even after future power outages. - Page 13 General Settings & Use Clock To set the clock, touch the “Timer function” key for at least 3 seconds, the clock will show “00:00” with the separator dots flashing. Use the “+” and “-” keys to set the correct time: Five seconds after selecting the time the dots will stop flashing and the time will be set.
- Page 14 Oven light The oven light may be turned on and off by touching the “Oven light” Alternatively, the oven light will turn on automatically when the door is opened then after the door is closed will stay on for approximately three minutes before automatically turning itself off.
- Page 15 The cooking functions available when the oven is on are: Fan Oven First touch the “On/Off” key (as p14), then touch the “Fan oven” key. The fan oven programme allows you to cook and brown foods just as you would in a traditional oven. The cooking temperature defaults to 165°C and can be set between 50-230 (MAX) °C in 5˚C increments.
- Page 16 Fan grill First touch the “On/Off” key (as p14), then touch the “Fan grill” key. The fan grill programme uses the grill element for grilling and the fan to help circulate heat around the food. The cooking temperature defaults to 165°C and can be set between 50-230 (MAX) °C in 5˚C increments.
- Page 17 Defrost by time First touch the “On/Off” key (as p14), then touch the “Defrost by time” key. The defrost by time programme uses microwave power and air movement to accelerate the defrosting of food. After touching the “Defrost by time” key, the display shows “00:00”, the time for defrosting.
- Page 18 suitable one then use the “ok” key to confirm. The display then shows the default food weight of 100g: use the “+” and “-” keys to set the actual weigtht of food being defrosted, this can be set between 100-1500g in 50g increments, then use the “ok” key to confirm.
- Page 19 If you hold the “+” or “-” key for more than 3 seconds the display will scroll more quickly. After setting the cooking time touch the “Start” key to run the programme. At the end of the programme the oven beeps and the display shows “PROGRAM FINISHED REMOVE THE DISH”.
- Page 20 Microwave + fan oven First touch the “On/Off” key (as p14), then touch the “Microwave + fan oven” key. On touching the “Microwave + fan oven” key the display shows the preset power level “450W”, and also the preset cooking time “00:00”. Use the keys to adjust the power level as required.
- Page 21 Automatic Recipes Automatic recipes First touch the “On/Off” key (as p14), then touch the “Automatic recipes” key. The display shows 2 options, “Personal recipes” (see below) or “Preset recipes” Use the keys to select the option required then confirm by touching the “ok” key. The menu system of the microwave leads you through a series of questions to select the features of your food.
- Page 22 Note: at any stage of the setting process if you make a mistake choosing the values and/or you want to change the settings of your recipe, touch the “Stop” key to cancel it and allow you to start again from the beginning of the procedure. If a change to the settings for a programme has been made the oven gives you the opportunity to save this as a “Personal recipe”...
- Page 23 Timer and Minute Minder Programming the oven This is only applicable to these functions:- Fan oven Fan oven + grill Fan grill Grill Any timer functions required should be set after the relevant cooking programme has been set, and before the “start” key is touched.
-
Page 24: Minute Minder
Programming delayed cooking This is achieved by programming an end time (when you want the food ready) and also programming a cooking time (as the recipe). Minute minder The minute minder is a timer that is independent of the function of the oven;... -
Page 25: Cleaning And Maintenance
Stainless steel can be effectively cleaned by simply using a dilute solution of water and mild detergent and drying to a shine with a clean cloth. Proprietary stainless steel cleaners are available. We recommend the CDA E-Cloth available from the CDA Sales Team for cleaning stainless steel surfaces. Enamelled parts All enamelled parts must be cleaned with a sponge and soapy water only, or other non-abrasive products. - Page 26 Inside the oven It is recommended that the interior of the oven be cleaned after every use using suitable products, especially if any spillage has occurred. The shelves, turntable and turntable support can be removed and washed by hand or in the dishwasher. Ensure the turntable support and turntable are replaced before use.
- Page 27 The light bulb must only be replaced by authorised service personnel. In the event of light bulb failure, contact CDA Customer Care.
- Page 28 Installation The appliance can be installed under a worktop or in a wall unit (open or closed) with the appropriate dimensions for recessed installation. Do not use your appliance immediately after moving it from a cold location, as condensation may cause a malfunction. Wait approximately 1-2 hours before use.
- Page 29 Fig. 6 Fig. 7...
-
Page 30: Mains Electricity Connection
Mains Electricity Connection Warning! This appliance must be earthed Fig. 8 We recommend that the appliance is connected by a qualified electrician, who is a member of the N.I.C.E.I.C. and who will comply with the I.E.T. and local regulations. This appliance is intended to be connected to fixed wiring and is not suitable for connection to a 13A plug or 13A supply. - Page 31 The mains isolation switch must be accessible after installation. Appliance rated electrical power: 3200W E & O E. All instructions, dimensions and illustrations are provided for guidance only. CDA reserve the right to change specifications without prior notice.
- Page 32 Please contact our Customer Care Department for Service on the details below. Customer Care Department • The Group Ltd. • Harby Road • Langar • Nottinghamshire • NG13 9HY T : 01949 862 012 F : 01949 862 003 E : customer.care@cda.eu W : www.cda.eu © CDA 2014...
Need help?
Do you have a question about the vk900 and is the answer not in the manual?
Questions and answers