Table of Contents
Advertisement
Quick Links
Advertisement
Table of Contents

Subscribe to Our Youtube Channel
Related Manuals for CDA VM131


Summary of Contents for CDA VM131
- Page 1 VM131 Built-In Microwave Oven Manual for Installation, Use and Maintenance Customer Care Department • The Group Ltd. • Harby Road • Langar • Nottinghamshire • NG13 9HY T : 01949 862 012 F : 01949 862 003 E : customer.care@cda.eu W : www.cda.eu...
- Page 2 Appliance information: Please enter the details on the appliance rating plate below for reference, to assist CDA Customer Care in the event of a fault with your appliance and to register your appliance for guarantee purposes. Appliance Model...
- Page 3 CE Declarations of Conformity: This oven has been designed, constructed and marketed in compliance with safety requirements of EEC Directive 2006/95/EEC (Low voltage) and requirements of EMC Directive 2004/108/EEC. This appliance has been manufactured to the strictest standards and complies with all applicable legislation, including Electrical safety (LVD) and Electromagnetic interference compatibility (EMC).
- Page 4 Important • Read the user instructions carefully before using the oven for the first time. • Follow the instructions for first use of the oven. • Clean the oven regularly. • Remove spills as soon as they occur. • Always use oven gloves when removing items from the oven. •...
- Page 5 Important - Microwave Cooking • Do not attempt to operate this microwave oven with the door open or ajar. It is important not to alter or tamper with the safety interlocks. • Do not place anything between the oven front face and the door, or allow soil or cleaning residues to accumulate on sealing surfaces.
- Page 6 • The oven should be cleaned regularly and any food deposits should be removed. • If smoke is emitted, switch off or unplug the appliance and keep the door closed in order to stifle any flames. • Do not use the oven cavity for storage purposes. Do not store items, such as bread, cookies, books etc.
- Page 7 • Microwave heating of beverages can result in delayed eruptive boiling, therefore care must be taken when handling the container. • This appliance is not intended to be operated by means of an external timer or separate remote-control system. • Always have the glass tray, roller arms, coupling and roller track in place when operating the microwave oven.
- Page 8 • Always test the temperature of cooked food yourself especially if you are heating or cooking food/liquid for babies. It is advisable never to consume food/liquid straight from the oven but allow it to stand for a few minutes and stir food/liquid to distribute heat evenly. •...
-
Page 9: Fitting Out Your Appliance
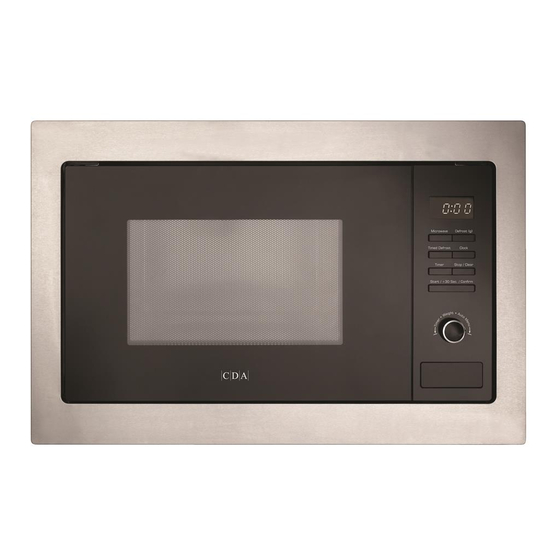
Fitting Out Your Appliance A: Control Panel B: Turntable Shaft C: Ring Assembly D: Turntable E: Window F: Door G: Door Latch Fig. 1 Note: • Never place the glass turntable upside down. The movement of the glass turntable should never be restricted. •... - Page 10 First Use of the Oven First use • Before using the oven for the first time we recommend that you clean it with soapy water, rinse and dry carefully. Please note: • This appliance has been fitted with a cooling fan to achieve maximum efficiency and to maintain low surface temperatures.
- Page 11 Oven Controls and Use Setting the Clock • Press the “Clock” button once: The hours figure will flash. • Turn the “Timer/Weight/Auto Menu” knob in either direction to set the hours (between 0 - 23), note the appliance works in the 24hour clock format.
- Page 12 Quick Start Microwave Cooking There are two different quick start microwave cooking options that can be used when the oven is in standby mode:- • Press the “Start/+30 Sec/Confirm” button once and the oven will cook on 100% microwave power for 30 seconds: This cooking time can be increased in 30 second increments by repeatedly pressing the “Start/+30 Sec/Confirm”...
- Page 13 Auto Menu • Turn the “Timer/Weight/Auto Menu” knob clockwise to select a cooking menu: The menu number from “A-1” to “A-10” will show in the display. • Press the “Start/+30 Sec/Confirm” button to confirm the menu. • Turn the “Timer/Weight/Auto Menu” knob to select the cooking weight from the available options in the table on the next page.
- Page 14 Auto Menu Details Menu Number Food Type Weight Display Shows 200g Pizza 400g 200g Potato 400g 600g 250g Meat 350g 450g 250g Fish 350g 450g 200g Vegetables 300g 400g 1 (approx. 120ml) Drinks 2 (approx. 240ml) 3 (approx. 360ml) 50g (plus 450ml cold water) Pasta 100g (plus 800ml cold water) Popcorn...
- Page 15 Key Lock: When the oven is in standby mode the keys can be locked to reduce the risk of accidentally switching the oven on. • Press the “Stop / Clear” button for 3 seconds, there will be a long beep as the key lock is engaged. •...
-
Page 16: Care And Maintenance
Proprietary stainless steel cleaners are available. We recommend the CDA E-Cloth available from the CDA Sales Team for cleaning stainless steel surfaces as this has been designed to prolong the finish of your appliance. - Page 17 2. Check that the mains supply has not been switched off. 3. Check that the fuse in the spur has not blown. In the event of a fault with the appliance, please advise CDA Customer Care of any fault code shown on the display...
-
Page 18: Troubleshooting
Open and close the door then try again, if fault persists unplug Microwave oven does not heat. Door not closed properly. the machine and contact CDA Customer Care. Clean roller track in oven base. Glass turntable noisy when Dirt on rollers or base of oven. -
Page 19: Installation
Installation Important • The appliance should be installed in a tall unit (open at the rear) with the appropriate dimensions for recessed installation. (Fig. 2). • Blocking the intake and/or outlet openings can damage the oven. • Place the oven as far away from radios and TV’s as possible. Operation of the microwave oven may cause interference to your radio or TV reception. - Page 20 • Use the supplied template to mark out the 2 holes for the rear fixing bracket on the centre line of the tall cabinet. Screw A Bracket Centre line Fig. 3 • Remove the template and fix the bracket with the 2 screws supplied. Screw A Bracket Fig.
- Page 21 • Open the appliance door and fix the appliance in position using the supplied screw in the installation hole. Fig. 6...
-
Page 22: Electrical Information
Electrical Information Warning! This appliance must be earthed. Green and Yellow to Earth Brown to Liv e 13 Amp fuse Cord Clamp Blue to Neutra l Fig. 7 The mains lead of this appliance has been fitted with a BS 1363A 13 Amp fused plug. - Page 23 N.B. Ensure that the plug socket is situated in an easily accessible place after installation. E & O E. All instructions, dimensions and illustrations are provided for guidance only. CDA reserve the right to change specifications without prior notice. PN:16170000A78162...
- Page 24 Please contact our Customer Care Department for Service on the details below Customer Care Department • The Group Ltd. • Harby Road • Langar • Nottinghamshire • NG13 9HY T : 01949 862 012 F : 01949 862 003 E : customer.care@cda.eu W : www.cda.eu © CDA 2014...
Need help?
Do you have a question about the VM131 and is the answer not in the manual?
Questions and answers