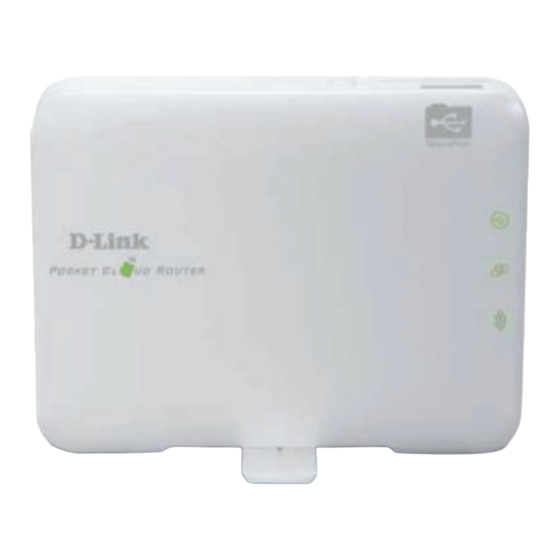
D-Link DIR 506L Configuration Manual
Mobile companion
Hide thumbs
Also See for DIR 506L:
- User manual (126 pages) ,
- Quick installation manual (49 pages) ,
- Quick install manual (16 pages)
Table of Contents
Advertisement
Quick Links
Advertisement
Table of Contents

Summary of Contents for D-Link DIR 506L
-
Page 1: Configuration Guide
CONFIGURATION GUIDE For DIR 506L Mobile Companion www.dlink.co.in... -
Page 2: Mobile Companion
Configuration Guide For DIR 506L Mobile Companion Product Highlights ROUTER SETUP Share any Internet connection WI-FI HOTSPOT MODE wirelessly REPEATER MODE Share your 3G/4G dongle internet connection wirelessly. ACCESS POINT MODE Stream Media to All of your Devices. Repeat your existing wireless network. -
Page 3: Router Setup
ROUTER SETUP From your laptop, go to wireless utility to display available wireless networks and select the Wi-Fi name of device to connect. (By default Wi-Fi name is dlink_DIR-506L ) In default settings there is no password for the wireless. - Page 4 ROUTER SETUP Once you are connected to Device through Wi-Fi, Open your web browser, and type http://192.168.0.1 in the address bar to begin the Setup Wizard. Follow the on-screen instruction to complete the setup Click Next to continue. Choose the operation mode in which you want to configure the router.
- Page 5 ROUTER SETUP Select the type of connection which your ISP has given you. Most cable modem connections use DHCP and most DSL modem connections use PPPoE. Note: If you are not sure which connection type you use or what settings to enter, contact your Internet service provider.
- Page 6 Connect to the router wirelessly and login into it from web browser as already shown in step 1 and 2 in router configuration and follow the on-screen instruction to complete the setup. Click Next to continue. Select the Wi-Fi Hotspot Mode and click Next.
-
Page 7: Wi-Fi Hotspot Mode
WI-FI HOTSPOT MODE Now, configure your Wireless LAN settings, you can change your wireless network name (SSID) and can secure your wireless network by enabling the wireless security and assigning password for your wireless. Click Next once settings are over. Next screen It will show you the Setup Summary, click on the Save button to save your configuration. -
Page 8: Repeater Mode
REPEATER MODE Connect to the router wirelessly and login into it from web browser as already shown in step 1 and 2 in router con guration and follow the on-screen instruction to complete the setup. Click Next to continue. Select Repeater mode and click Next. It will show you the available wireless networks in your environment. - Page 9 REPEATER MODE Now, configure your Wireless LAN settings, you can change your wireless network name (SSID) and can secure your wireless network by enabling the wireless security and assigning password for your wireless. Click Next once settings are over. Next screen It will show you the Setup Summary, click on the Save button to save your configuration.
- Page 10 ACCESS POINT MODE Connect to the router wirelessly and login into it from web browser as already shown in step 1 and 2 in router con guration and follow the on-screen instruction to complete the setup. Click Next to continue. Select AP Mode and click Next to continue.
- Page 11 3G - 4G MODE Connect to the router wirelessly and login into it from web browser as already shown in step 1 and 2 in router con guration and follow the on-screen instruction to complete the setup. Click Next to continue. Select 3G/4G Mode and click Next.
- Page 12 3G - 4G MODE Next screen will show configuration summary of the device. Click on Save to save the new configuration. Router will reboot to activate the new settings and you will be disconnected form the router. After Reboot, use the new settings you created to reconnect to the Router.
- Page 13 3G - 4G MODE Select my internet connection as 3G/4G and do the settings as instructed below. Dial-Up Pro le: Manual Country: India Telecom: If your telecom exists in the list select it Otherwise select Others. 3G/4G Network: Select WCDMA/HSPA for 3G Select CDMA2000/EV-DO for CMDA. Rest of the settings depends on which type and service provider’s dongle you are using.
- Page 14 SHAREPORT ACCESS Connect to device wirelessly as shown above. Login into the device with its default IP address http://192.168.0.1 Go to Setup -> Storage Select the checkbox of Enable sharePort Web Access. By default Admin user exist with both Read/Write access. You can create more 10 users and give particular user with the Read/Write access of particular folders .
- Page 15 Put the username and password of the user with which you want to login and you can access your storage device. You can also use the D-Link SharePort Mobile Application on android based smartphones or on iphone , ipad to access the storage.
- Page 16 www.dlink.co.in FOR ANY TECHNICAL ASSISTANCE CONTACT US ON Call :- 1800-22-8998, 022-27626600 Email Us On :- Helpdesk@dlink.co.in...


Need help?
Do you have a question about the DIR 506L and is the answer not in the manual?
Questions and answers